Clingman’s Dome Hike: A Complete Guide
The Clingman’s Dome hike is an excellent addition to any Great Smoky Mountains National Park visit!
This short but steep trail offers up incredible long range views across the Appalachian Mountains.
And, best of all, the trailhead is a short drive from Gatlinburg and Pigeon Forge, making it a great day trip option.
The stunning surroundings and convenient location work to make this hike one of the most popular in the Great Smoky Mountains National Park.
However, with just a bit of planning, you can have a great hike to one of my favorite spots in the Smokies.
Below, you’ll find everything you need to plan for your Clingman’s Dome hike including suggested visiting times, parking tips, items to pack, and points of interest.
Let’s head out on the trail!

Where is Clingman’s Dome?
Clingman’s Dome is located inside Great Smoky Mountains National Park, and the trail takes visitors to the peak of the mountain.
When you’re standing on the top of the observation tower, you’re at the highest point in Tennessee at 6,643 feet above sea level!
Keep in mind that the park does have snow and ice intermittently from December to April, so the access road is closed during that time period.
The exact dates of closure change from year to year depending on the weather, so check the official NPS site for Great Smoky Mountains National Park or give the rangers a call at (865) 436-1200.
If this is your first visit to a U.S. national park, check out my guide to the national parks for beginners for information on everything from the reservation systems to Junior Ranger programs.
Directions to Clingman’s Dome
The best way to access Clingman’s Dome is by entering the park near Gatlinburg on Highway 441 (also known as the Great Smoky Mountains Parkway).
NOTE: Gatlinburg, Tennessee, is one of our picks for best towns near Great Smoky Mountains National Park!
You’ll pass the Sugarlands Visitors Center on your right; continue on the Parkway for about 5 miles.
There will be a smaller road to your right about half a mile after the Morton Mountain Tunnel. This road is Clingman’s Dome Road.
(This intersection is also where the Appalachian Trail crosses the Parkway, so if you’re planning to section hike the trail to Indian Gap, you’ll find parking here at Newfound Gap.)
Continue on Clingman’s Dome Road to where the road terminates in a circular parking lot.
Parking at Clingman’s Dome
The parking area loops around by the small shop and trailhead before turning around and heading back down the mountain again.
While the parking lot isn’t particularly small, it still fills up at peak times during summer weekends and holidays.
If you arrive to a full parking lot, don’t worry. Slowly drive the loop until you see someone leaving.
Since the trail is fairly short, most people don’t linger too long here, and parking is continually available with a short wait.

PIN ME!
If you absolutely must park quickly on those busy days, look towards the section of the parking lot nearest the access road. There are several places where people park off the road and not in designated parking spots.
Just be careful if you do this as there are areas where roadside parking are not safe due to the steep dropoffs. (You are on the side of a mountain, after all!)
In the parking lot is the only set of toilets on the mountain. You’ll find 2 vault toilets side by side in the middle of the parking loop near the sidewalk.
The times that we’ve visited, the vault toilets here have seen better days, but they’re better than a patch of grass in the woods if you’ve got an emergency.
Required Parking Tags
Once you’ve found a spot at Clingman’s Dome, you’ll need to display your paid parking tag. These paid tags started for park visitors in May 2023 and are required for any parking longer than 15 minutes in any area of the park.
You can pick up a daily, weekly, or annual parking tag at several locations around the park, including both the Sugarlands Visitors Center on your way to Clingman’s Dome, and at the Clingman’s Dome Visitors Center next to the parking lot.
Alternatively, you can try one of the walk-up automated machines around the park. You’ll find one at Sugarlands Visitors Center, Newfound Gap, and Clingman’s Dome parking areas, all of which are easily accessed on your trip from Gatlinburg.
Keep in mind that these machines only take credit cards.
If you like to plan ahead and purchase a parking tag ahead of time, you can order online at the NPS website, and then either have a physical pass mailed to you or receive a PDF that you can print out.
Clingman’s Dome Hike: Step by Step
It’s time for the main event: hiking to the top of Clingman’s Dome!
In this section, we will break down exact what you’ll see from the parking lot to the peak, so there aren’t surprises. This information will also help you determine if the hike is right for you and your family.
At the base of the trailhead, you’ll see a rustic log style building.
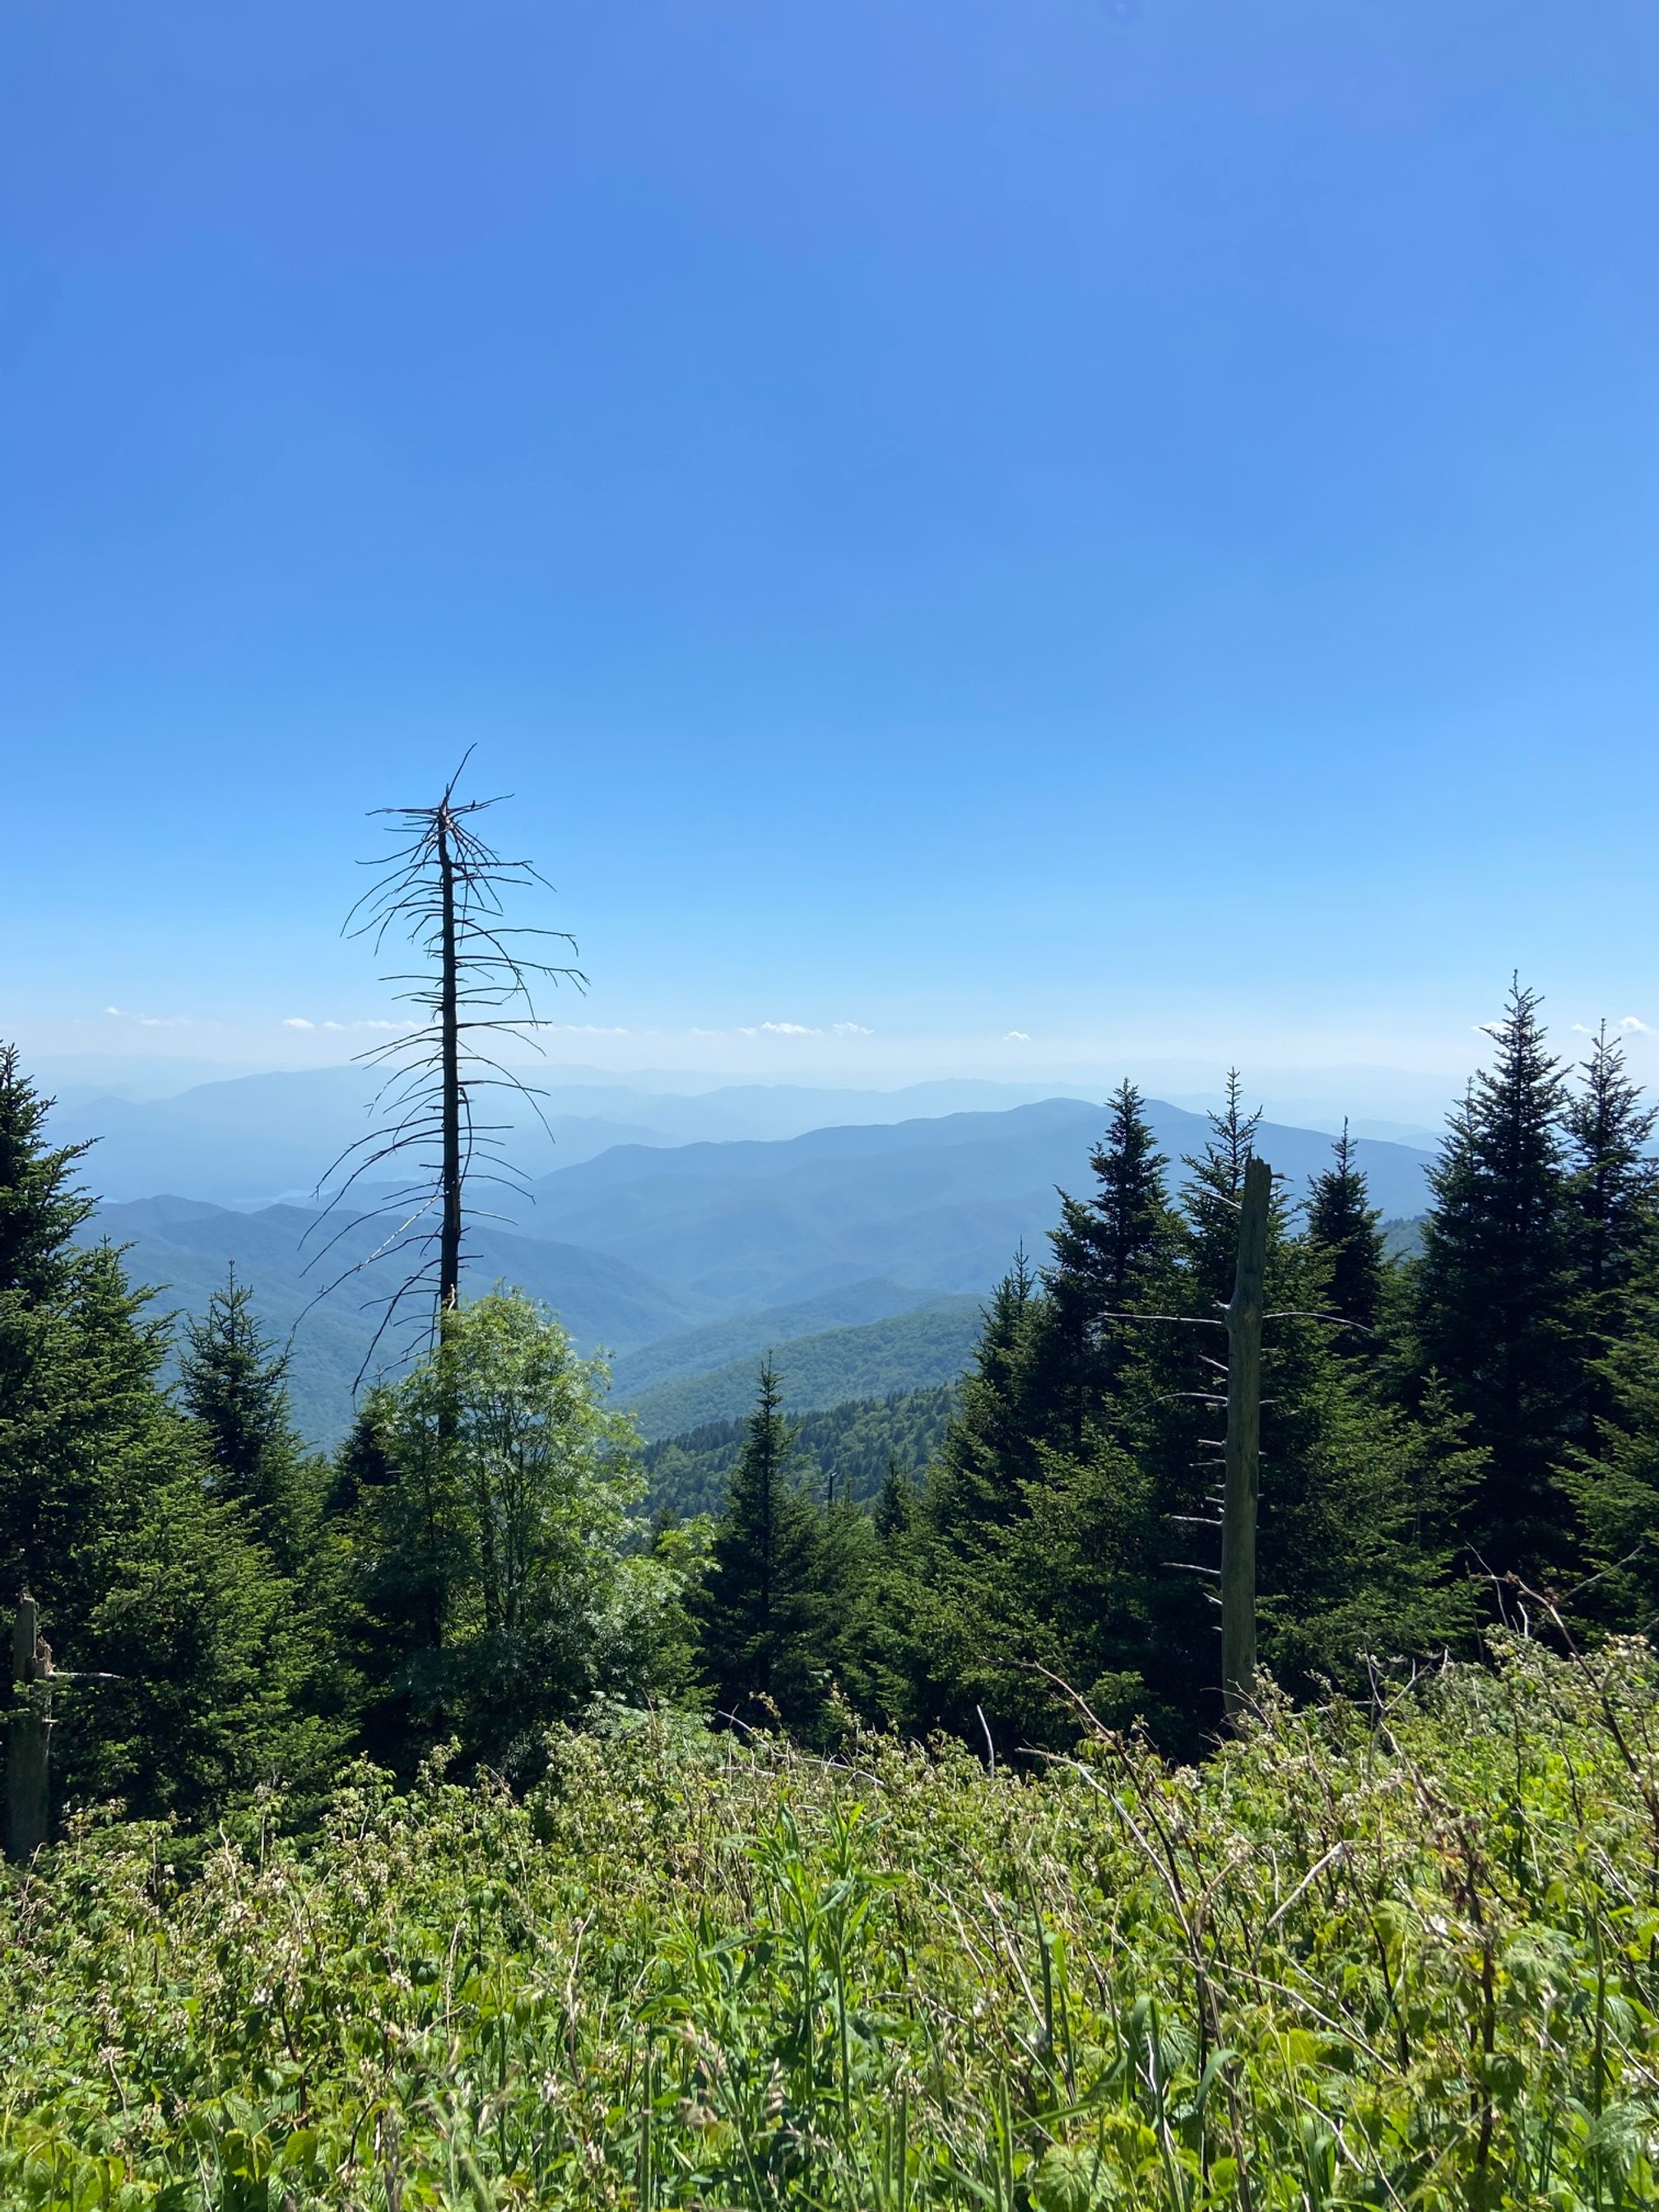
The beautiful scenery on the trail to the top of Clingman’s Dome
In here, you’ll find the small Clingman’s Dome Visitors Center. You can buy your parking tag if necessary, ask for suggestions on nearby activities, or pick up a Junior Ranger booklet from the ranger on duty.
This small building also has a limited selection of hoodies, shirts, toys, magnets, and other Great Smoky Mountains National Park souvenirs.
The flow of traffic in and out of the building at peak visitation happens at such a pace that it tends not to feel crowded, but keep in mind that the center is not air conditioned and can get stuffy on summer afternoons.
Outside of the building, you’ll find a water fountain if you need a quick drink.
Once you’ve sorted your parking pass out (if you needed to do so), it’s time to head out on the hike.
The path to the top is unmistakable as it is wide and paved. In many areas, vegetation has been scaled back on either side of the path to provide better views along your hike.
At the top of the mountain, you’ve climbed about 1600 feet since the turnoff at Newfound Gap, and 332 feet from the start of the trail in the parking lot!
Since the trail is so short, clocking in at just under a half-mile, the trail has a steady incline of 13%.

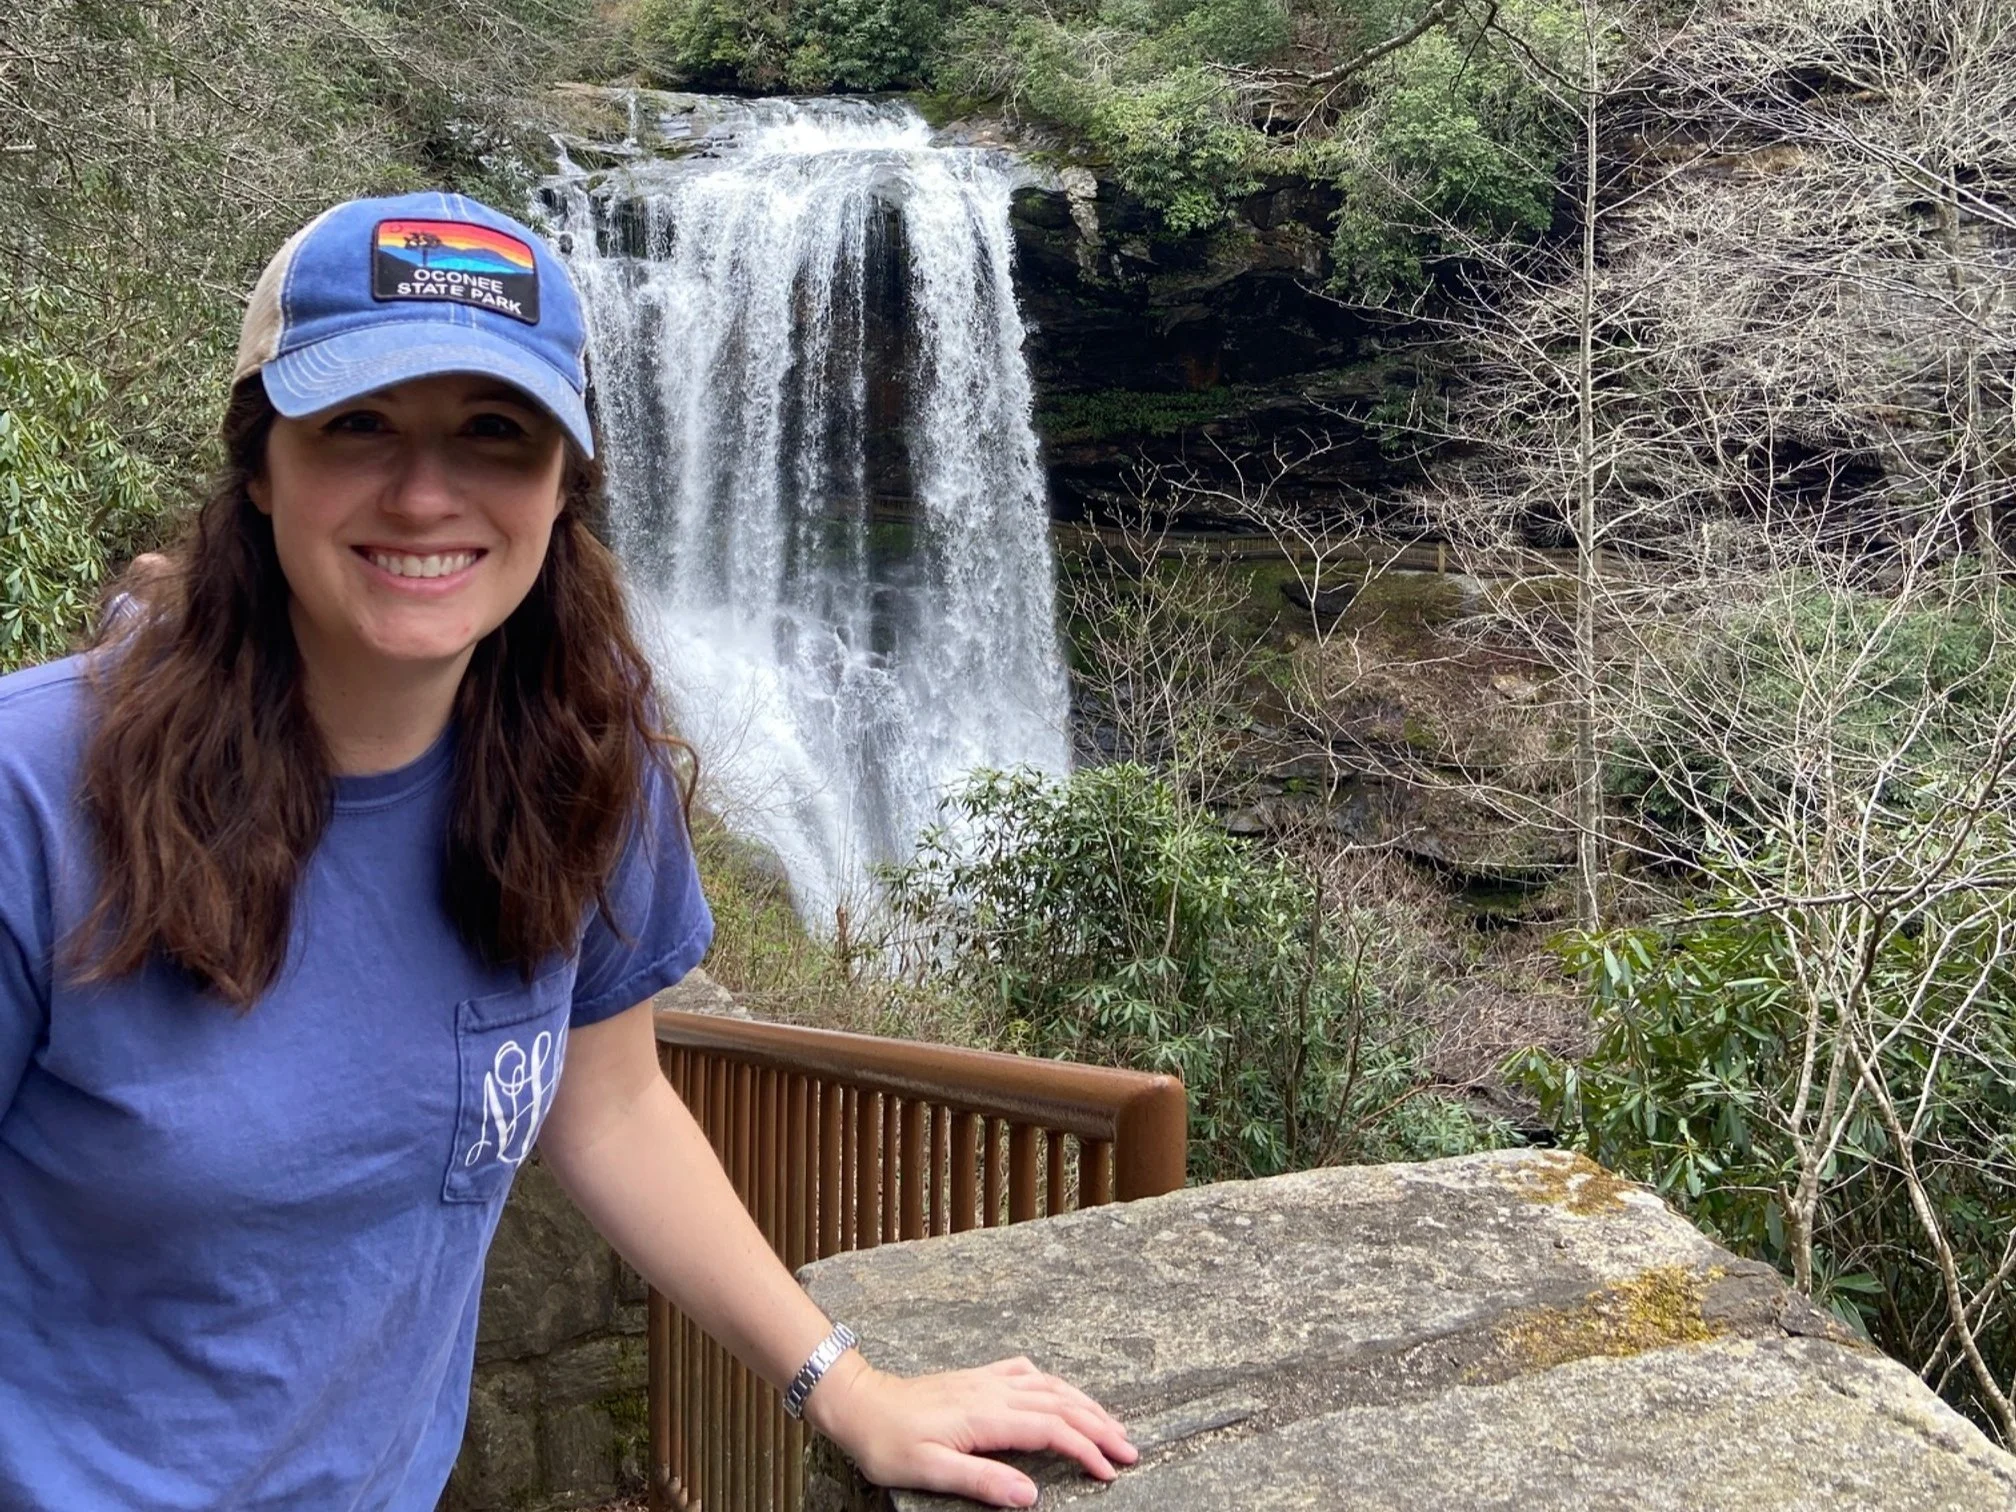
My sister and I are feeling the elevation on the way up!
So, while the hike to Clingman’s Dome isn’t long, many people still rate it as moderate to strenuous since you’re climbing at such a significant angle the entire time.
At several points along the trail, you’ll find stone benches or logs to rest on.
Don’t be a hero—take a quick rest if you need to catch your breath before resuming the hike.
You certainly won’t be the only one as we saw many people making use of these for a breather.
The worst inclines are the straight section of the trail from the parking lot.
As you get closer to the top of the mountain, the trail veers to the right and does level out a little (but it’s still far from flat!).
Around the time that the trail curves, you’ll see the Appalachian Trail signs indicating that this is where the famous 2100 mile long trail crosses over the Clingman’s Dome trail.
If you are walking towards the top of the dome, and you take the Appalachian Trail to your right, you’ll walk the ridgeline that Clingman’s Dome is part of, and you’ll dip down into Newfound Gap.
We’re continuing on to the top of Clingman’s Dome, so keep heading straight on the paved path.
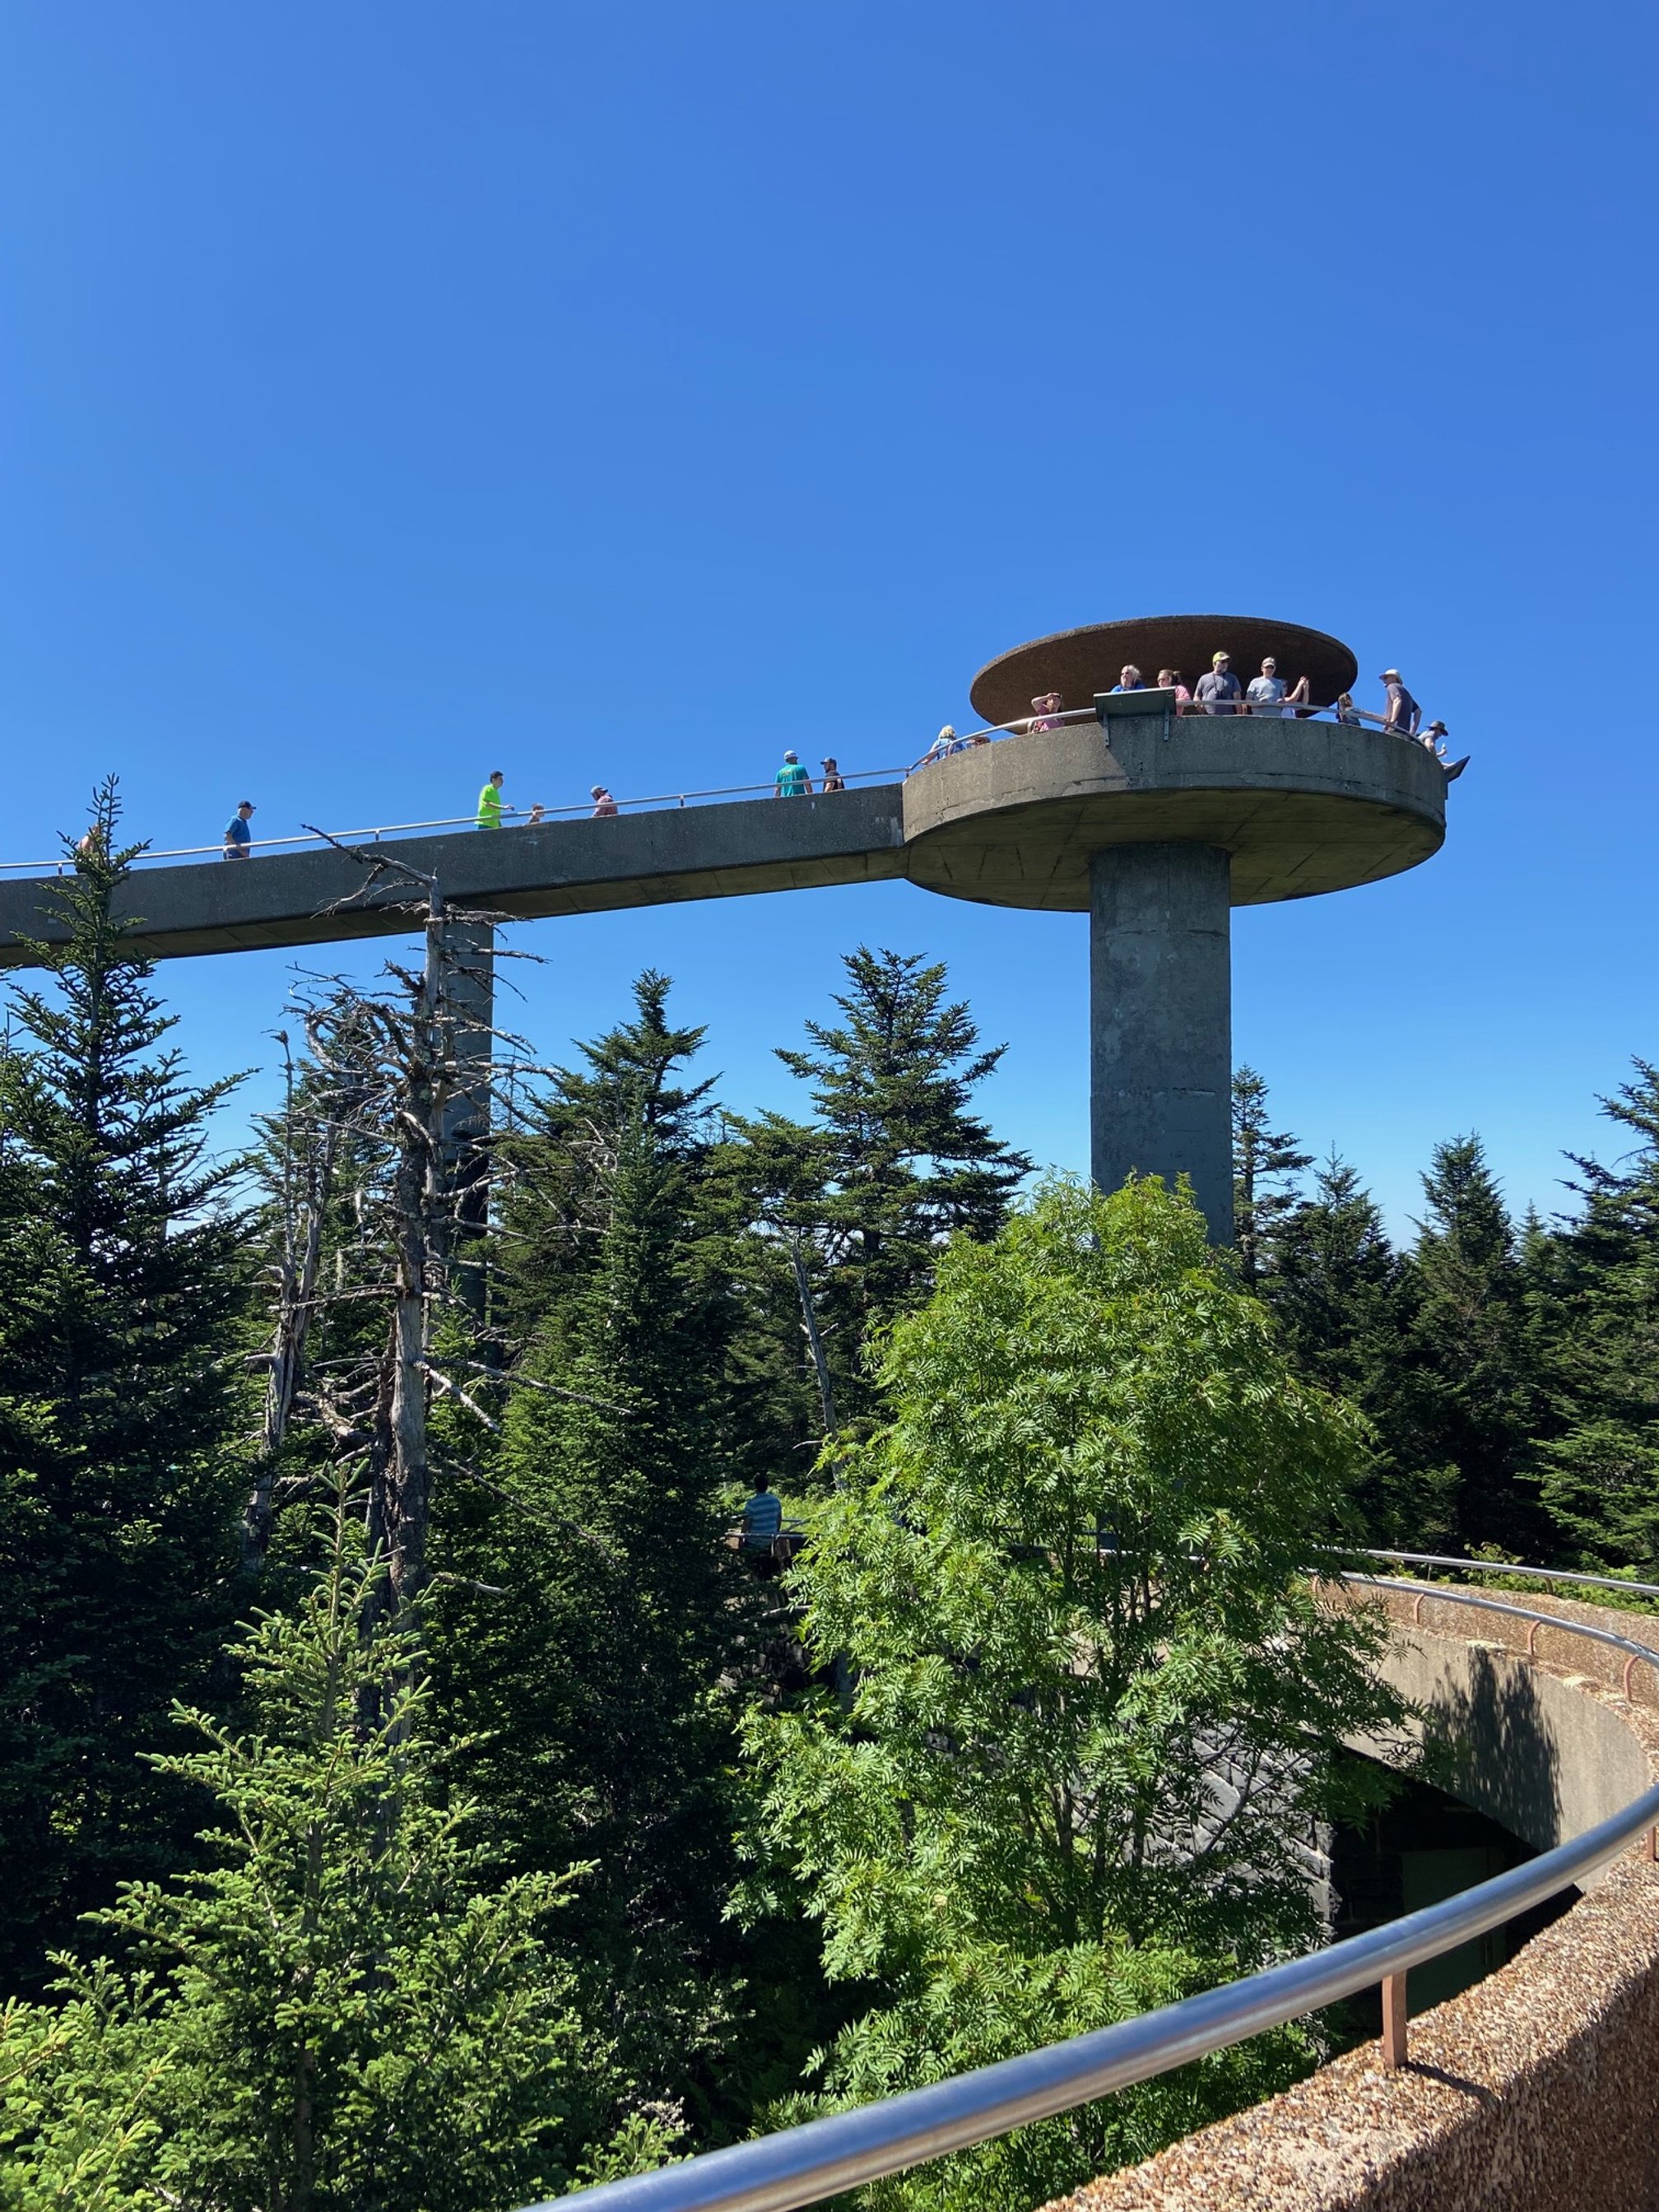
Up ahead, you’ll see that the paved path ends, and a large concrete spiral walkway takes over.
You’ll follow this gently sloping path to the observation deck, where you'll be able to see about 100 miles into the distance on a clear day.
While the views on any day are stunning, aim for a bright, sunny day around noon for the best views. You’ll also get to see the most intense layers of blue, and you’ll quickly realize why the Appalachian Mountains are also known as the Blue Ridge Mountains.
The observation tower has several informational placards that help you interpret what you’re seeing below.
While it is tempting to grab a picture and then head back to the parking lot, I’d encourage you to linger a bit at the top.
It’s usually much cooler in the observation tower than it is in the parking lot, which feels wonderful after your short but sweaty hike.
Plus, you don’t get long range views like this but a few places in the park—and few are as easily accessible as this one, thanks to its proximity to the parking lot and the wide, paved path.
The explosion of colors that you’ll see up here deserve a few moments before you head back down the path.
Once you’re ready to go, you’ll return the same way you came up.
While it is tempting to walk quickly (or even run, if you’re my 6 year old), I’d advise hiking down slowly.
You don’t want to start rolling down the 13% grade, which would end up with plenty of scrapes.
Once you’ve returned to the trailhead, catch your breath before heading out onto other adventures in the park. Don’t forget to grab a souvenir in the gift shop!
What to Bring to Clingman’s Dome
Water bottle
While the trail is deceptively short, it’s also pretty strenuous for those of us who come from flatter climes. (Checking in from Charleston, South Carolina!)
That 13% grade combines with the thinner mountain air at 6600 feet to create an environment where you’re going to be more thirsty than usual.
Yes, the entire hike can be done in well under an hour if you’re hustling, but you’re going to want water.
Don’t make the same mistake that we did and forget water just because it is a short hike.
Fill up your bottle at the visitors center, and stay hydrated throughout.
Sunglasses
While you’ll have vegetation on both sides of the trail for the entirety of the hike (minus the observation tower at the top), there’s not much direct shade anywhere.
Pack a pair of sunglasses for the hike, and your eyes will thank you.
Once you’re in the observation tower, those sunnies will take the glare off of the view for you, meaning the colors will be more vibrant.
Hiking poles
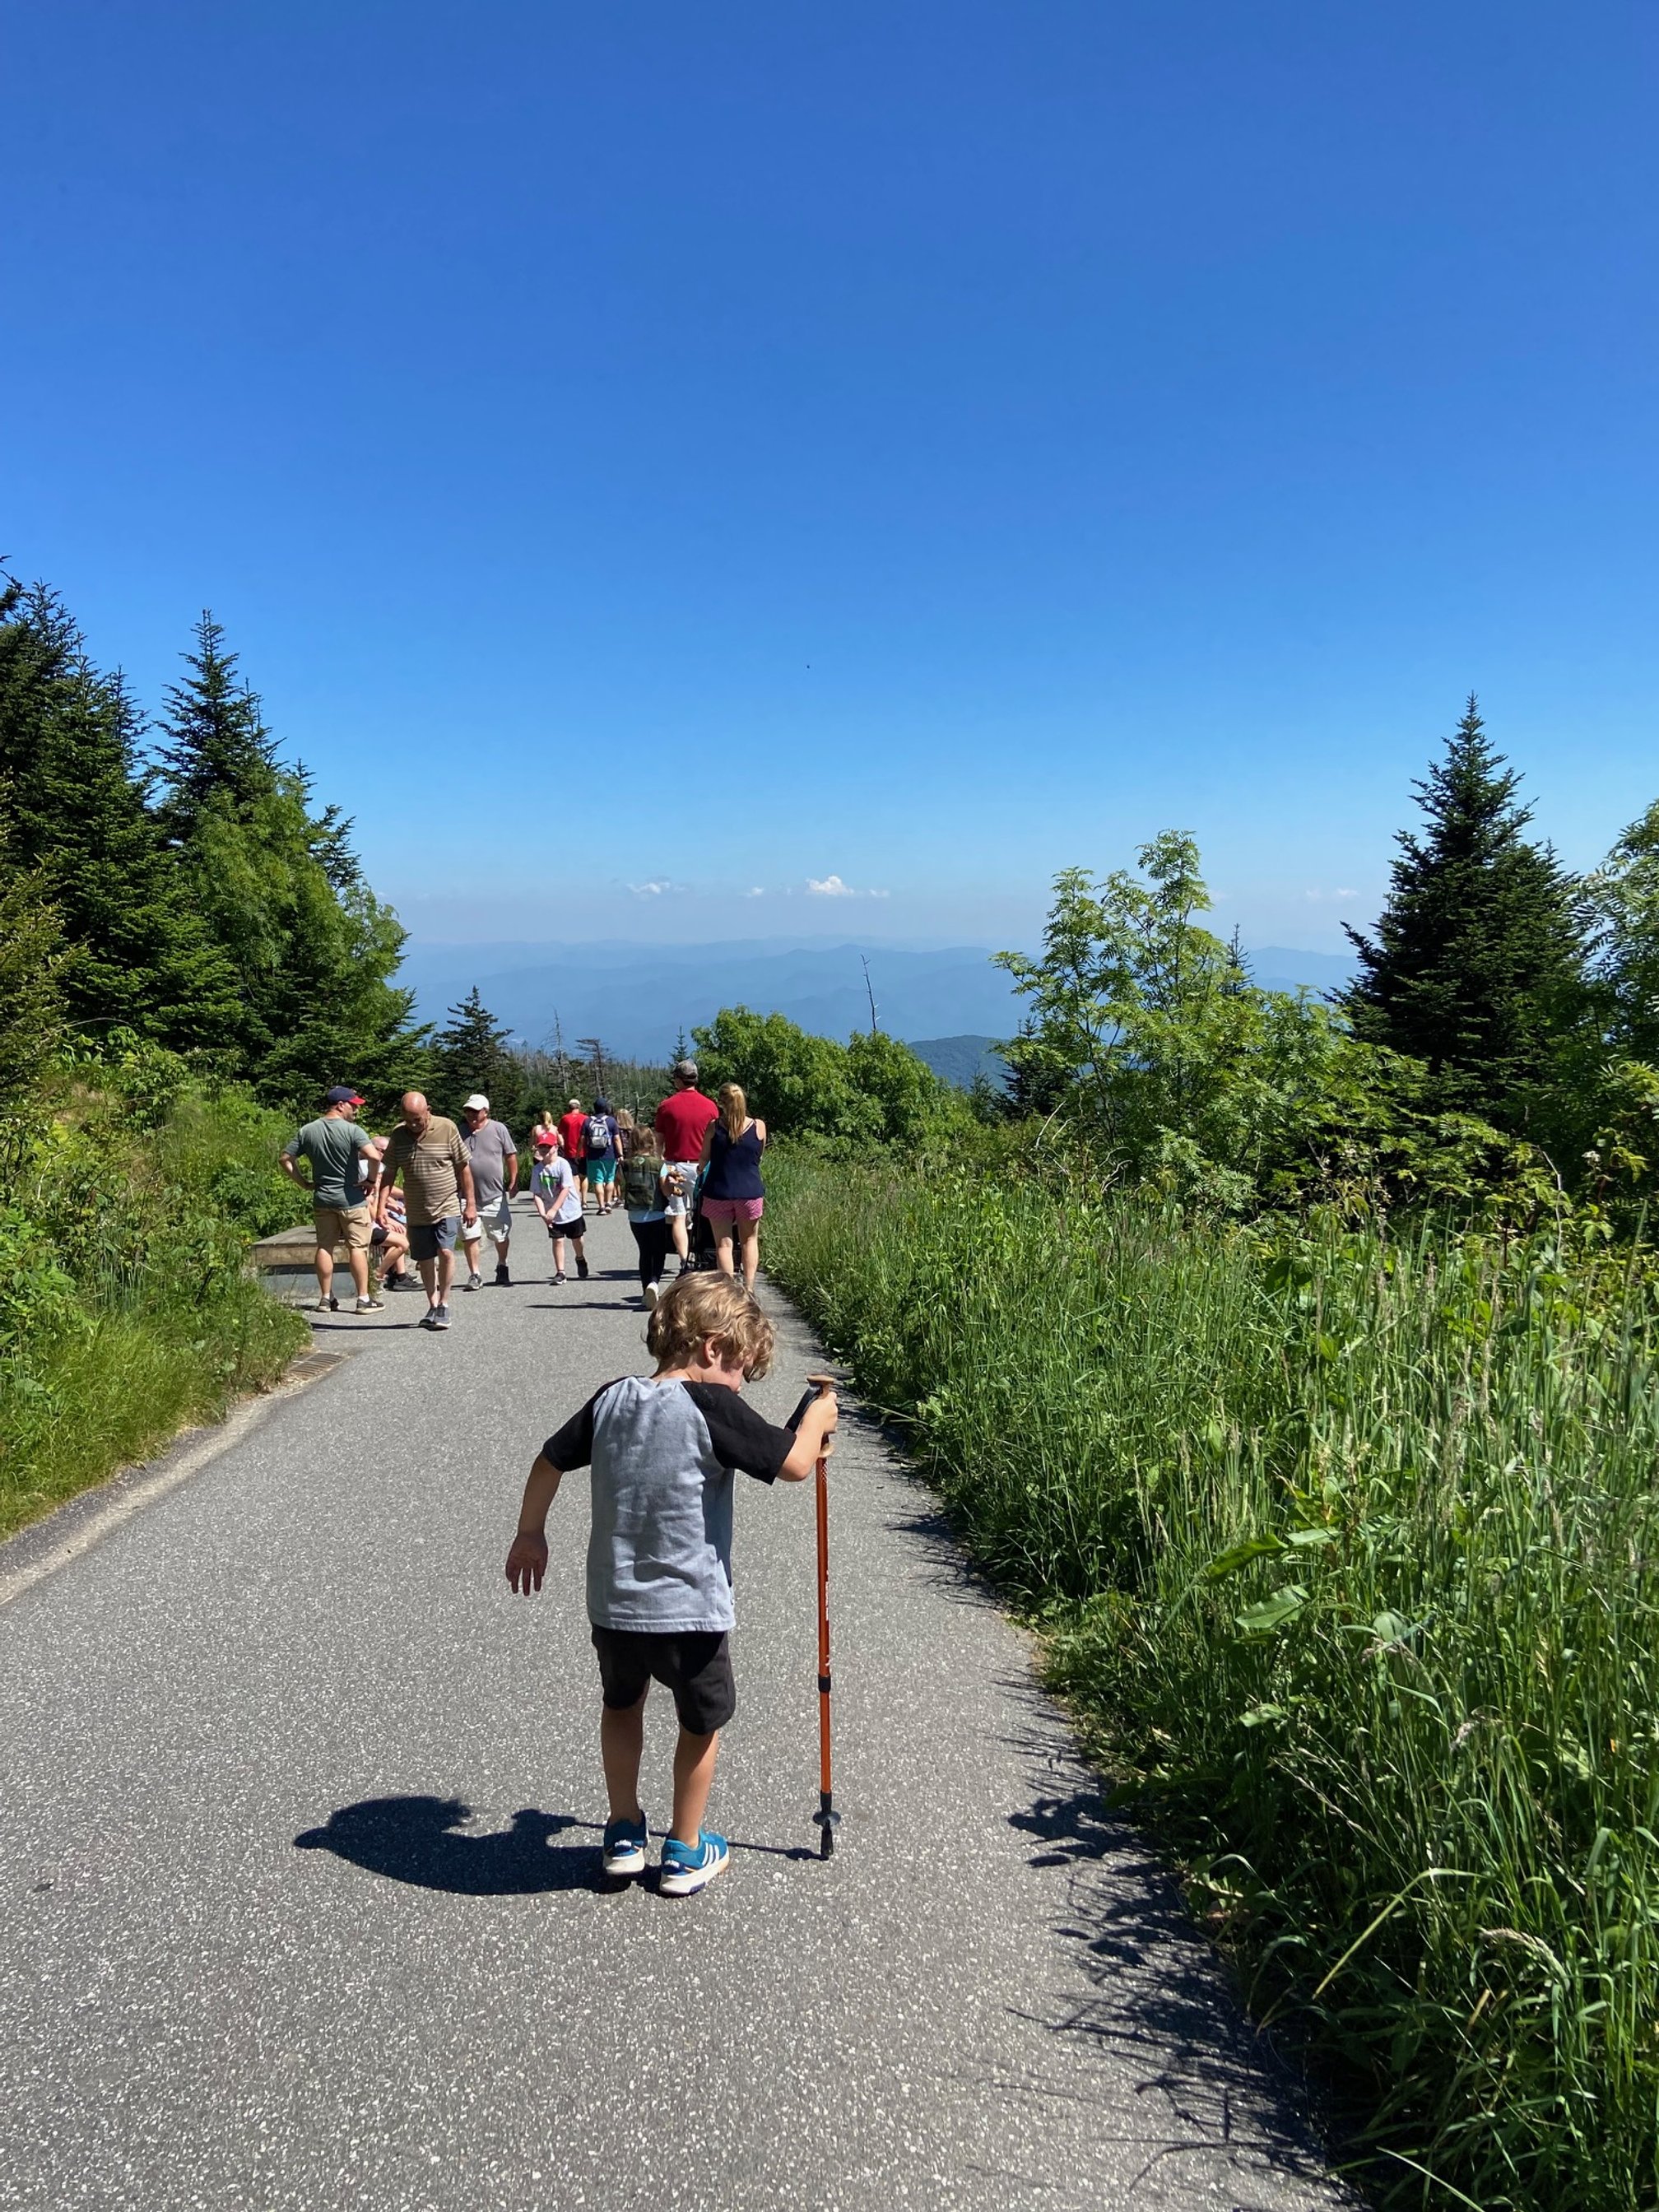
My son with his hiking pole heading back to the parking lot
As I’ve mentioned previously, this trail is consistently steeper than just about any other one you’d find inside Great Smoky Mountain National Park.
My son had brought his hiking pole along for the hike, mostly along to try and hit his sister, but he quickly realized the gem that he had.
About halfway up the hike, we were all begging him for a few minutes with the hiking pole as it does SO much to help with balance and stamina on a steep trail.
Getting a second pole would’ve helped even more, so keep that in mind if you’re planning to complete this hike.
While hiking poles are always a great option for hiking, this trail moreso than others calls for this hiking accessory.
Comfortable shoes
No trail is really made for hiking in flip flops, but Clingman’s Dome is NOT where you want to venture out unprepared.
Wear closed toe shoes with a thick sole. These will help with balance throughout the hike, and they’ll cushion your feet as you essentially break the entire way down.
I wore my beloved Keen Newport H2 hiking sandals (part of my capsule wardrobe of women’s hiking clothes), and my feet never hurt.
Since there’s a clear, paved trail, you could get away with tennis shoes, though dedicated hiking shoes, sandals, or boots are always the best choice.
Extra Layers
Because of the height of the mountain, the temperatures on Clingman’s Dome are regularly 15-20 degrees cooler than elsewhere in the park.
While you are in direct sunlight the entire hike, a light sweater or windbreaker is a welcome addition on windy or foggy days.
Particularly in the spring and fall, the temperatures are distinctly cooler on the hike, enough so that you’ll be glad of an extra layer.
Get more hiking and gear guides here: