7 Day Grand Canyon Itinerary from Las Vegas
Explore this 7 day Grand Canyon itinerary from Las Vegas, and see how much awaits your family at one of the natural wonders of the world!
With easy access from Harry Reid International Airport (LAS), the Grand Canyon offers up incredible hiking, engaging tours, unique geology, and once-in-a-lifetime views.
My family loved our time at this national park, so we’re excited to share our favorite activities below.
I’ve also included additional experiences from my mom and dad, who were kind enough to update my Grand Canyon materials when they visited in December 2023.
Together, our narratives showcase the vast number of things to do in Grand Canyon National Park and surrounding area over a week-long vacation, and I hope that your family enjoys them as much as we did!
An incredible vista of the Grand Canyon as seen from the South Rim
This post contains affiliates. If you purchase through the links, I will receive a commission at no charge to you.
What to Know before You Start Your Grand Canyon Itinerary
Stock up on groceries before you arrive.
There are several restaurants at the Grand Canyon with most of these clustered in Grand Canyon Village on the South Rim.
However, you might not want to eat out at every meal as the food (like at many national parks) is expensive for what you get.
Plus, if you have dietary restrictions, or if you’ve got a picky eater in the family, it might be a necessity to bring your own groceries.
My family never travels without a cooler of drinks and snacks, at minimum.
There is a grocery store at the South Rim called the Grand Canyon Village Market and Deli. However, it has a limited and pricy selection when compared to a typical store. This is where you go to get a quick loaf of bread, not stock up for the entire trip.
Instead, grab groceries (and a cooler, if necessary) along your trip from Las Vegas to the Grand Canyon.
I have 3 suggestions on where to stop, depending on how you’d like to organize the first day of your trip.
Option 1: Henderson, Nevada
This city is located on the southeastern edge of Las Vegas right along the route from Las Vegas to the Hoover Dam.
You’ll find a large Walmart right off of South Boulder Highway.
PIN ME!
Option 2: Kingman, Arizona
Go shopping with Route 66 flair!
Kitschy Kingman, Arizona, is an excellent place to stop on your first day as it’s about halfway between Las Vegas and the Grand Canyon.
Here, you’ll find 2 Safeways and a Walmart Supercenter right off of your route.
Option 3: Williams, Arizona
This is your last stop before you get to Grand Canyon National Park, and your last opportunity to pick up groceries at relatively normal prices.
In Williams, you’ll find a Whole Foods Market and a Safeway for a variety of items.
NOTE: The in-room amenities vary significantly between the Grand Canyon hotels and room types. Call ahead to see if your room comes with a mini-fridge. Otherwise, you’ll want to bring a cooler with you for cold items. Ice is available at the Grand Canyon hotels and at the Village Market.
The Grand Canyon is busy year-round.
Our family has visited both in the late spring/early summer and in the winter.
Both times saw plenty of fellow hikers, ranger talk attendees, and visitors enjoying the sights.
This area is a big draw for families around Christmas and into the New Year, though it does calm down a bit in January and February.
Things pick back up again in mid-spring and stay busy through the start of schools in late August/early September.
As with any popular national park, you’ll want to plan your time here intentionally. If you do so, you will be able to avoid the peak crowds, even at otherwise busy times.
I know it’s cliche to say, but consider starting your day early. Not only will you be treated to incredible sunrises over the canyon, but you’re more likely to have the trails to yourself. (This is especially important in the heat of summer when you absolutely don’t want to be hiking mid-day.)
If you’re not a morning person, the national park still offers many night-time programs, including sky gazing and evening ranger talks. These draw fewer crowds, too.
If the Grand Canyon is your first experience in a national park, you’ll want to review my guide to the U.S. national parks for beginners along with the park-specific information below.
Be cautious.
Did you know that there’s one death at the Grand Canyon approximately every thirty days?
This is largely because of the risks visitors take while at the rim or walking on the trails within the Grand Canyon. (And this is an area where there’s really no room for second chances.)
We personally saw many instances where both adults and children risked their lives to either take a picture or go past national park barriers. In many areas of the rim, there aren’t any guardrails or barriers, so you’ll want to be extra alert for small kids.
Another thing also stressed by our tour guides throughout our visits here is not to feed the squirrels in the park.
Too many first aid incidents are the result of a squirrel biting a tourist. There are plenty of food sources for the furry animals, so look at these small animals from afar!
1 Week Grand Canyon Itinerary
This itinerary assumes that you’ve arrived in Las Vegas the day before or very early in the morning of day 1.
The best scenario would be to stay the night at a hotel or campground in Las Vegas for a quick start.
You’ll also need a rental car for this trip as there’s no public transportation between Las Vegas and the Grand Canyon.
Check here for rental rates from LAS airport.
Don’t forget to account for your rental car pick-up time in this itinerary!
Day 1: Las Vegas to Grand Canyon
The rolling desert hills on the road between Las Vegas and the Grand Canyon
NOTE: For the section of this drive between Las Vegas and the Hoover Dam, I highly recommend the Grand Canyon West, Hoover Dam, Red Rock Canyon and Las Vegas tour from GuideAlong.
My family and I have used these tours several times this year, and the narrator has kept us entertained and informed as we explore new areas in the US.
After listening to a fact filled commentary about Las Vegas and Boulder City, your first stop will be at the Hoover Dam. Here, you’ll take a 45-minute guided Power Plant tour of this engineering feat from the 1930’s.
My mom on the Hoover Dam tour
You’ll want to make sure to purchase tickets online before you arrive, aiming for the earliest possible time slot. (You’ll avoid much of the crowds this way, especially on holidays and summer weekends.)
For example, the line of cars getting off the interstate and waiting to get into the parking garages at 10:30 AM a few days after Christmas stretched at least a mile.
The guides here are immensely knowledgeable about the dam’s construction and Depression-era history, so come with questions!
If you want to dive even more deeply into the history of this incredible place, opt for the extended Hoover Dam and Power Plant tour.
This longer tour takes you from the top of the dam, where you can walk across, all the way down into the guts of the power plant that runs everything.
Book ahead to ensure you have a spot on your preferred date. Check available here:
Don’t forget to pause at the end of your tour to see views on either side of the Hoover Dam. You’ll be able to get some incredible photos here!
From the Hoover Dam, continue to head southeast along Highway 93 for about 90 minutes.
You’ll then turn onto historic Route 66 in Kingman, Arizona. Linger here if you have some extra time and want to learn about the history of Mother Road.
Otherwise, head out onto the stretch of Route 66 between Kingman, AZ, and Seligman, AZ. This remote road takes you past some beautiful vistas—take advantage of the low traffic to stop and take photos.
Camping Kiddo turned cowgirl!
Embrace the nostalgia of the Mother Road with lunch at the oddly named Roadkill Café and OK Saloon in Seligman, AZ.
Despite the name, the Roadkill Café serves up delicious diner fare like BLTs, burgers, onion rings, and fries.
The Roadkill Cafe and nearby Delgadillo’s Snow Cap are must-stops on my Albuquerque to Las Vegas road trip itinerary!
Your excitement will begin to build after exiting the Interstate 40 at Williams AZ to begin your northward trip on Highway 64.
On this last leg, you can occasionally see the train tracks for the Grand Canyon Railway that travels from Williams to the depot at the Grand Canyon Historic Village each day!
The Grand Canyon trail ride plus a tour at the South Rim would be a fun trip for families and couples who only want to spend a brief time at the Grand Canyon.
It’s sure to be late in the day at this point in our itinerary, so head to your hotel room, unpack, and relax before turning in for the night.
I’d suggest staying inside the Grand Canyon on the South Rim as it will be much more convenient to all of the tours and experiences outlined below.
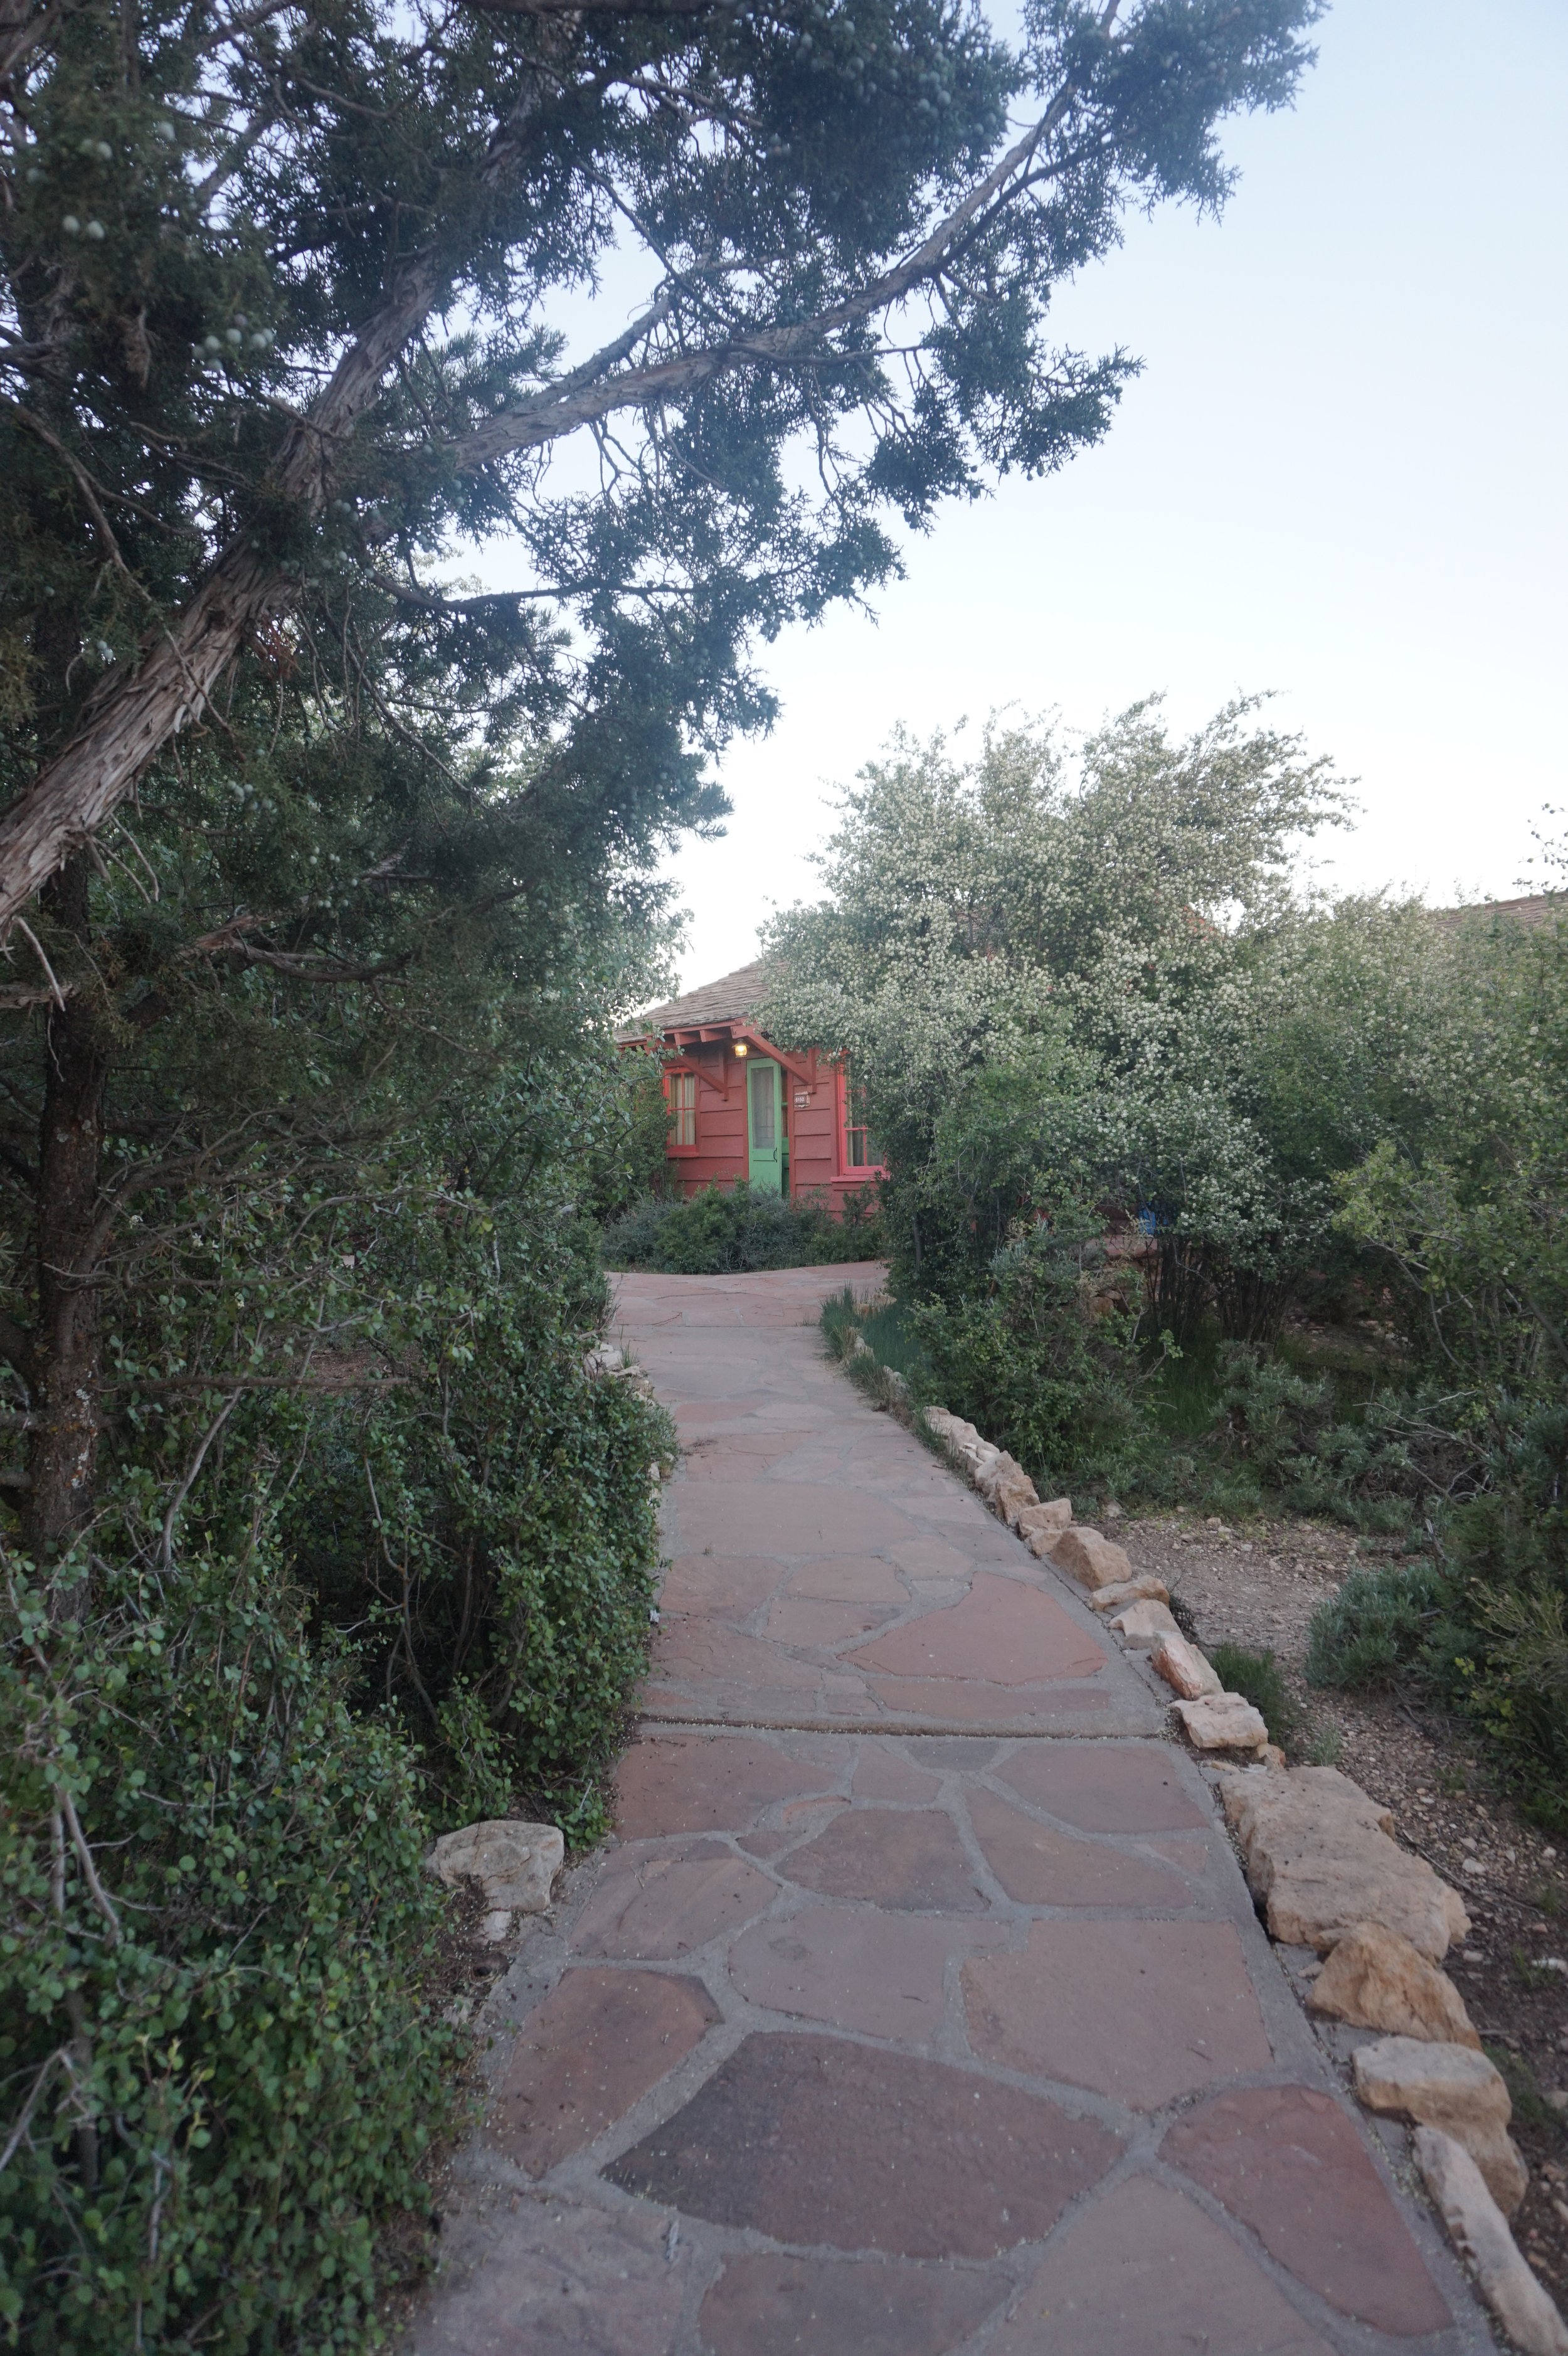
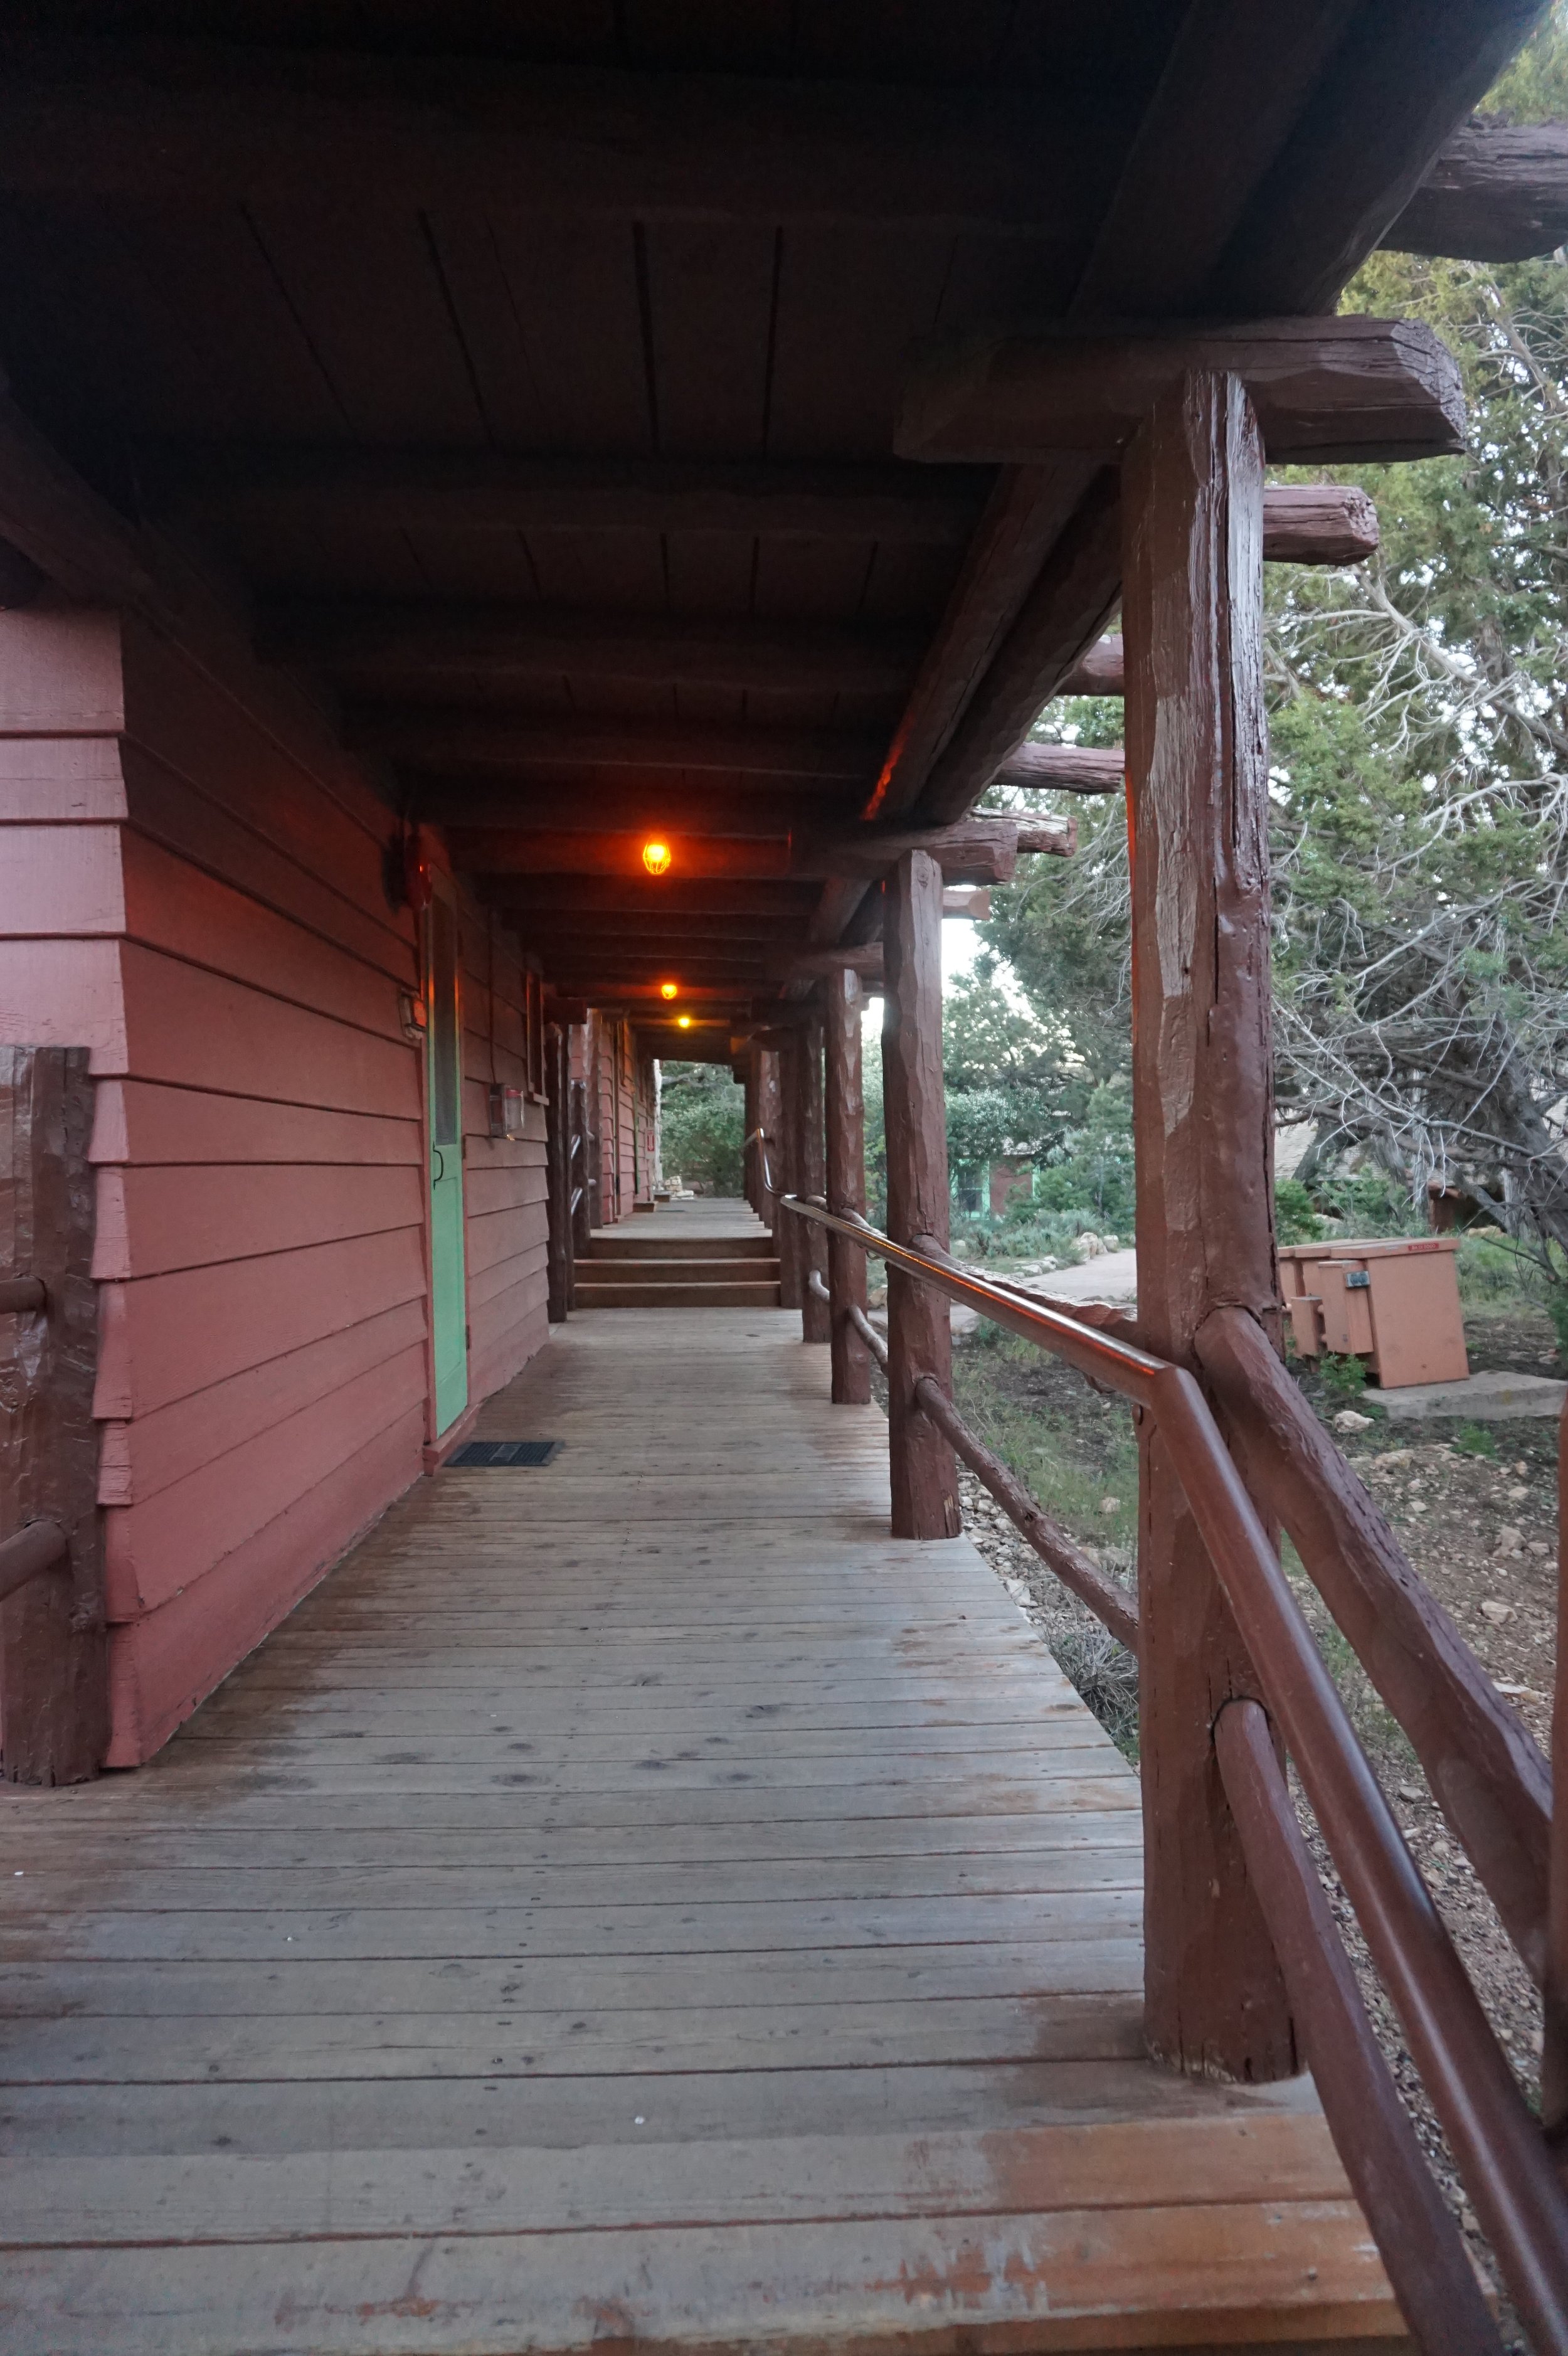
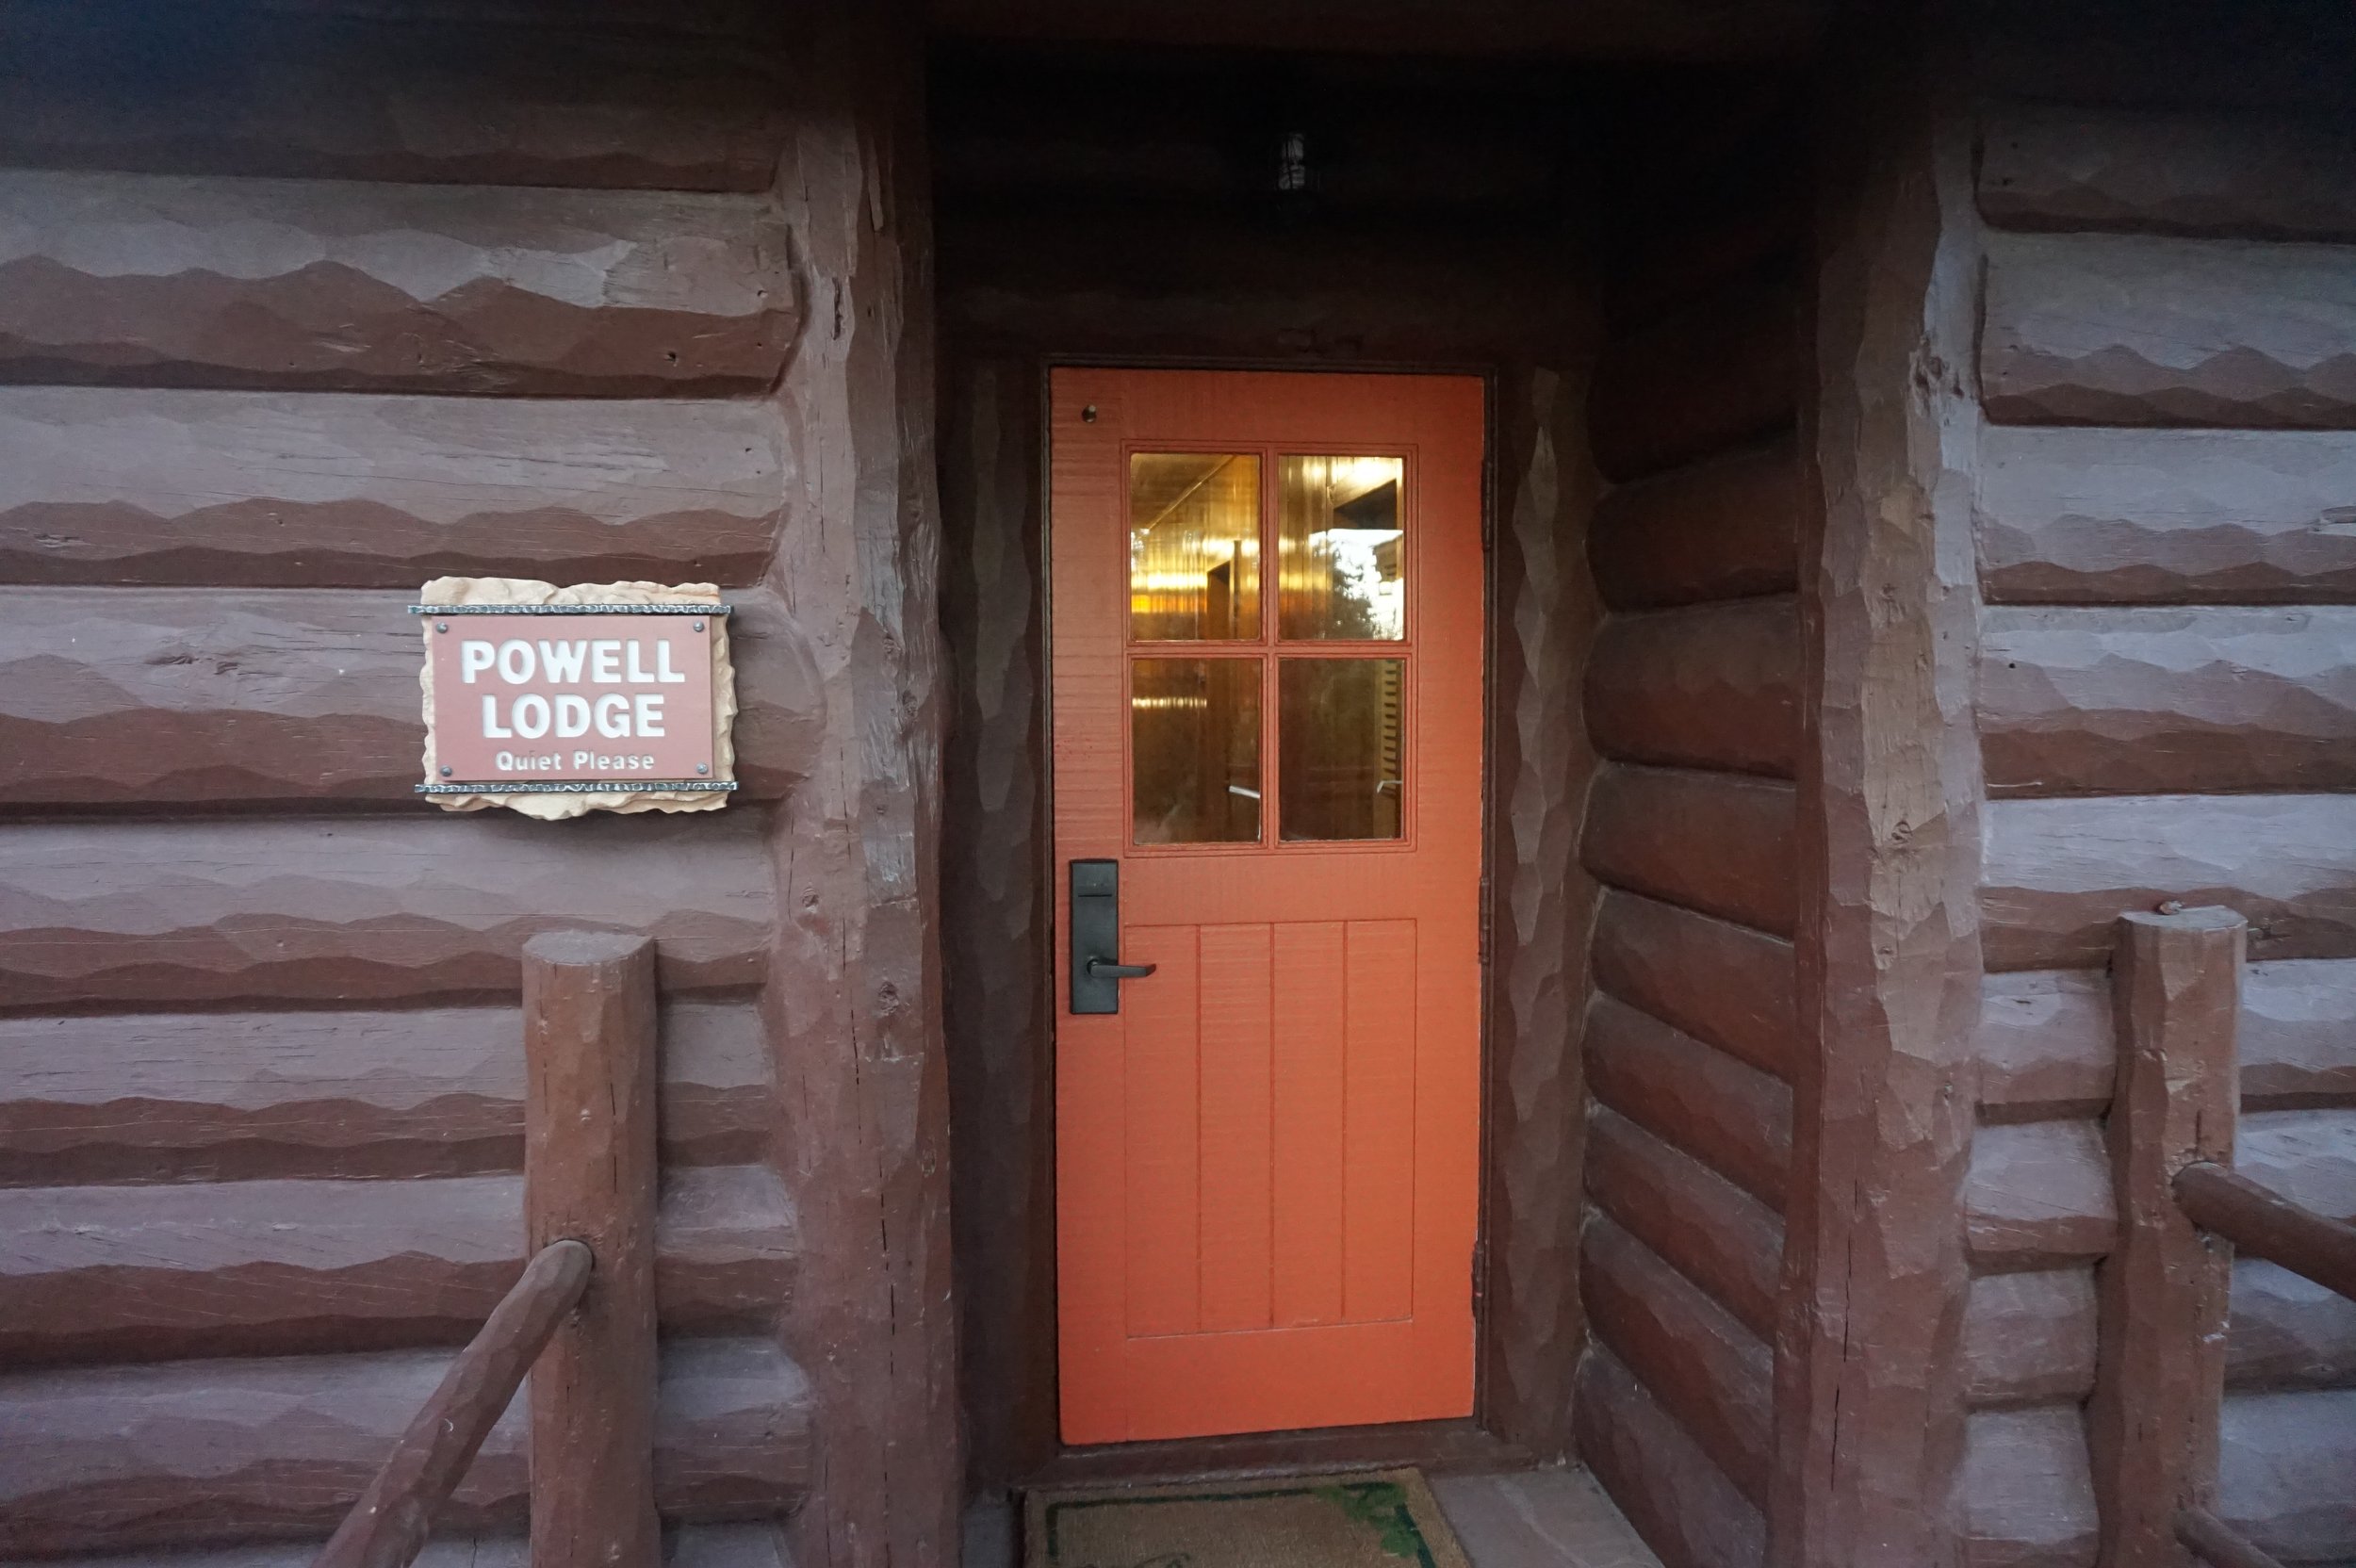
We’ve stayed at Bright Angel Lodge and El Tovar, both of which are right on the Rim Trail. This means you’ll wake up to breathtaking views of the canyon!
Day 2: South Rim Tours
Don’t miss your first sunrise at the Grand Canyon!
Yes, you’ll have to get up early, which can be painful if you’re a morning person like me.
But I promise, it’s worth the trouble of setting an alarm on vacation to sit in silence and watch the canyon slowly light up with purples, blues, reds, oranges, and yellows as the new day dawns.
Lookout Studio on the edge of the South Rim in the Grand Canyon Village
If you’re staying at any of the South Rim hotels, pick a spot along the Rim Trail. You’ll have an excellent view anywhere along it.
Grab some breakfast, then hike the Rim Trail. This 13 mile trail hugs the edge of the South Rim of the Grand Canyon. It winds past the area’s hotels before heading into less populated sections of the park.
The Rim Trail is paved and wide, making it excellent for those who’d like a scenic stroll or anyone who’d prefer to bike this section of the park. Take your time and do a mile or all 13!
Bus Tour of Grand Canyon
Spend the rest of the morning on the Desert View Tour. Grand Canyon National Park is sprawling, and it can be hard to get a sense of that on foot.
To help you orient yourself on this first full day in the park, a bus tour is a great way to help you get an overview about the park and then pinpoint areas you’d like to return to later in the week.
You’ll explore the area of the Grand Canyon between the Grand Canyon Village on the South Rim and the East Entrance near Cameron, Arizona.
Learn more about the guided bus tours of the Grand Canyon here.
Our experienced guide was personable and full of facts about the Grand Canyon views, wildlife, and history.
We made several stops during our ride along Desert View Drive, but the highlight was the Desert View outpost and Mary Colter’s Watchtower (built in 1932).
The viewpoints here are nothing short of spectacular, but viewing the vistas from the fourth floor of the Watchtower made the tour a must do!
We went early to the Watchtower since there are a limited number of free tickets to ascend the steps to the upper floors (25 people each for a 20-minute period).
The Camping Kiddos family at one of the many overlooks along Desert View Drive
Alternate self-guided tour of Desert Rim Drive
You can also do this 23 mile stretch in your rental car if you prefer that to a bus tour.
There are pros and cons to the bus tour v. a self drive, so you’ll need to weigh those when determining how to spend this portion of your time at the Grand Canyon.
If you decide to do the self-guided drive, you absolutely must purchase the Grand Canyon South Rim tour from GuideAlong, which will help you learn about the history, geology, and wildlife over your drive today.
It’s a separate tour from the Hoover Dam and Grand Canyon West tour mentioned in Day 1, but the tours are reasonably priced and packed with information.
When the tour of Desert View Drive is over, head over to the El Tovar restaurant on the South Rim for lunch.
No reservation was required for lunch, making this an easy and highly recommended choice.
The food was amazing!
My family had a selection of French Onion soup, quiche, salmon, rice, fresh vegetables, and fruit.
Afternoon Tour of Grand Canyon Village
For the afternoon, take the self-guided tour of the Grand Canyon Village.
There are occasionally free ranger talks on the history of this area, so check in the visitors center to see if that’s an option.
If not, use the NPS app to take yourself on a leisurely walk through the historic buildings along the South Rim. [Web-page based self-guided tour is available on the NPS website.]
There are several Mary Colter buildings here that everyone should visit.
If you have extra time, you might want to ride the free Blue Village Route bus.
Doing this from the Grand Canyon Village to the Grand Canyon Visitor’s Center allows you to get acclimated to the different stops you’ll need to make while at the Grand Canyon South Rim.
Day 3: Trail of Time and Ranger Talks
Trail of Time
Begin Day 3 at the Grand Canyon walking the Trail of Time.
The Trail of Time is a geologic trail that illustrates the history of the Grand Canyon. Each meter of the trail is a million years.
The signs helped me understand the canyon rock layers and the events which resulted in this unique geological feature.
For kids or visual learners, the Trail of Time is an excellent way to physically show the passing of time and each related historical or geological event at the Grand Canyon.
Junior Ranger Program
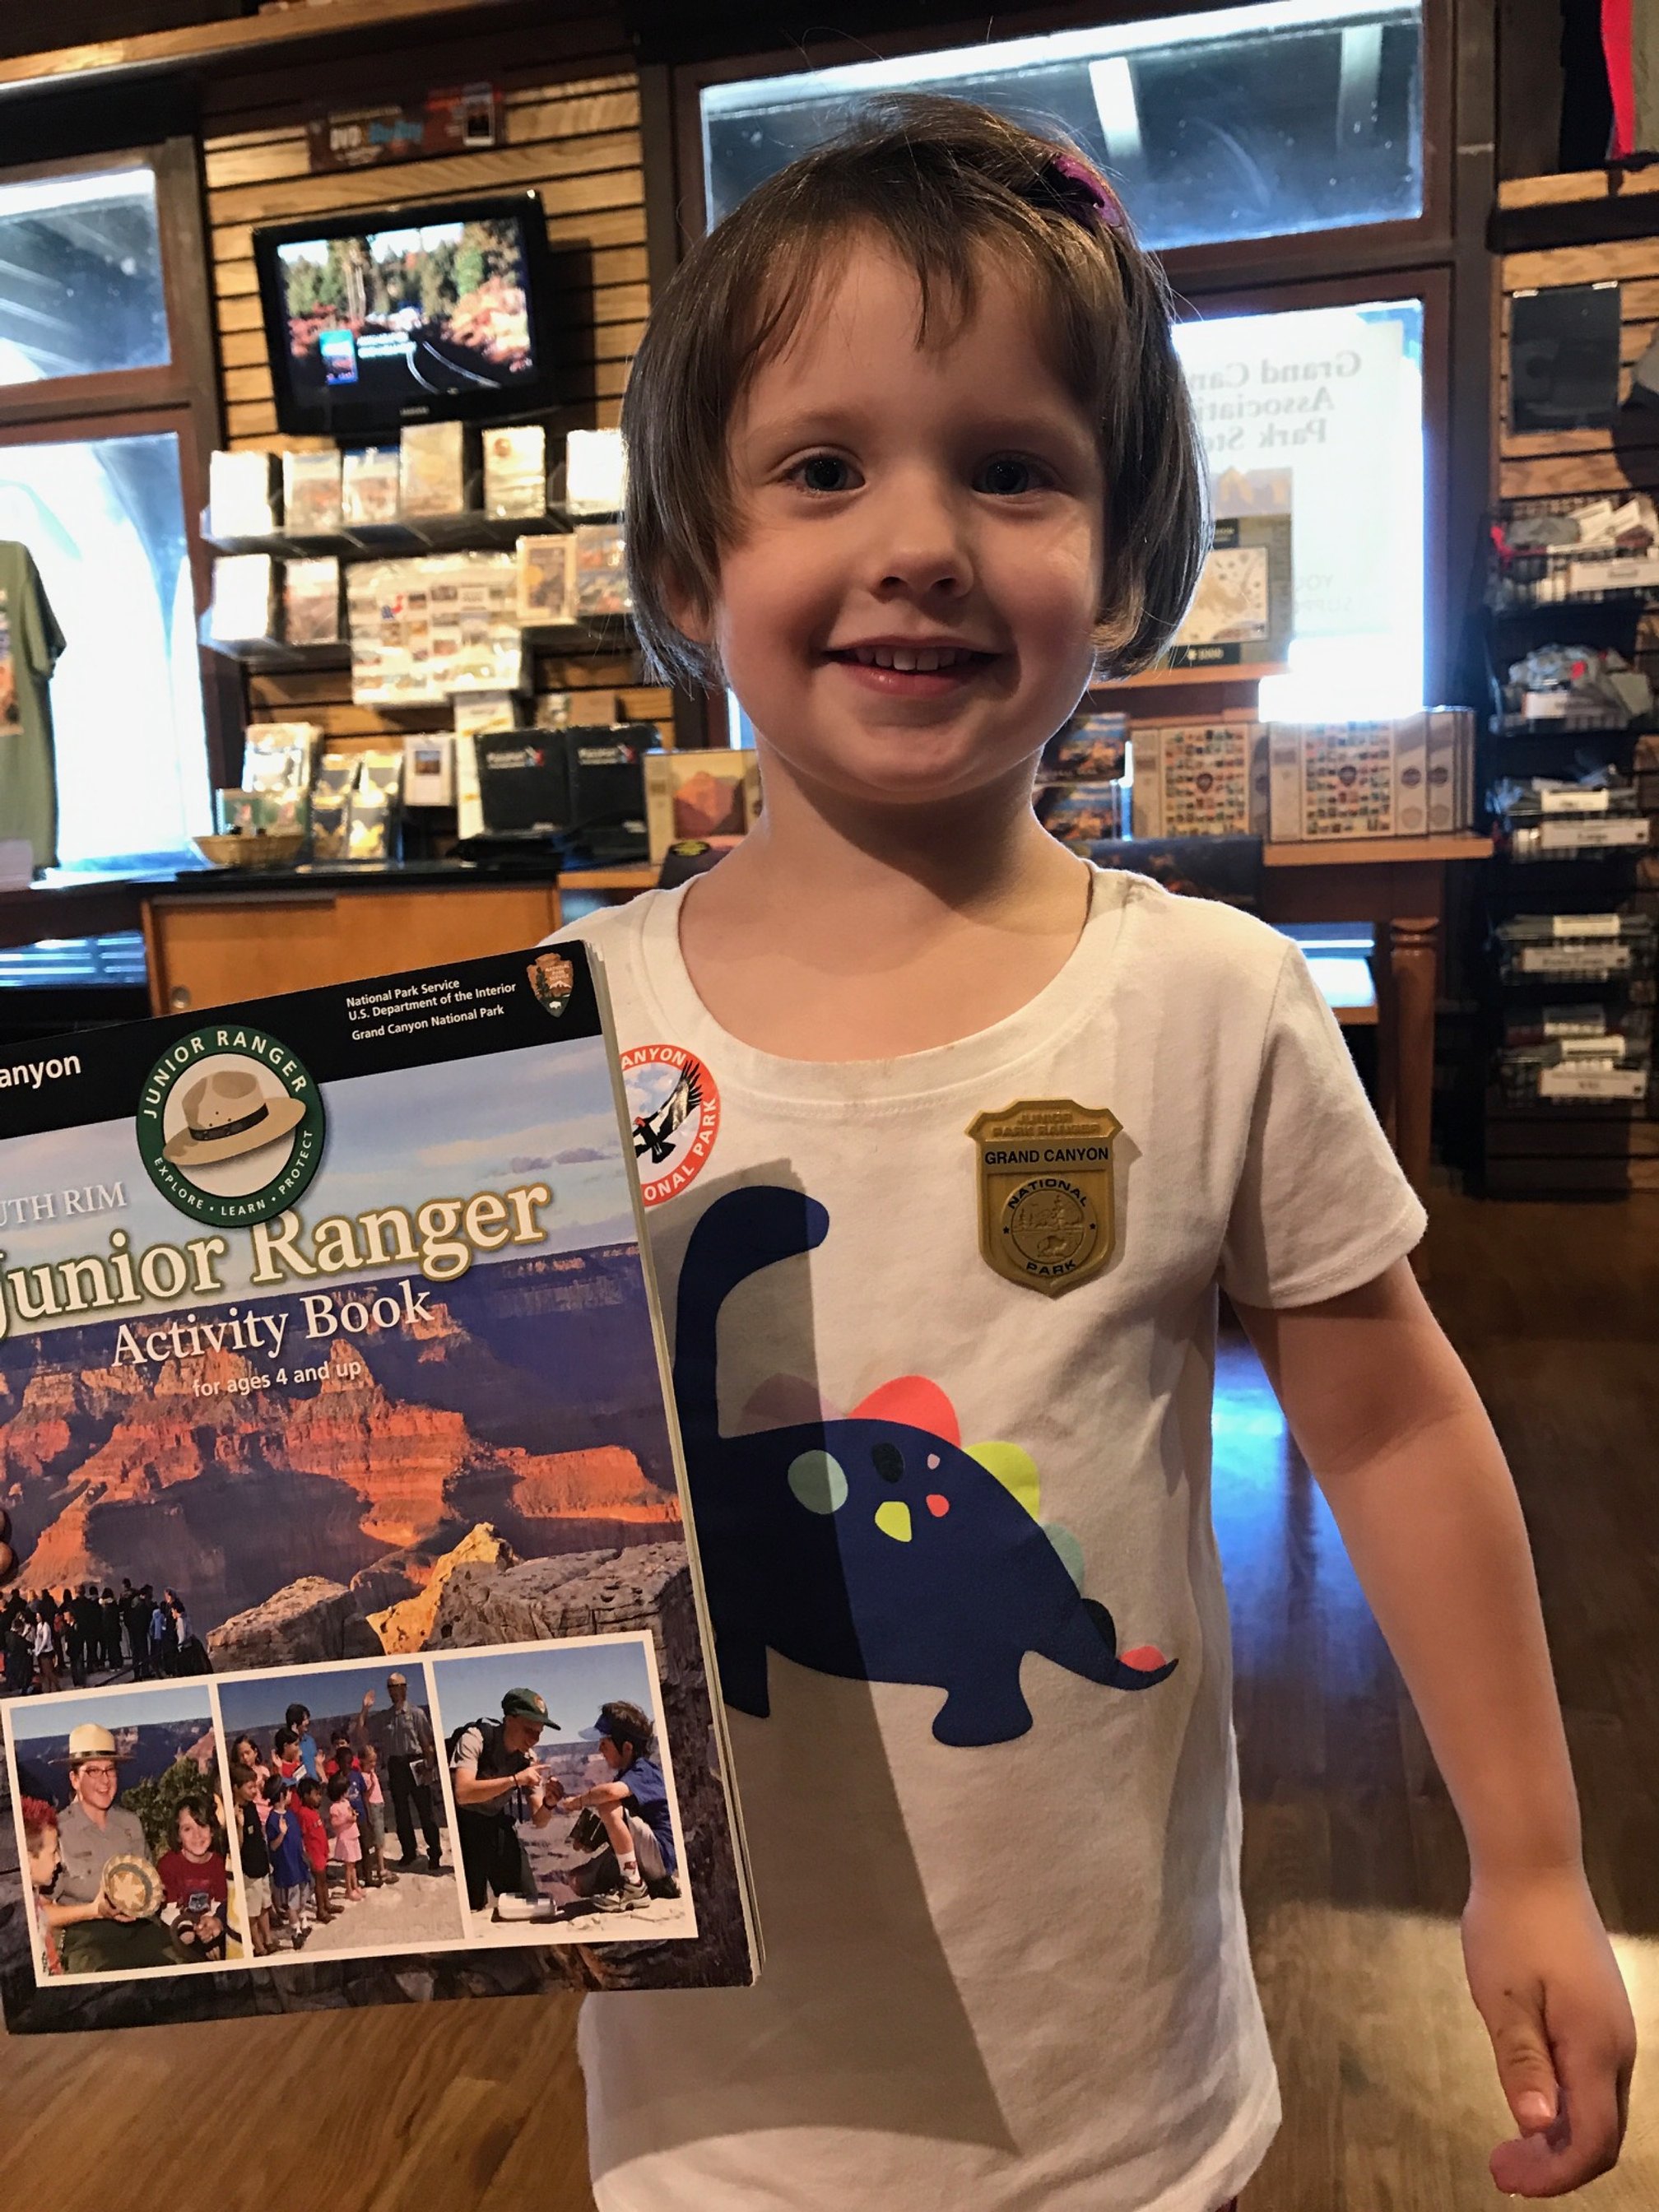
Her first completed Junior Ranger program!
Today is a great time to pick up the free Junior Ranger booklet at any of the park’s visitor centers.
This program encourages depth of learning for the kids (and kids at heart) who visit. Those attempting the Junior Ranger program will be assigned a series of pages from the booklet that are appropriate for their age group.
You’ll need to complete these pages and attend at least 1 ranger talk before taking the completed booklet back to a visitor center to get sworn in and receive your free badge.
Grabbing one of these booklets early in your trip will give you plenty of time to complete the pages and attend a ranger walk.
Learn more about family friendly activities here with my guide to visiting the Grand Canyon with kids.
Free Ranger Tours
Select a couple ranger tours to round out the rest of your day.
These tours are free for any visitors, and you don’t need to sign-up ahead of time.
Ask at the visitors center front desk about that day’s ranger walks to get the times and meeting locations. Other than that, all you have to do is show up!
We’ve taken several fascinating ranger tours during our visits to the Grand Canyon.
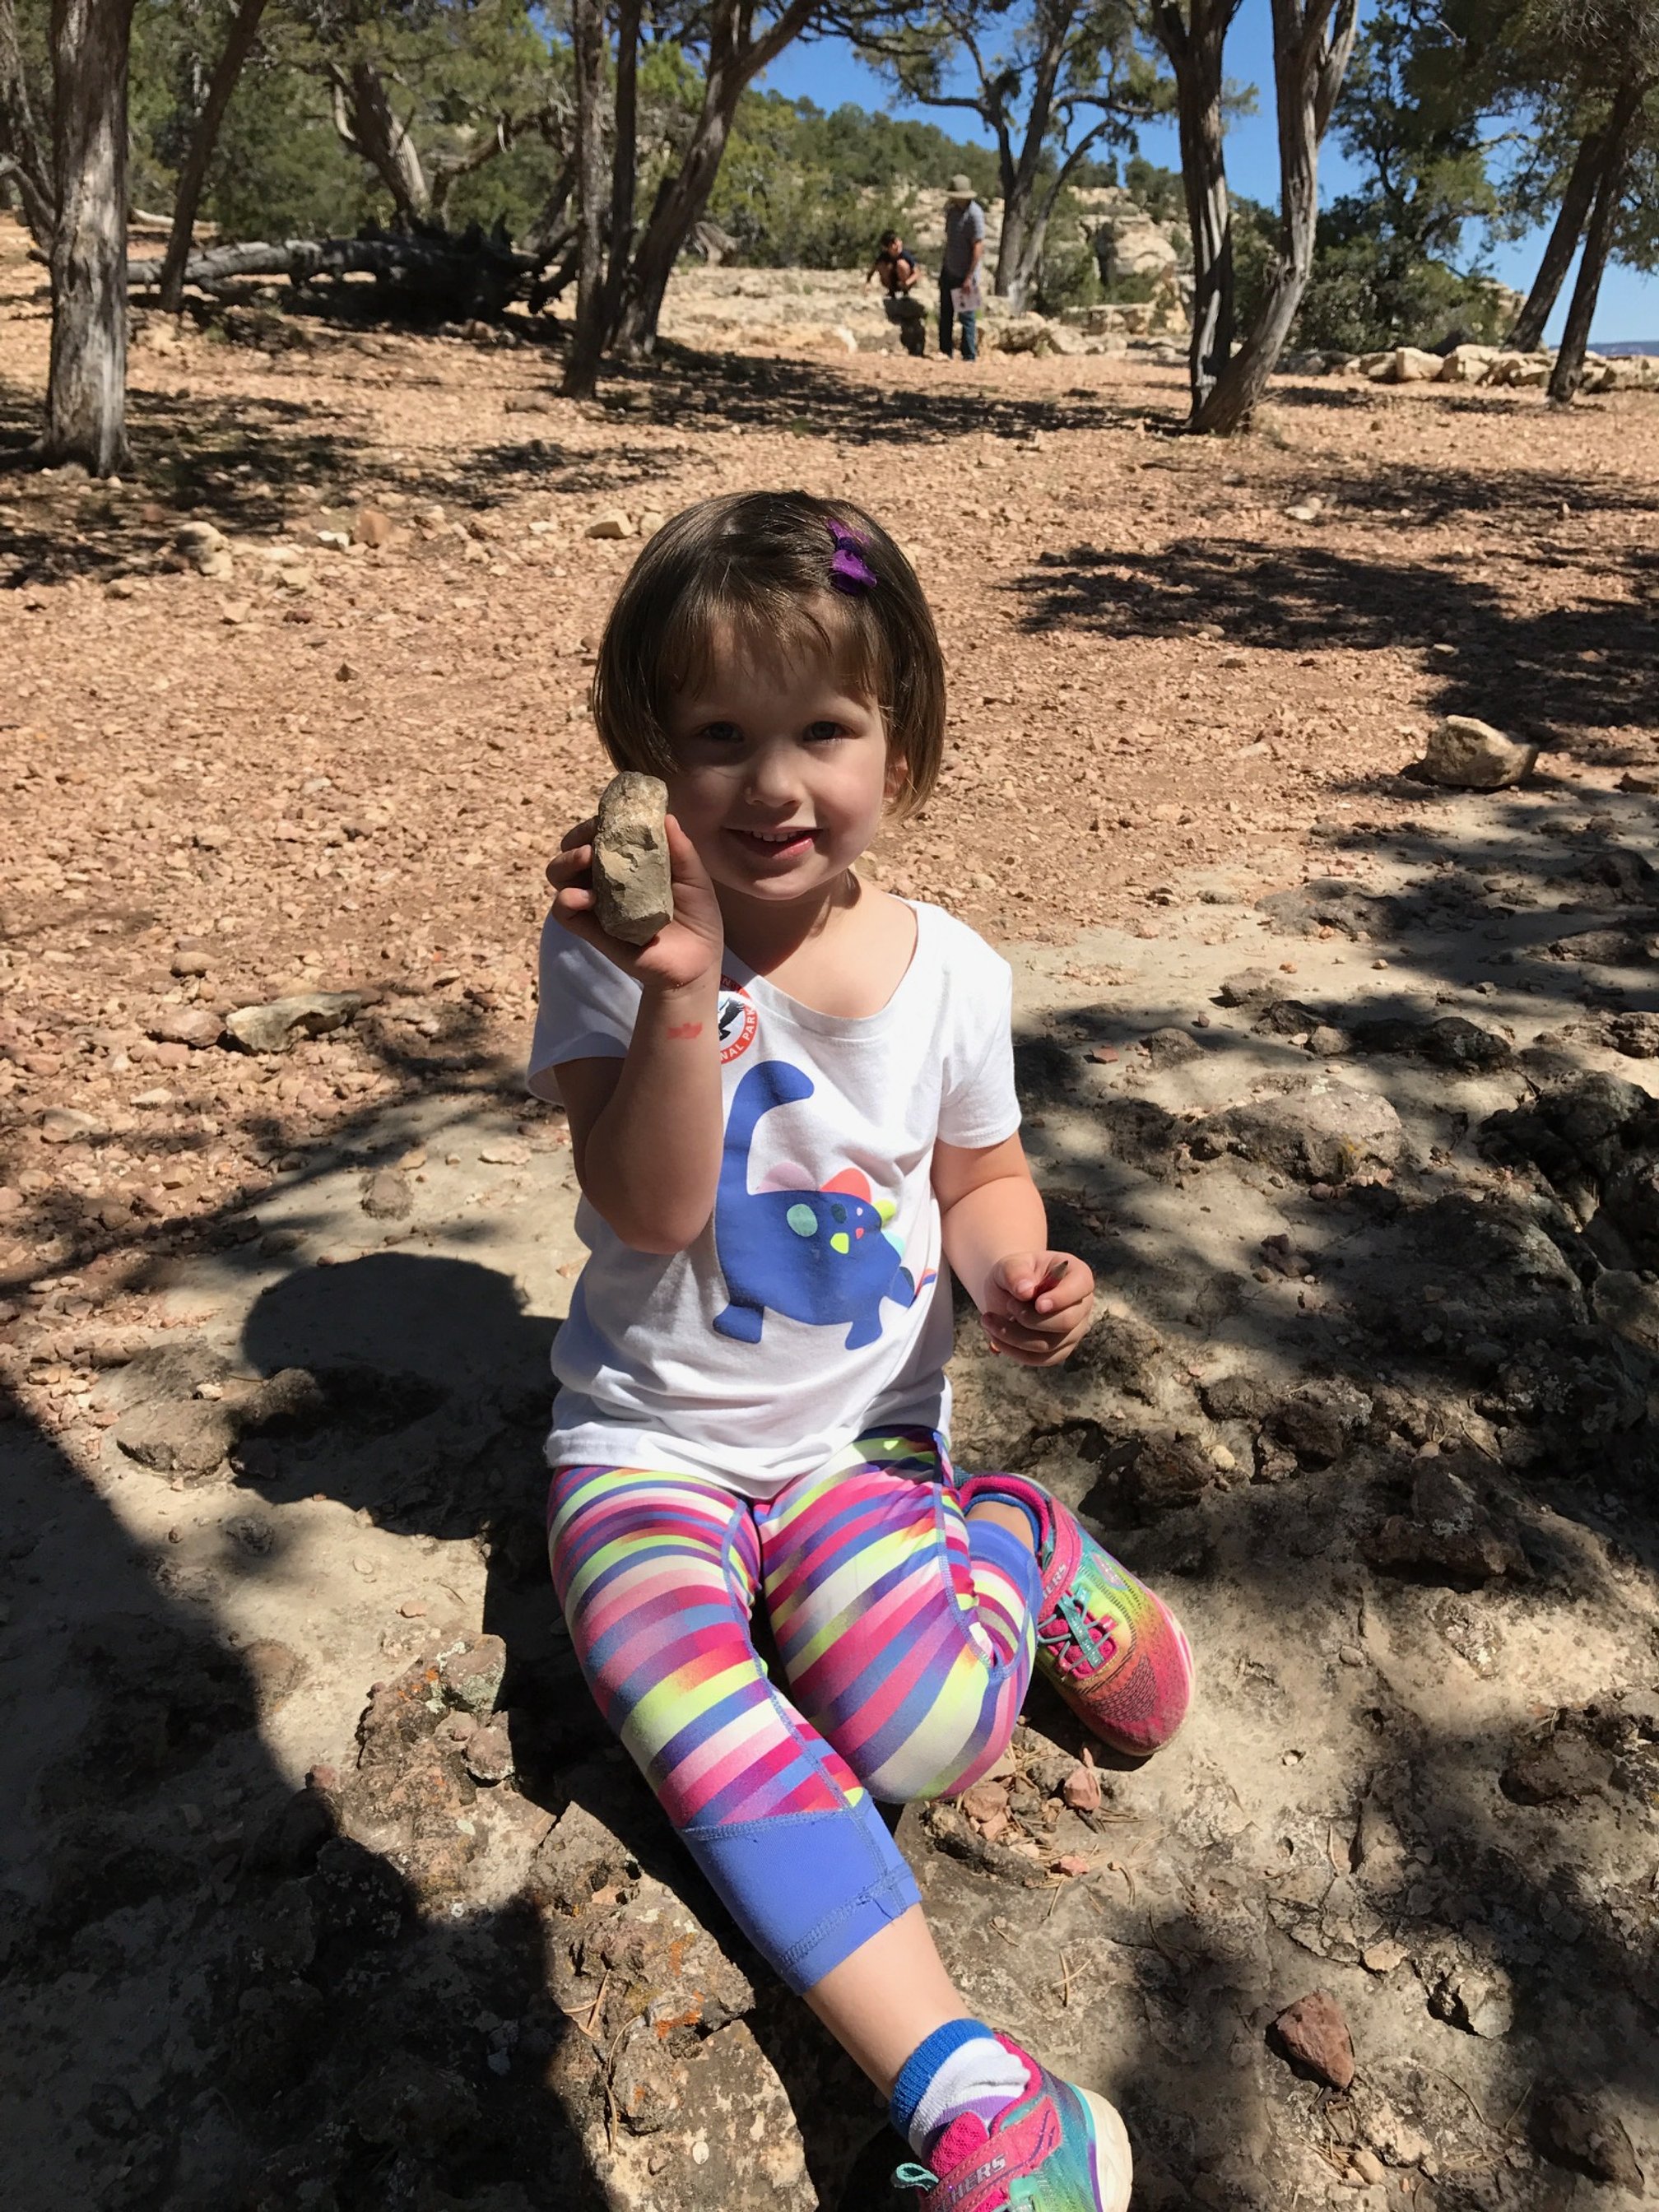
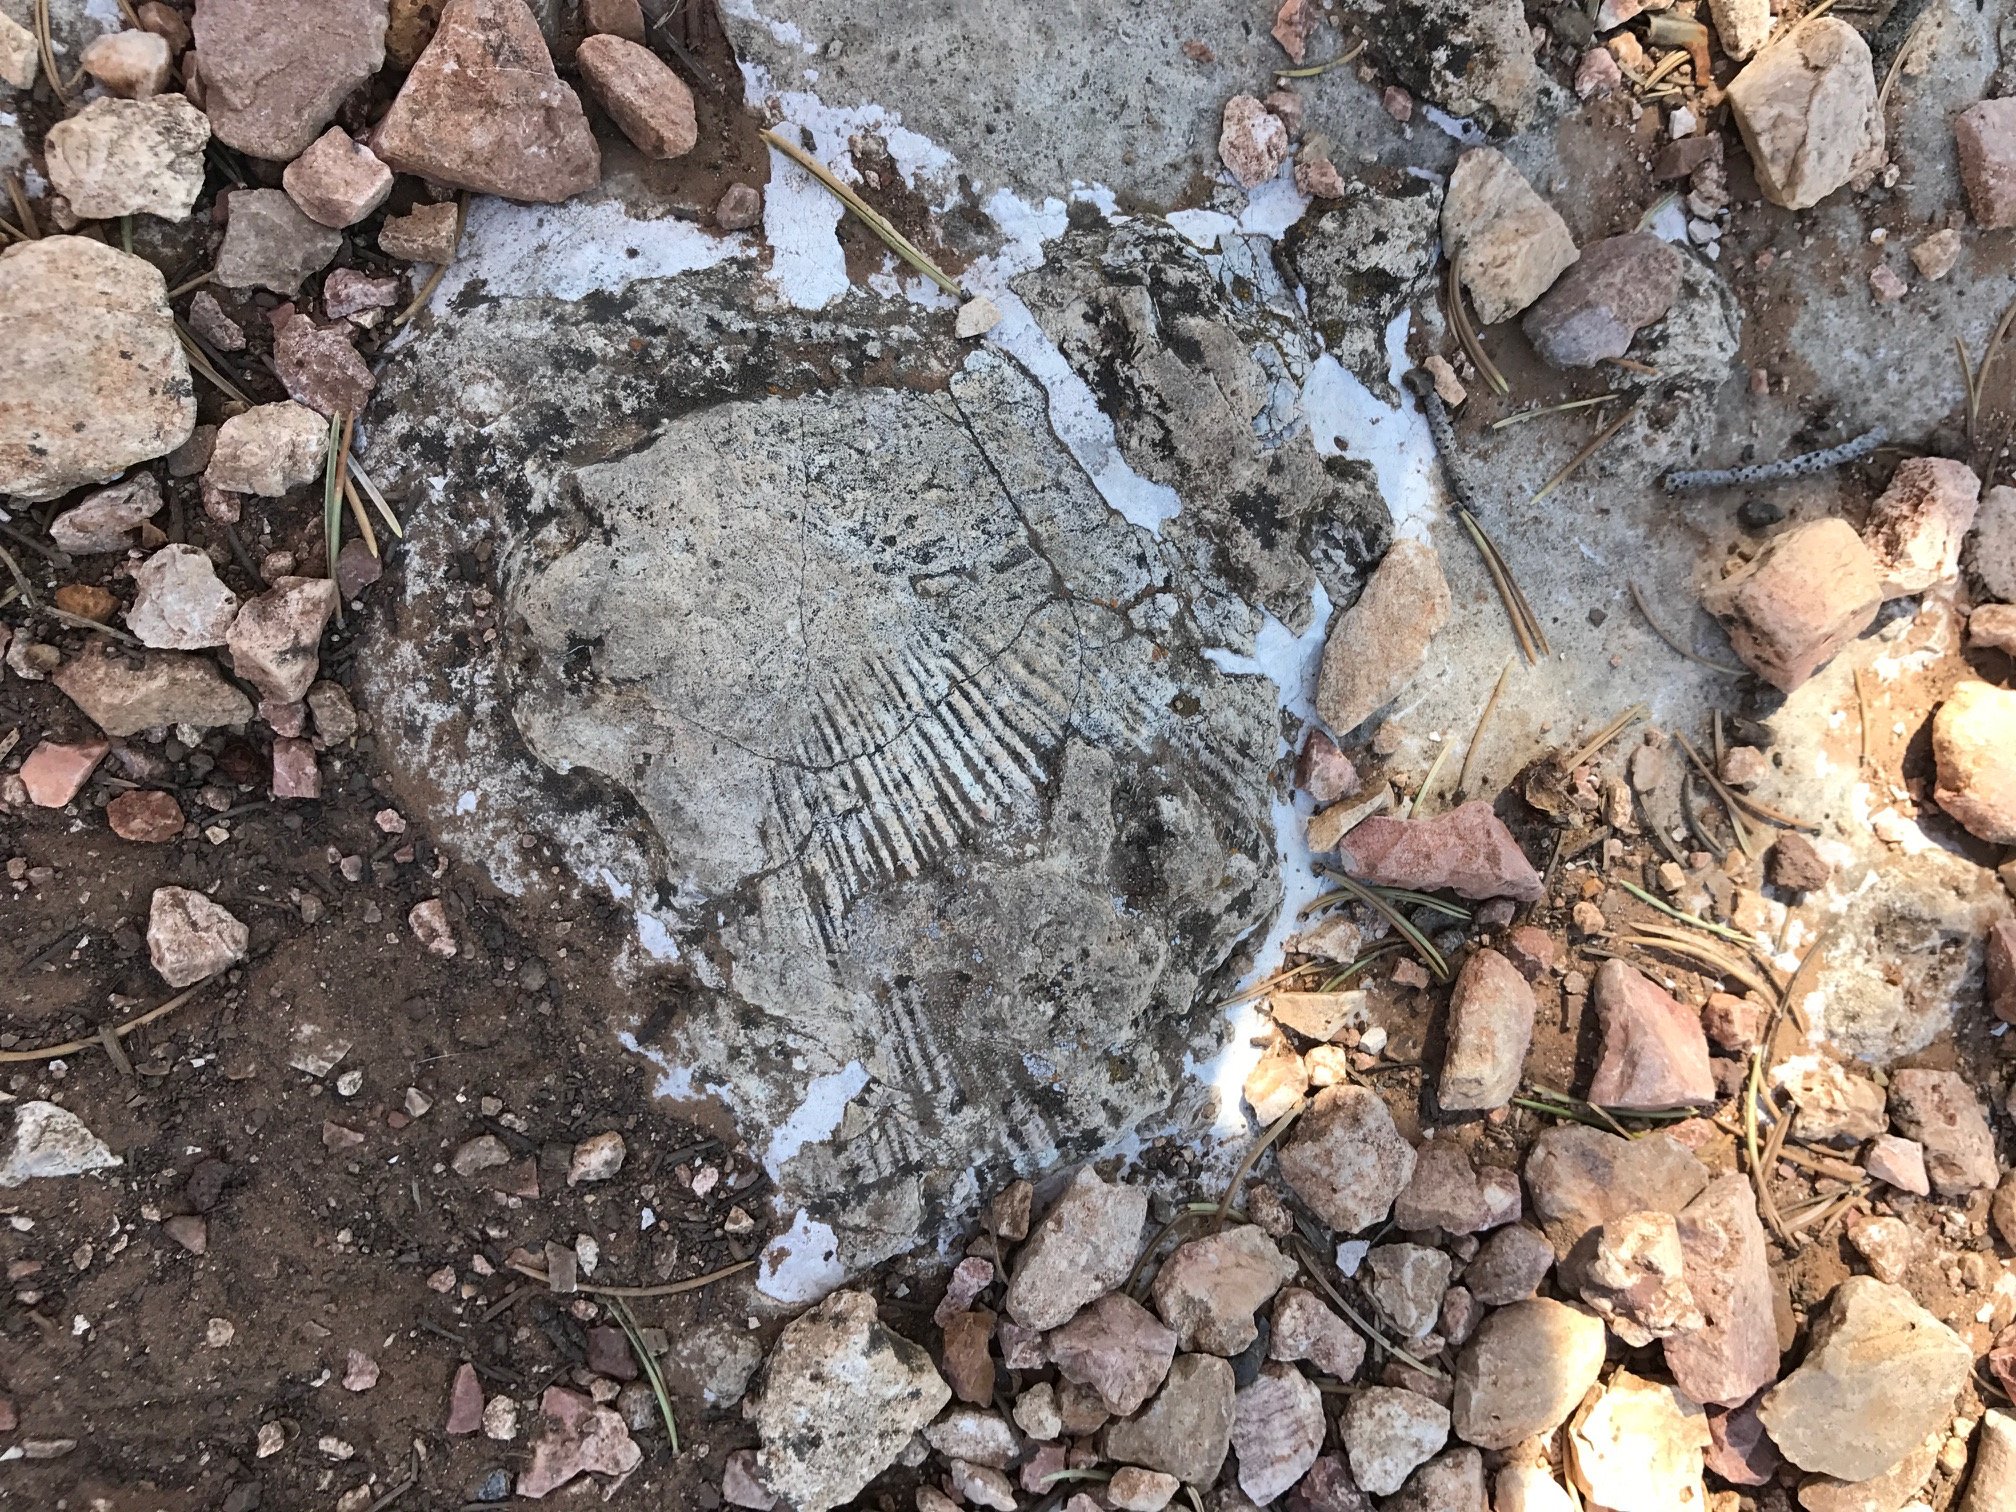
One focused on fossils that can be found here, and included an interactive walk through the fossil field on the outskirts of the Grand Canyon Village.
It was fascinating to show our kids these prehistoric fossils embedded into the rock!
Other recommended ranger tour focused on the water needed for the Grand Canyon South Rim.
This area does not have a water source, so several locations within the canyon have been used to pipe water to this highly visited national park.
Another excellent ranger talk discussed three important women who made a difference in the Grand Canyon region including:
Sunsets are incredible at the Grand Canyon!
Polly Mead, the first female Grand Canyon National Park ranger,
Georgie White, who started the first female owned and directed Colorado River rafting trip, and
Ethel Jack instrumental in arranging for the US government to give the Havasupai Indians some of their ancestral land back.
All of the rangers on these tours were articulate and well versed on their chosen subjects, and they’re an excellent source of information as you learn about the park.
After you’ve taken in some knowledge, head over to the Bright Angel Hotel and grab at seat in the cozy Harvey House Cafe, which offers up crowd favorites like quesadillas, salads, pot roast, and cheeseburgers.
In the afternoon, take in another ranger tour, or relax at your hotel room before taking in the sunset.
Day 4: Bright Angel Trail and Geology Museum
Your next day at the Grand Canyon is for hiking!
Our daughter near the Bright Angel Lodge Trailhead
My pick for a great hike is the Bright Angel Trail, which is 7.8 miles if you do the entire thing.
However, you don’t have to complete it all to get some incredible views, so I encourage you to take on whatever section of the trail you think works for your family.
Even hiking down just 1/2 a mile takes you to a viewpoint that provides a new perspective of the canyon from what you see at the rim.
No matter how much of the trail you take on, remember a few things:
The trail slopes down, so the first half of your hike is going to be much easier than the second half. Know your limits, and turn around before you are overly fatigued—you’ll still have to face that uphill climb back to the rim.
Wear proper footwear. I can’t tell you how many people we saw head down this trail in flip flops while we were visiting in late spring. This is a decision you absolutely will regret.
Take plenty of water. When the Grand Canyon heats up, you’re going to take the brunt of it on this trail. Don’t be one of the many people who are rescued each year due to overexertion or dehydration.
Protect yourself from the sun. There’s nowhere to hide from the sun on this trail. Be prepared with plenty of sunscreen, sunglasses, a hat, and a long sleeved sun shirt.
If you’re planning to do the entire trail today, pack a lunch and plenty of snacks.
If you’re only doing a portion of the trail, plan to eat at the Fred Harvey Tavern at the trailhead to the Bright Angel Trail.
There’s a small but tempting menu here with crowd favorites like chicken, burgers, and salads. The mashed potatoes are particularly delicious.
After you’ve filled up on lunch, head outside to catch the Blue Village Route bus. Take this to the visitors center bus terminal, and then transfer to the Orange Kaibab/Rim Route bus.
On the Orange Rim Route, you’re disembarking at the Yavapi Geology Museum where we’re spending the afternoon.
The views of the canyon from inside the museum are beautiful, plus the exhibits are well done.
For additional information on the geology of the Grand Canyon, there’s a ranger talk offered daily about the various layers of rock that are found here. (Ask at the front desk for the times during your visit.)
Make your way back to the Grand Canyon Village when you’re through exploring the geology museum.
If you’re up for a short hike, you can head down Hermit’s Rest Trail to see Hermit’s Rest Trailhead, where you’ll find a Mary Colter building serving as the gift shop.
Linger to enjoy the South Rim views here or browse for a souvenir.
I recommend a late afternoon snack while you’re here. The hot cocoa is the perfect addition to a chilly winter day at the canyon, while the indulgent ice cream is a must-have during the warmer months.
Day 5: Mule Ride into the Canyon
If you had to pick a single bucket list item within the Grand Canyon, it’s a mule ride on the Rim Trail!
This activity was something that my mom had wanted to do for years, so I was so happy when she was able to make that dream come true.
As a side note, consider this tour even if you’re not a big fan of mules or heights. The mules are gentle and sure-footed, and they know exactly where to step to keep themselves (and you!) safe.
I recommend an early morning mule tour, so prepare for the shuttle bus to pick you and the rest of your group of 20 up around 9:30 AM at the Bright Angel Lodge.
You’ll head to the mule stables where you’ll attend an orientation about mules, their temperments, and how to control them. You’ll also get an overview of the two hour ride.
My mom and dad on their mules, Reno, and Saso!
My mom and dad were assigned mules Reno and Saso, who were well trained and generally nonplussed by the entire affair.
By going early in the morning, you’ll be able to enjoy cooler temperatures (and maybe even a breeze)!
Our experienced guide was Tiffany who had a lot of patience with her greenhorn riders.
Along the way, Tiffany pointed out historical and geological elements throughout the canyon. While you’re exposed to some of this information elsewhere in the park, it’s something else entirely to see it while riding a mule around.
Keep your eyes open throughout the ride as you never know what you’ll see. At the end of our tour, our guide pointed out several elk near the barn.
The elk have learned that there is alfalfa in the feed truck in the yard. When the back door to the truck is opened and the first load is taken from the truck, the elk scamper up into the back of the truck for a free meal.
We all thought this was quite a smart idea for the elk to learn by themselves. After all, who doesn’t love a good snack?
In order to stick to this itinerary, you’ll want to finish up at the Grand Canyon by around 1 PM.
From there, we’re headed over to Williams, it’s about an hour and 20 minute drive.
Settle into your hotel in Williams. We suggest the reasonably priced and well located Hampton Inn Williams.
If you have any more time before bed, you should check out the small but kitschy Pete’s Route 66 Gas Station Museum on Route 66 in the heart of Williams.
Day 6: Williams, Arizona
Williams, Arizona, faced an uncertain future when traffic patterns shifted from the 2-lane Route 66 to the wider, faster I-40 in the 1960s and 170s.
But, much like other towns on Route 66—including the quirky Winslow, Arizona—Williams has worked hard to stay relevant. Today, you’ll get a healthy dose of nostalgia alongside plenty of fun activities.
This is where the Grand Canyon Railroad leaves, but, since we’ve just spent a week at the national park, we’ll leave that experience for another trip.
Bearizona
Instead, we’re heading to the eastern end of Williams to the Bearizona experience.
At this unique animal sanctuary, you’ll have the opportunity to do both the drive-through section and the walk-through section.
The drive-through section allows you to cruise through multiple animal habitants in your own, stopping by to see black bear, bighorn sheep, wolves, bison and more.
The walk-through section is more like a traditional zoo, where you’ll visit enclosures of beavers, raccoons, bobcats, and others.
Stop by Goldie’s Route 66 Diner for lunch. You’ll be treated to breakfast all day, juicy burgers, and other standard diner fare. There’s also plenty of vintage decor from the 1950s and 60s to keep you occupied while you’re waiting for your food.
If you’re looking for a thrill in the afternoon, try out the Route 66 Zipline, which takes you on a scenic tour of the Mother Road.
The Canyon Coaster Adventure Park is another great option for families, where you can scoot down a mile long track in your own alpine-style coaster car.
Day 7: Return to Las Vegas
On the last day of your trip, we’re heading from Williams, Arizona, back to Las Vegas, Nevada.
Plan for this trip to take about 3 hours and 15 minutes if you don’t stop along the way (but you’ll probably want to).
Along this highway, you’ll find several overlooks, and I encourage you to stop whenever one strikes your fancy.
This road trip is one where the topography changes constantly, and you’ll notice that this stretch of Highway 93 looks quite different than what you just left along Route 66.
The Crane’s Nest Wash Overpass is well marked with an easy, paved access point. It will be on your left about 5 miles south of the Hoover Dam.
Another great place to stop is the trailhead for the Spooky Canyon hike. This is an easy, flat trail that takes you into a slot canyon.
The Camping Kiddos family in Las Vegas!
Once you’ve arrived in Las Vegas, you’ll want to spend the afternoon exploring the Strip.
Las Vegas isn’t everyone’s cup of tea, but it’s worth seeing the Bellagio fountains and poking about into the casinos at least once in your lifetime.
Don’t forget to get a picture at the famous Welcome to Las Vegas sign!
It’s free to take your photo here, but you can always tip one of the many people waiting around to take pictures for visitors if you’d like one of your entire family.
If you’re looking for something a bit different to try this afternoon, I’d suggest going to Meow Wolf’s Las Vegas location, Omega Mart.
Each of the Meow Wolf locations is a strange and thought provoking blend of art project, museum, interactive story, and social commentary.
It’s something you have to experience to truly understand!
Ways to Extend Your Grand Canyon and Las Vegas Trip
There’s so much to do in this area that you could easily spend 2 or 3 weeks exploring.
If you have a day or two of flexible time in your trip, here are some ideas on how to expand your experience:
1) Leave the Grand Canyon and head to Page, Arizona, before turning back towards Las Vegas. In this alternate itinerary, you’d skip the Williams leg and head north from the Grand Canyon.
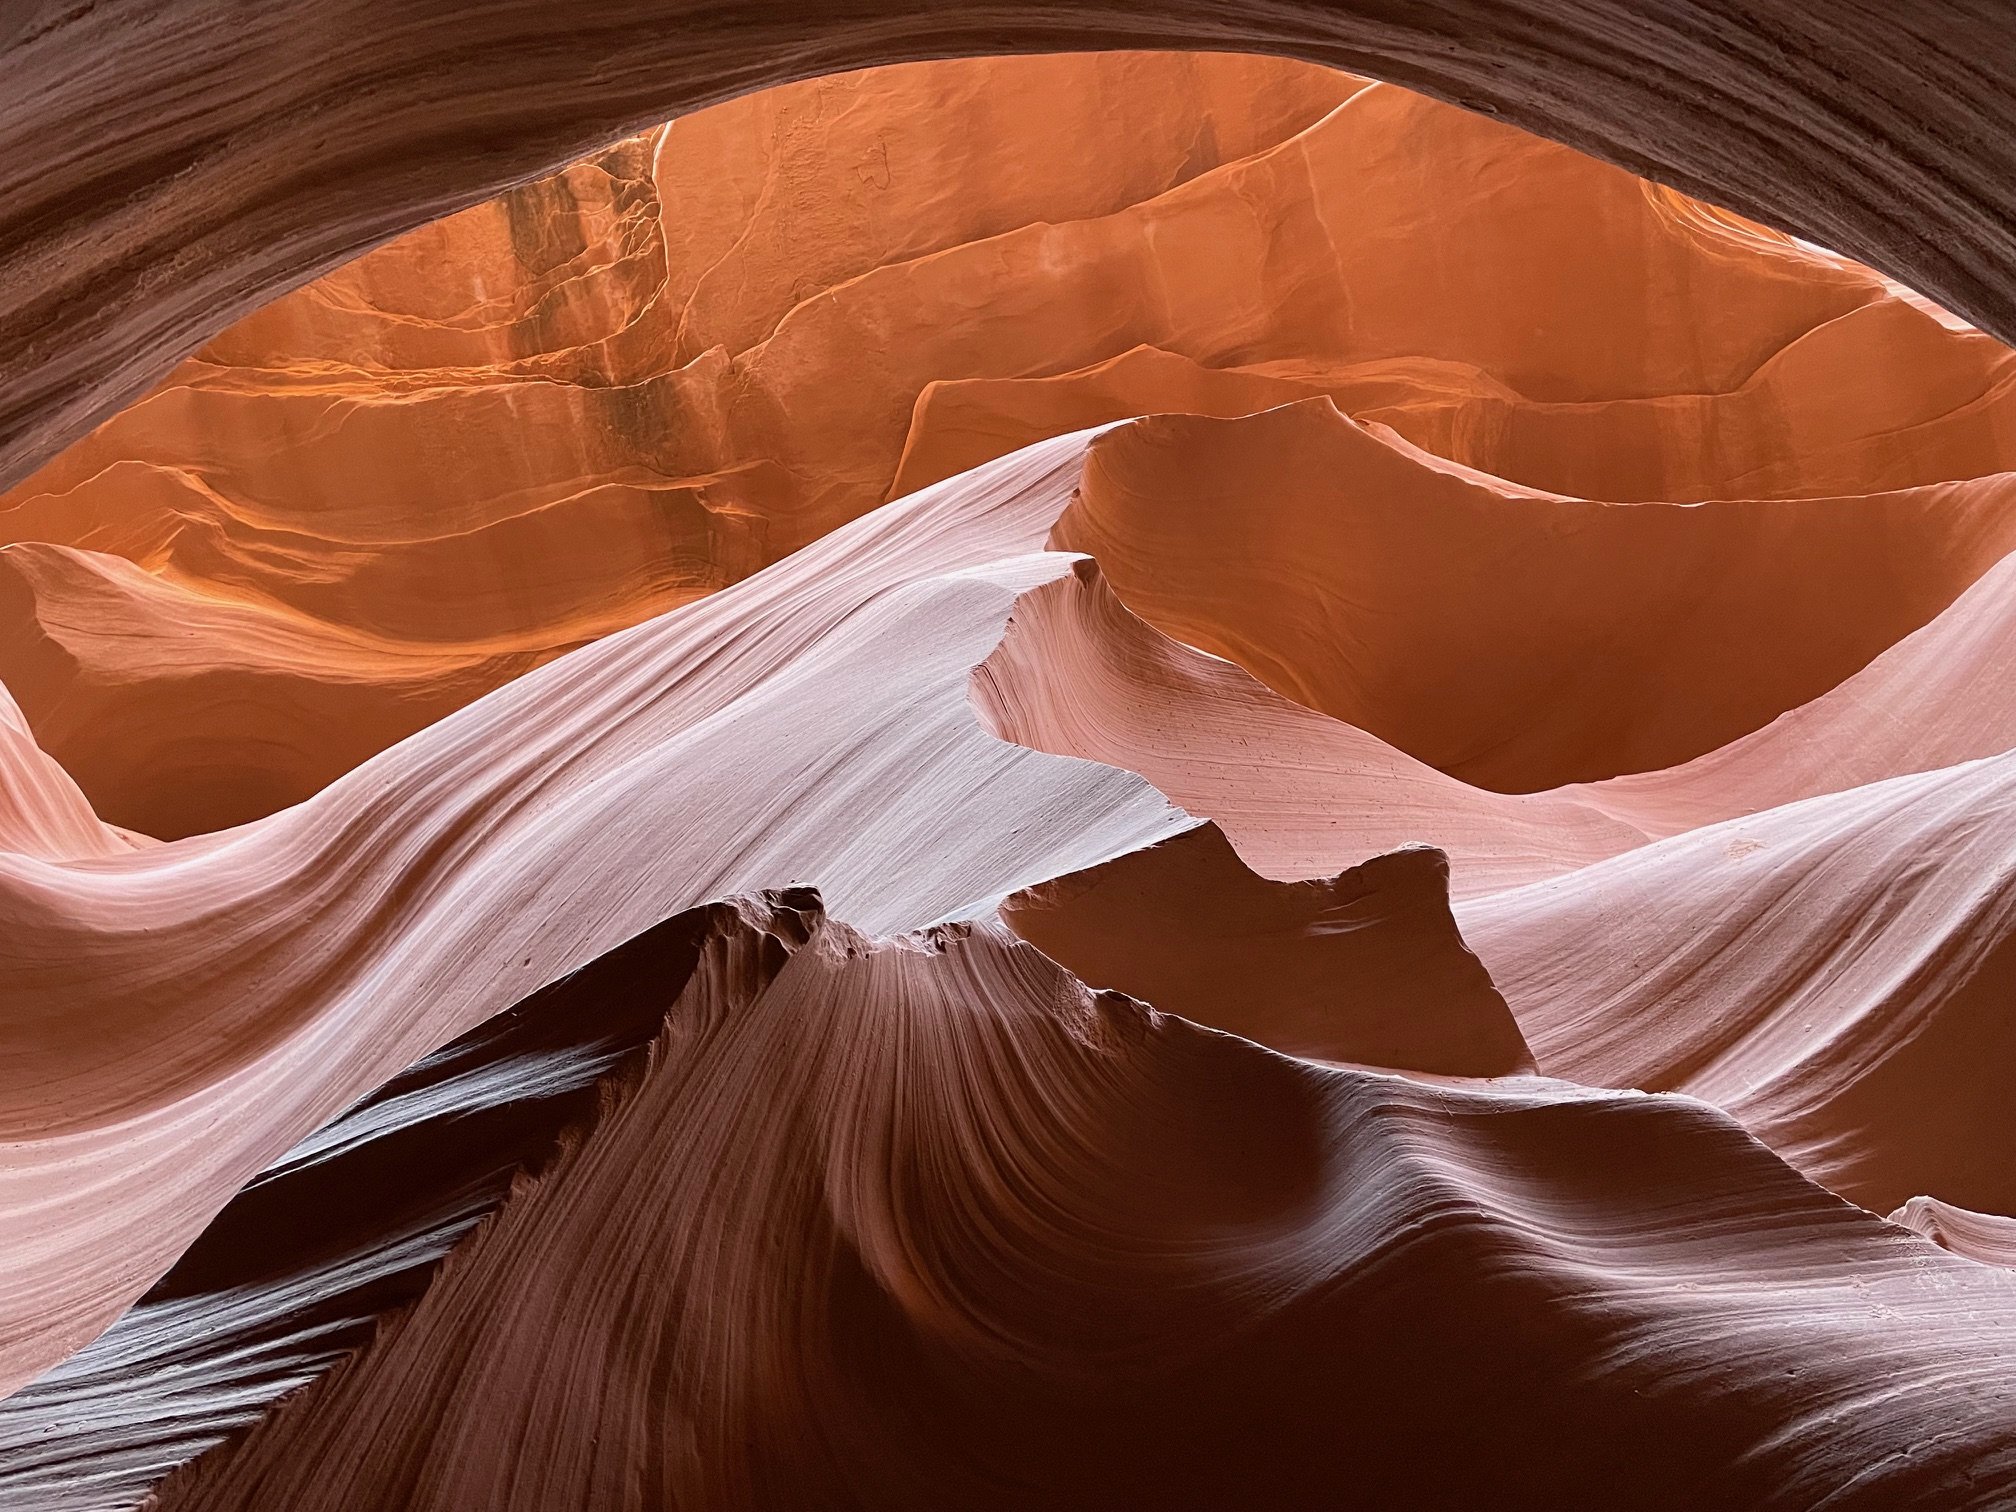
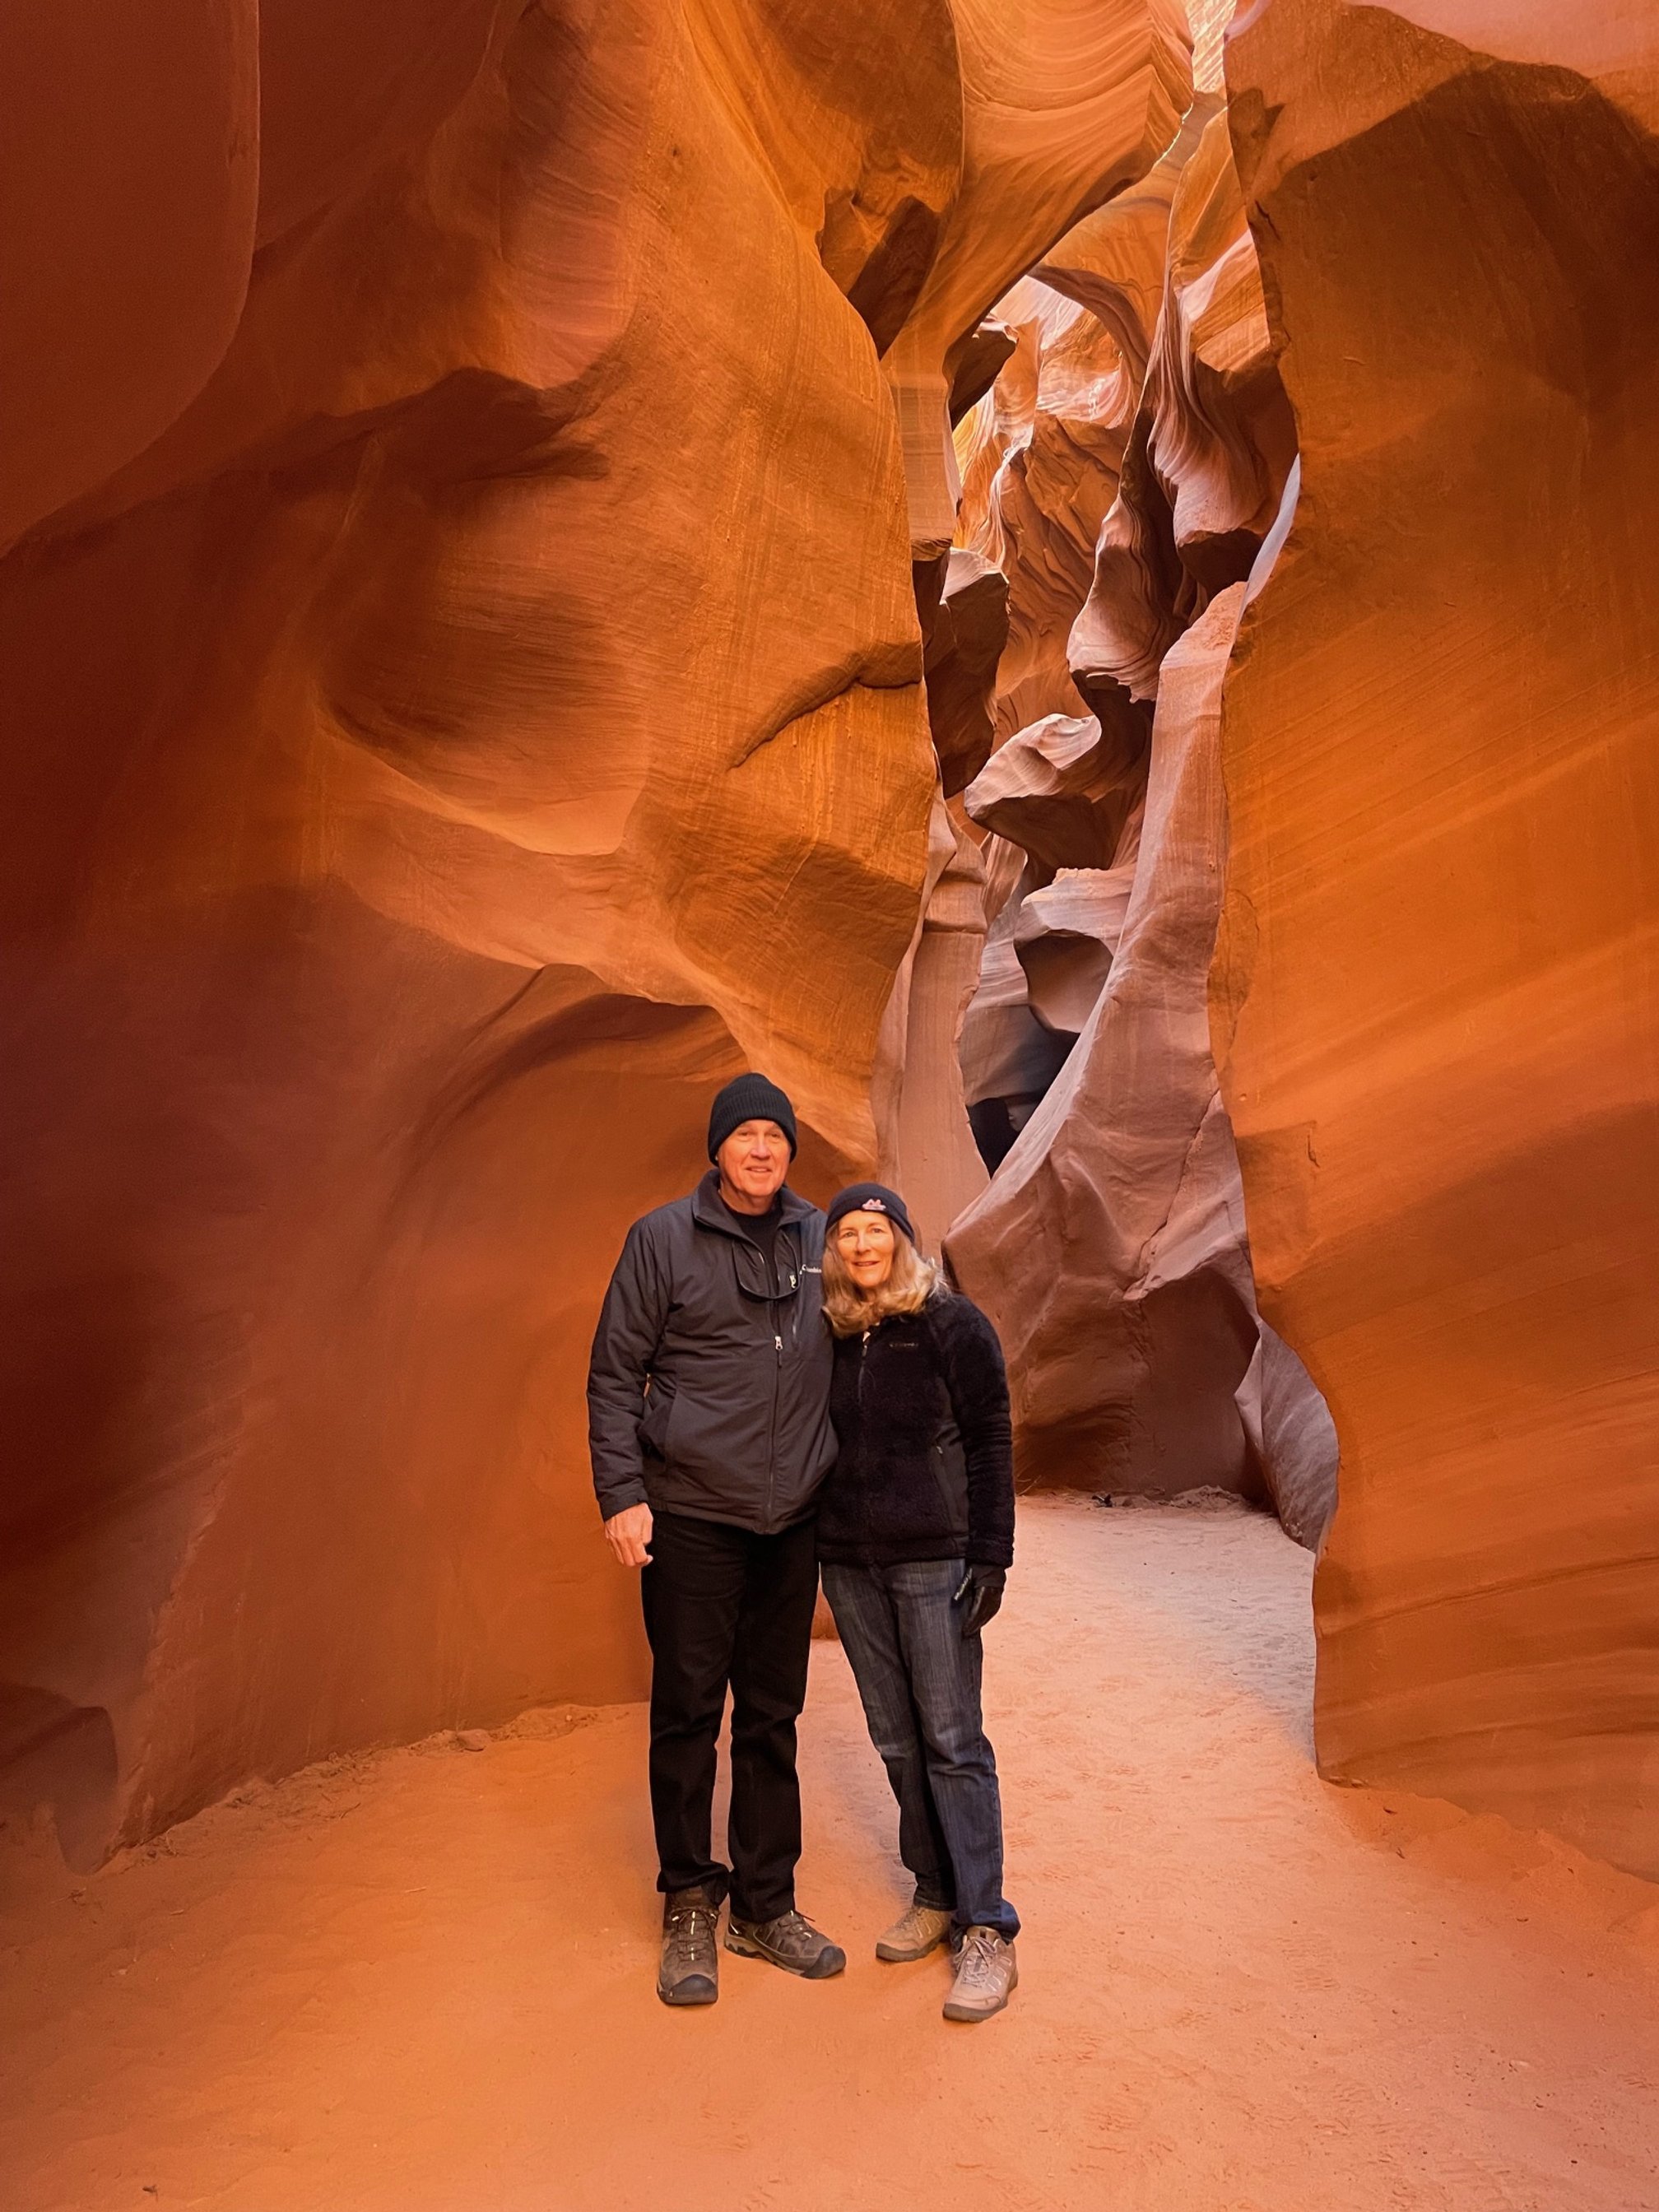
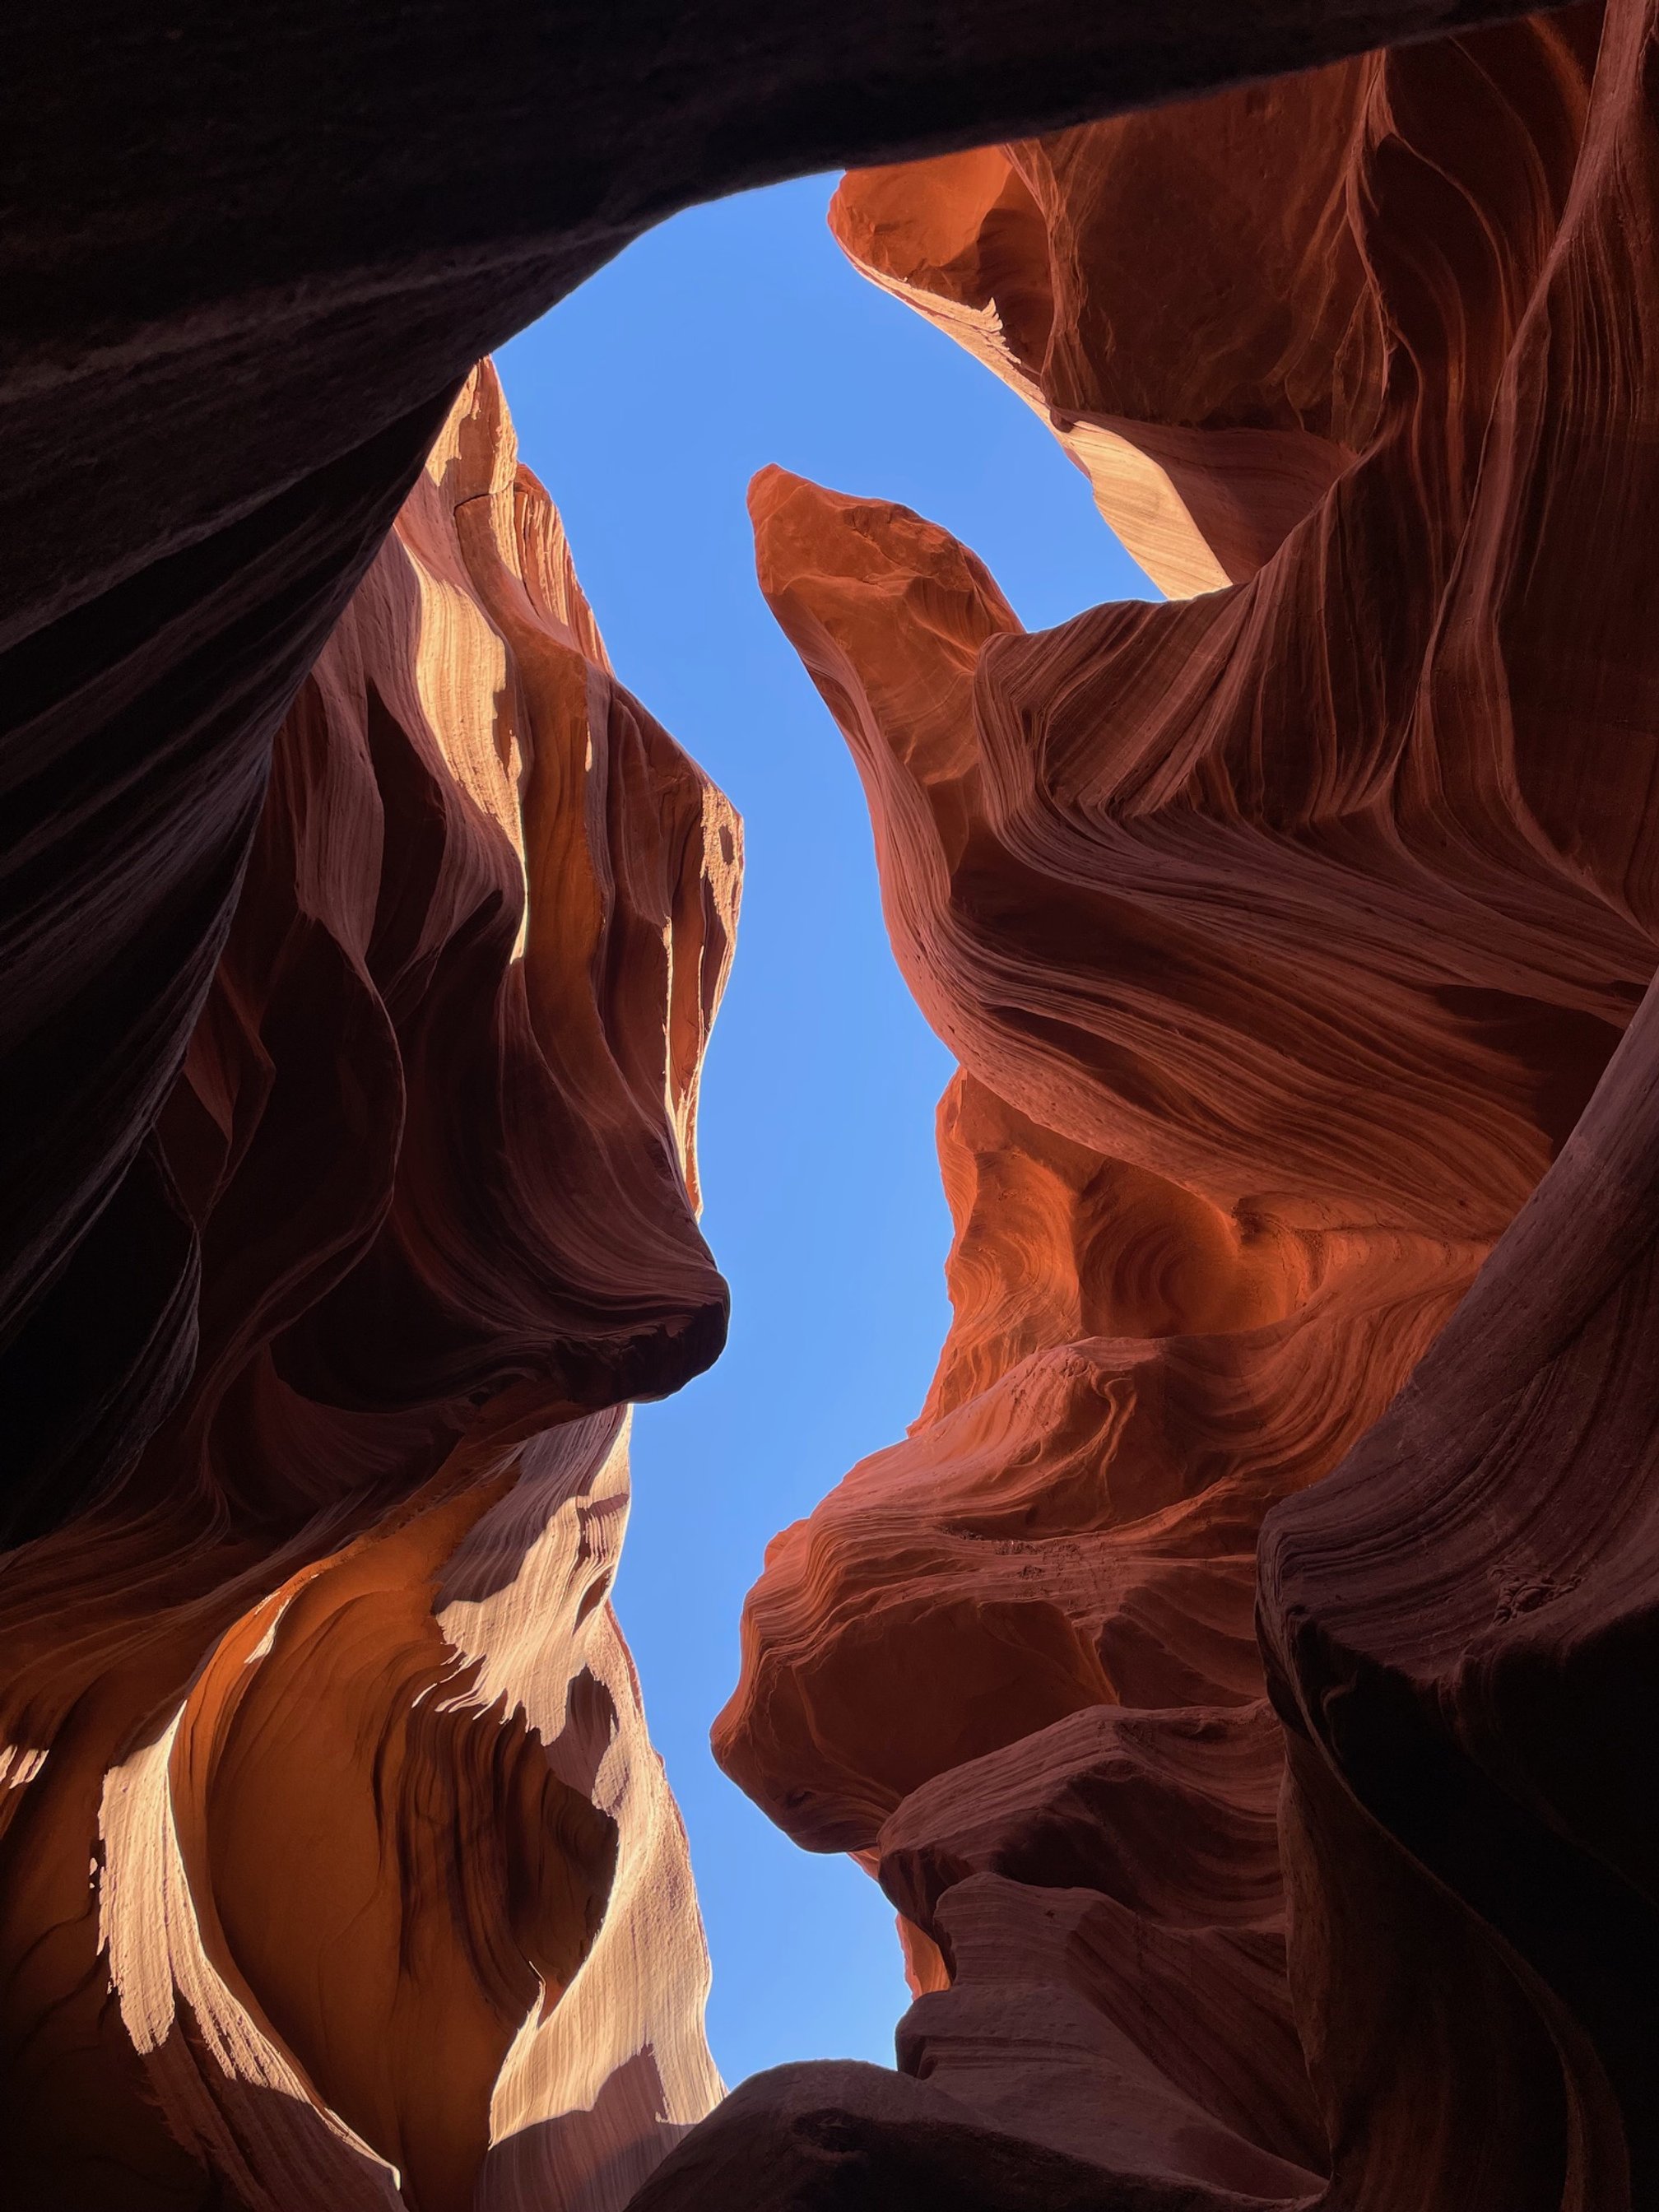
In Page, you’ll be able to visit the incredible Antelope Canyon via tour with a Navajo guide. Unforgettable and well worth the detour. You’ll then return to Las Vegas via St. George, Utah for a drive time of 4 hours and 22 minutes.
2) After Williams, Arizona, add on another stop at the West Rim of the Grand Canyon on your way to Las Vegas. Here, you’ll be able to see the intimidating but unique Skywalk, a glass bridge that takes you directly over the canyon. From the West Rim, you’d then head back to Las Vegas to finish your trip: this route from the Skywalk to Las Vegas is 2 hours and 28 minutes.
3) Head to Monument Valley. From the east entrance of the Grand Canyon, the Monument Valley Tribal Park is about 3.5 hour away. This incredible stretch of the Navajo Nation is well worth the effort of getting here, and you can also explore nearby Mexican Hat, UT, and Goosenecks State Park. This detour would take you at least 2 additional days to fully appreciate. [See my guide to exploring Monument Valley with kids for more recommendations.]
4) Add in another day or two in Las Vegas to catch a show, visit Red Rock Canyon National Conservation Area, or explore Lake Las Vegas. There’s so much to do and see around Las Vegas!
5) Add on a second national park by going to Zion National Park in Utah, which is about 2 hours northwest of the Grand Canyon. Check out my guide to visiting Zion National Park with kids for more information!
