Utah Mighty Five National Parks with Kids: Itinerary and Guide
Visiting Utah’s Mighty 5 national parks with your kids is a once-in-a-lifetime experience for the entire family.
On this trip, you’ll wander across Utah, exploring vast canyons, stone arches, natural bridges, historic farms, incredible hiking trails, and scenic drives.
My family and I had the chance to complete this incredible trip recently, and I promise that it’s a road trip that every family should do together at least once.
Below, you’ll find everything you need to know about touring all 5 of Utah’s national parks with your kids, including easy hiking suggestions, the best places to camp along the way, and side trips from each park. I’ve also included important tips for the road trip as a whole, including RV-friendly driving suggestions.
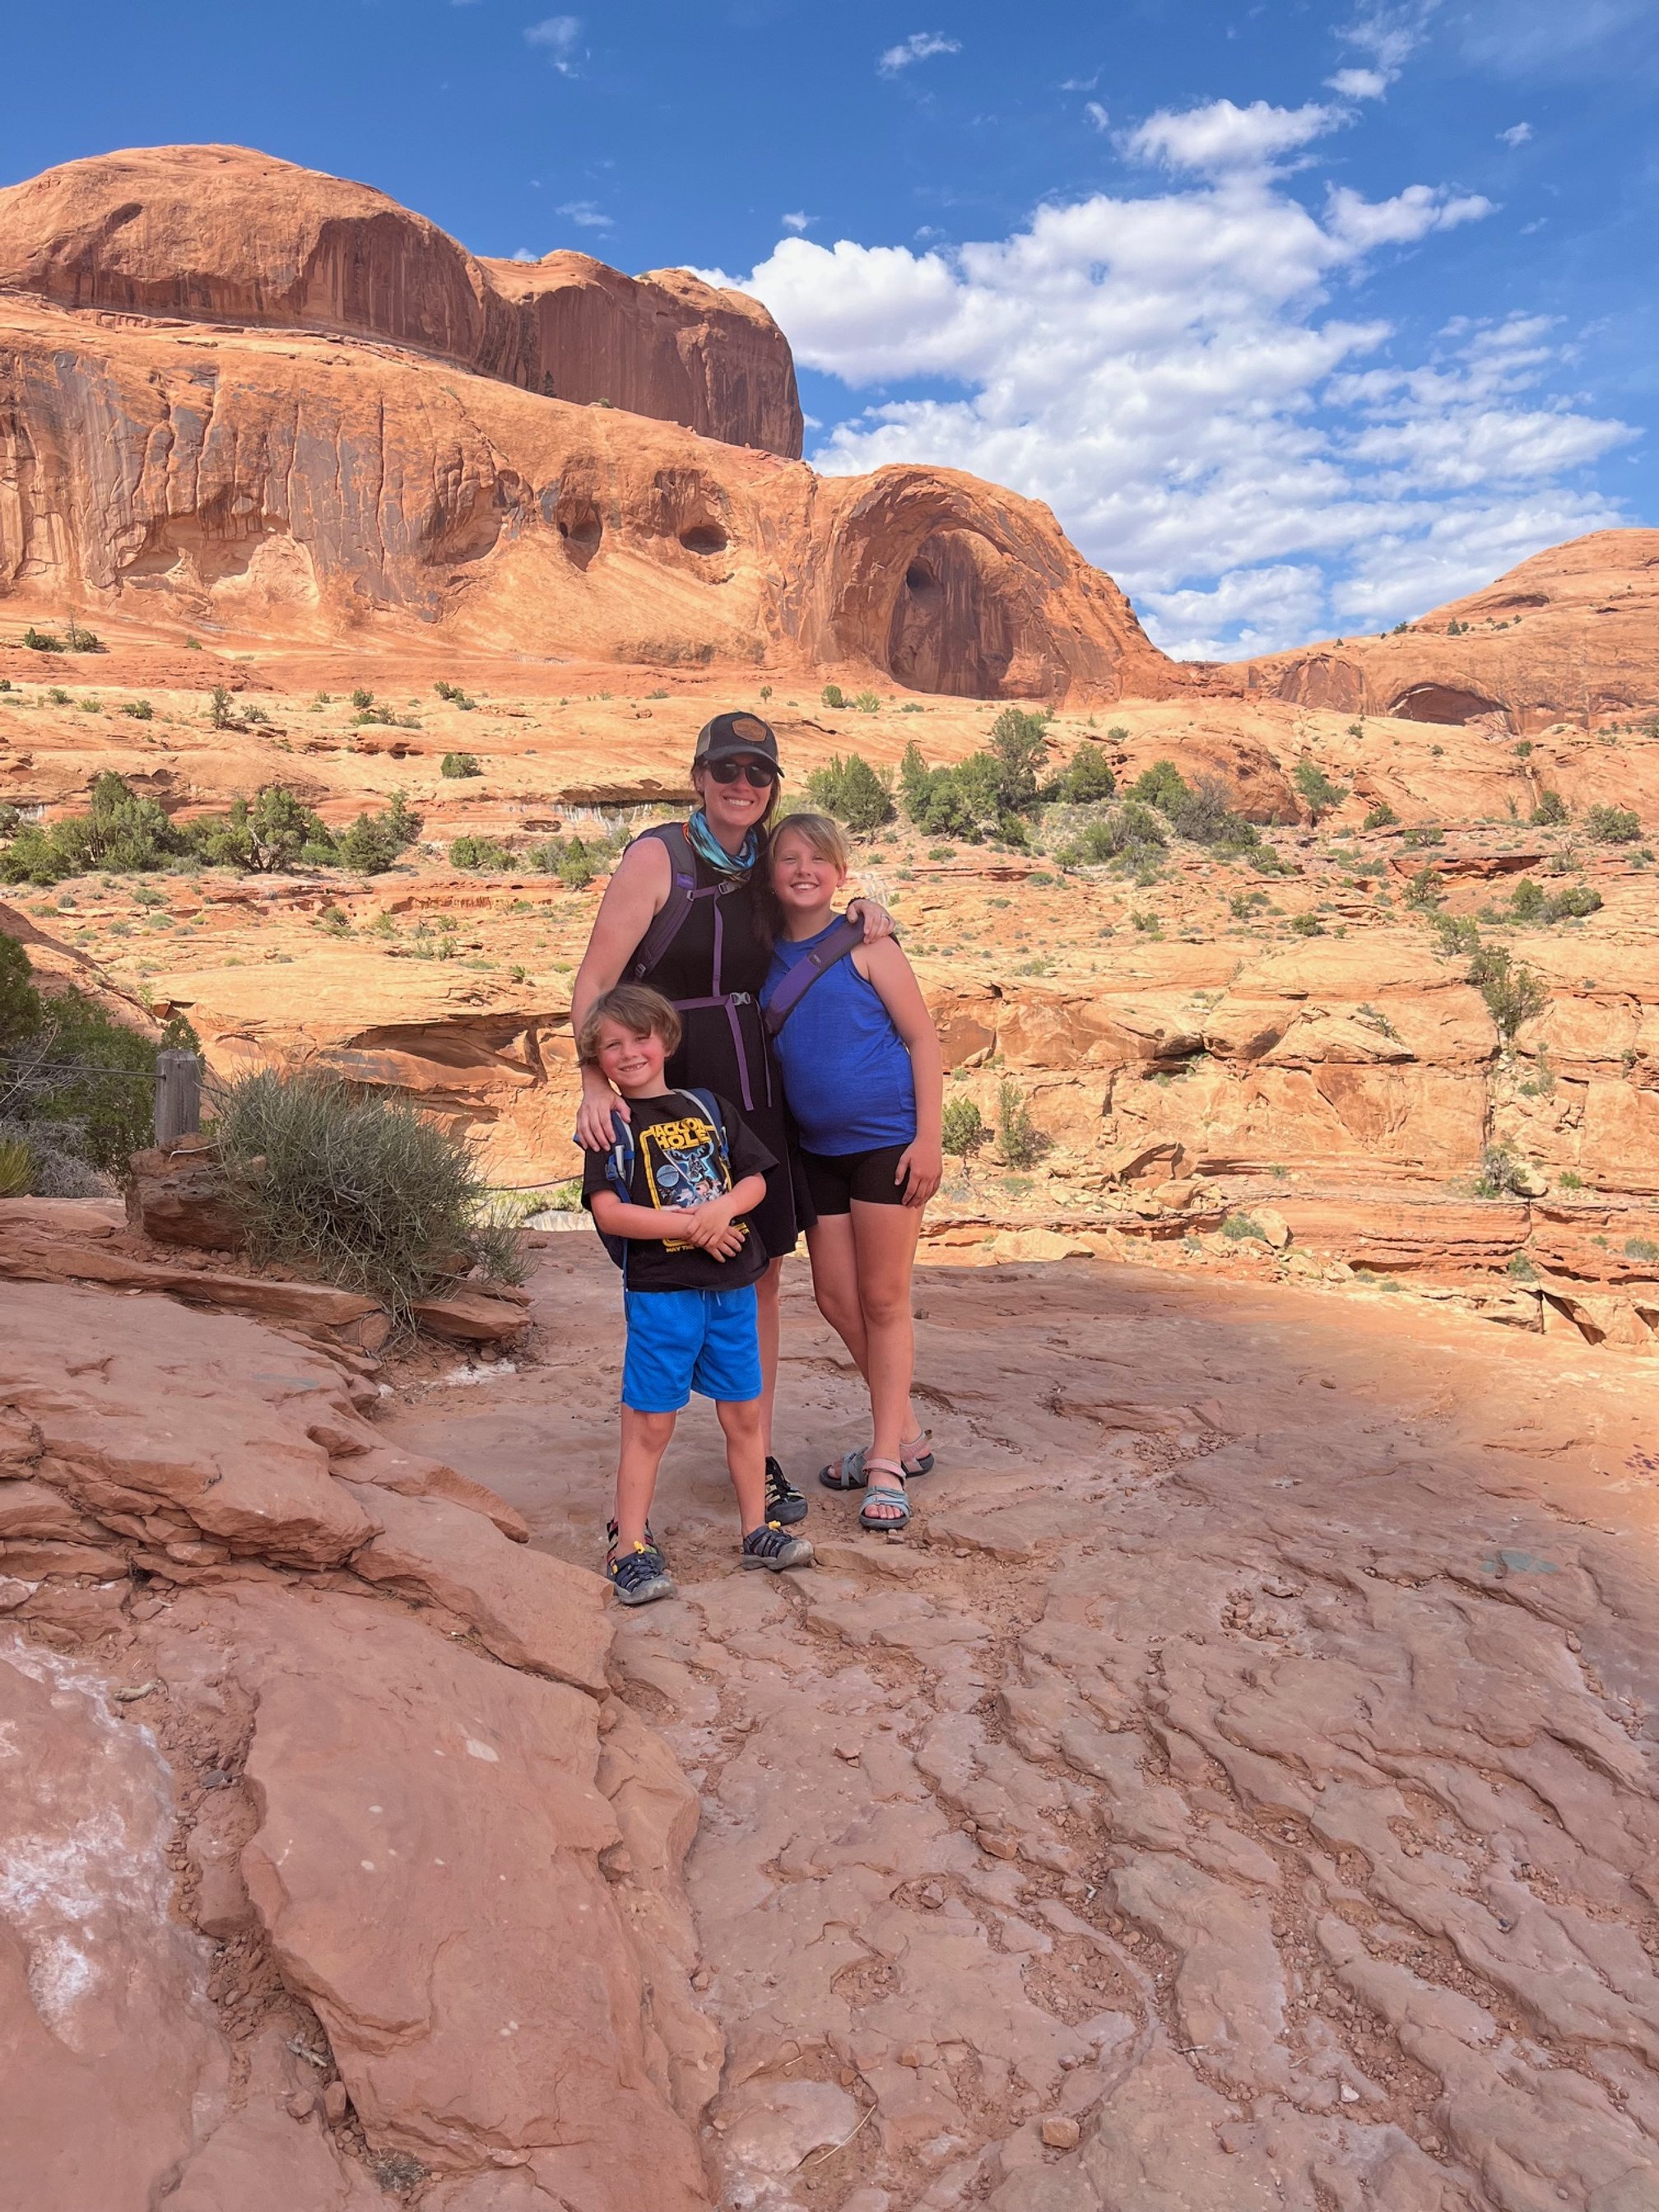
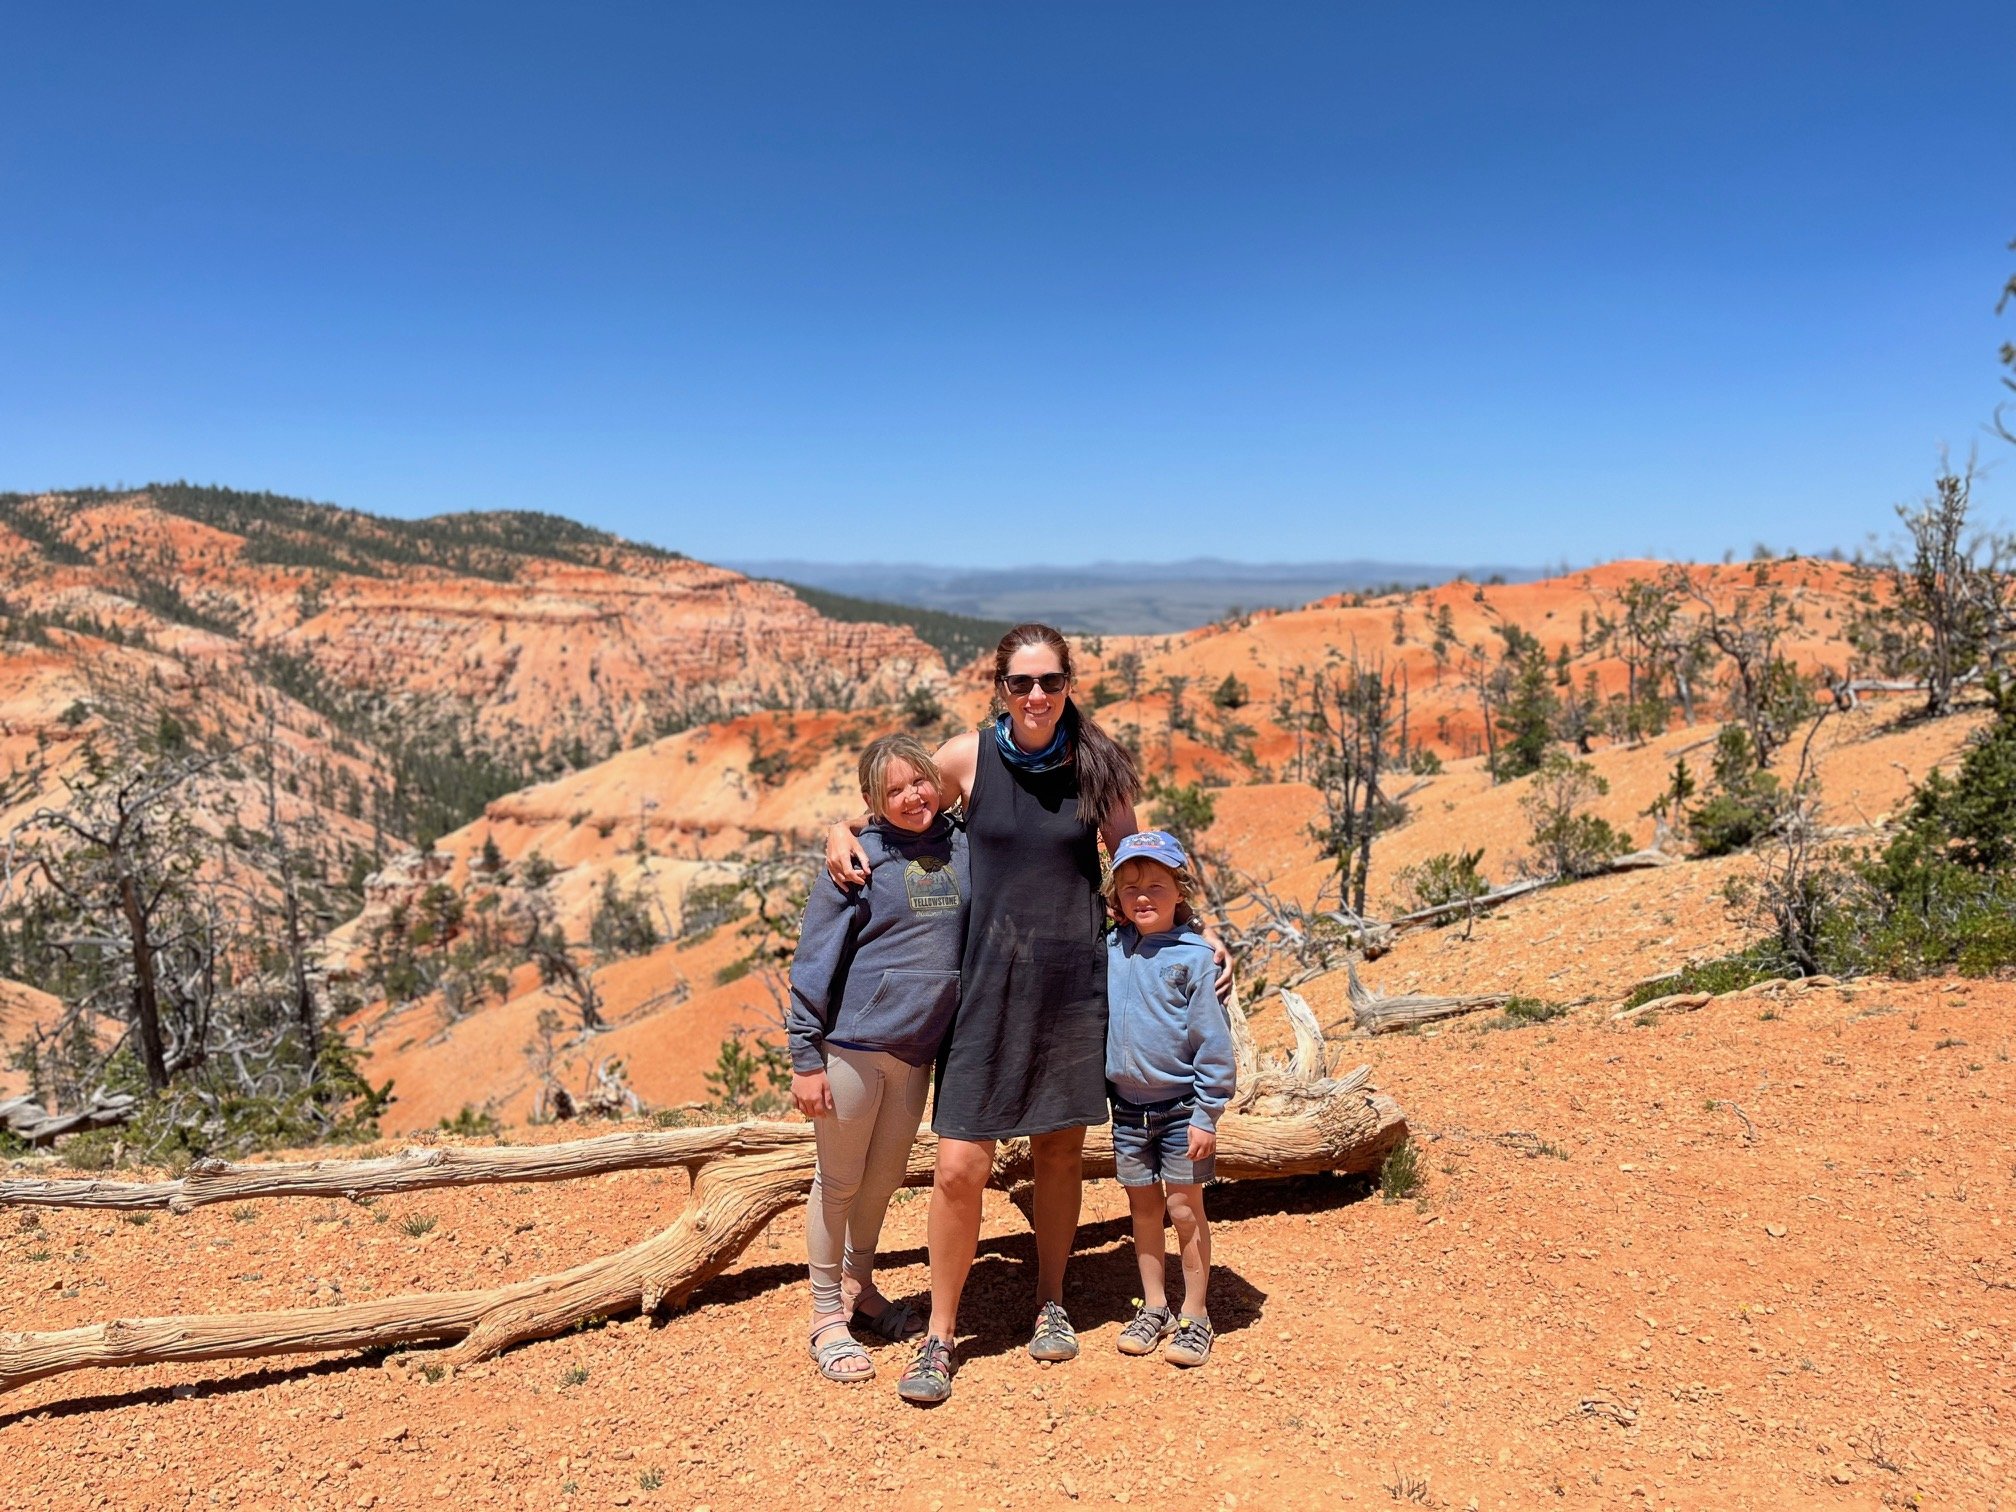
The author and the Camping Kiddos at Canyonlands National Park, one of the Utah Mighty 5.
This post contains affiliates. If you purchase through the links below, I will receive a commission at no charge to you.
What are the Utah Mighty Five National Parks?
The Mighty 5 is the collection of national parks in Utah. Utah is unique among the states, as it has the 3rd largest number of national parks, following California’s 9 parks and Alaska’s 8 parks.
The Mighty 5 are incredible places as they each offer up unique ecosystems, hiking experiences, camping options, and wildlife spotting.
The parks in this group are:
Arches National Park, Moab, Utah
Canyonlands National Park, Moab, Utah
Capitol Reef National Park, Torrey, Utah
Bryce Canyon National Park, Bryce Canyon City, Utah
Zion National Park, Springdale, Utah
While the 5 parks are spread out across the state of Utah, none are further than 4 hours from the next closest, making this a highly doable road trip to undertake with kids.
Despite their closeness, none of the parks feels the same as any of the others, thanks to the vast geological forces that have molded Utah’s terrain over millions of years. Even Arches and Canyonlands, which are less than 40 miles apart, offer up vastly different experiences to visitors.
An Introduction to Each of the Mighty 5 Parks
PIN ME!
Much like your kids, each of the Utah national parks has its own personality and talents.
Here’s a quick overview of what to expect at each. (We’ll get further into the details of what to do at each park in the itinerary section below.)
Arches National Park is located in Moab, Utah, and is one of the closest national parks to the Colorado-Utah border.
Here, you’ll find the world’s largest concentration of stone arches, as well as Delicate Arch, an instantly recognizable symbol of Utah’s vast outdoors.
Canyonlands National Park is also located in Moab, and consists of 3 districts: Islands in the Sky, the Needles, and the Maze. Islands in the Sky is the most accessible to visitors (especially those with kids), and offers up incredible vistas of the sprawling canyons here.
It’s also Utah’s least visited national park, so you’re likely to have the place nearly to yourselves.
Capitol Reef National Park is located in the remote middle of the state, and Utah State Route 24 bisects the park’s main area. In addition to great hiking and off-roading, you can explore the historic district of Fruita, where Mormon pioneer families once tended large fruit orchards.
Bryce Canyon National Park is famous for its natural amphitheatres filled with red, orange, and white hoodoos and incredible long range views at Rainbow Point.
Zion National Park is located in adorable Springdale, Utah, and is Utah’s most visited national park. Here, you can hike the famous Angel’s Landing or The Narrows, splash in the Virgin River, or drive the Zion-Mt. Carmel Highway.
Why would you take kids to the Mighty 5 parks?
If you have outdoorsy kids like I do, they’ll be overwhelmed with the number of things to see and do on this trip (but in the best way possible).
There are waterfalls to splash in. Hikes to be undertaken. Bikes to be rented. Forests to be explored. And Junior Ranger badges to procure.
Utah, in general, is an incredible place for outdoor adventures, but the Mighty 5 and the surroundings areas offer up more than any one family could do in a lifetime. I loved that each of the parks we visited had a variety of hikes and experiences for different ability levels, so that families with toddlers, families with elementary-aged kids, and families with teens all have dozens of choices.
Plus, what family trip isn’t improved with incredible vistas, nightly campfires, hiking experiences, and time spent together in the fresh air? You’ll get all of that and more on this road trip.
We spent an entire month doing the Mighty 5, and, honestly, we could’ve spend more time! I know that’s not feasible for most family’s schedules, so the suggested itinerary below is much more streamlined.
No matter what amount of time you can spend on this trip, it is well worth it.
Dive into the Mighty 5!
One of the best ways that my kids and I learn about the national parks that we visit is with the GuideAlong audio tours. These tours are inexpensive but incredibly thorough, making them excellent learning opportunities for the family.
I love that the tour automatically begins as we pass each point of interest, and we can stop, repeat, or skip any portions that we need to. The Utah Mighty 5 GuideAlong audio tour is a must have for the itinerary I’ve outlined below, and it covers audio guides for each of the national parks you’ll see.
Where should I start this Utah national parks road trip?
There are several ways to direct a road trip of this size, and my recommended starting point is based on personal experience, drive times, convenience, and quality of roads.
The airport you might lean towards is Salt Lake City (SLC) because it’s the major airport in Utah. However, because Salt Lake City is north of all of the 5 national parks in the state, the closest park to the SLC airport is Capitol Reef National Park at nearly 3.5 hours of drive time.
Instead, I’d recommend flying into Las Vegas-McCarran, which is only 2 hours and 15 minutes from the closest national park—Zion—doing the road trip itinerary as I recommend below, and then leave again from Las Vegas.
Doing so means that you’ll spend less time driving to and from the airport and more time on the ground in Utah, doing the things you came here to do.
Kid-Friendly Utah Mighty Five Itinerary
Below, you’ll find ALL of the details that you’ll need to plan your road trip route through Utah and prepare your family for this once-in-a-lifetime experience.
I’ve included a very tight schedule for these visits since I know that many families are vacationing in a set time period between school sessions or are bound by parent working schedules.
That being said, I know that you might want to linger in some areas, so I’ve included ways to extend your time at each national park if you want to explore more than just the single days listed below.
You’ll also find our recommended camping locations and kid-friendly hiking options at each stop.
P.S. If you’re planning to rent or bring an RV on this trip, please look at my notes below on the RV driving. Not all roads are equal in Utah, and it is all too easy to get onto a road that can cause undue stress for those in RVs or pulling travel trailers.
Las Vegas to Utah Road Trip Map of 5 National Parks
Day 1: Las Vegas, NV to Springdale, UT
Total daily drive time: 2 hours 45 minutes
Assuming that you’ve flown into my recommended airport, you should arrive in Las Vegas on day 1 of your vacation. We need every minute to explore the incredible places on this itinerary, so try to get into Las Vegas as early as possible.
You will absolutely need a rental car for this trip, so plan to pick up that up first thing.
If you’re looking for a camper rental, the CruiseAmerica RVs are compact enough to camp just about anywhere. (They also have a pickup location just south of Las Vegas in Henderson.) I have a big list of the best RV camping at the Utah national parks if you go this route.
While you could stay in hotels for this trip, I highly recommend renting a camper or bringing along tent camping equipment for your family if possible.
Once you pick up your vehicle in the Las Vegas area, head northeast on I-15, cutting across the northernmost tip of Arizona on your way to today’s destination: Springdale, Utah. This drive is largely desolate with few places to stop along the way; make sure you’re good on gas and snacks BEFORE you leave Las Vegas.
Springdale is an adorable little town just across the Arizona-Utah border.
Visiting Grafton Ghost Town in Rockville
The side of the Alonzo Russell House, one of several historic buildings in Grafton ghost town
If you’re too early for your check-in time in Springdale, explore the historic Grafton ghost town on your way in. Grafton is located on a side road from Rockville, which you’ll have to pass through after you get off of I-15 near La Verkin.
You can spend at least an hour exploring the old homes, barns, and cemetery here, and it’s a great add-on to your time in the Springdale area.
Oscar’s: Best Lunch in Springdale, Utah
Grab lunch at Oscar’s in Springdale, which has some of the most incredible Tex-Mex dishes that I’ve eaten on all of our trips out west.
The burritos are packed with so much yumminess that they are bigger than my head. Even my super picky 7-year-old was able to find something that he liked!
Sit outside on the patio with your kids: it’s kept cool with fans, and there’s more to look at while you’re waiting for your food. The staff also has coloring sheets and crayons that they’ll provide.
Oscar’s is a non-negotiable, so make sure it makes it into your final itinerary.
When you’re able, settle into your accommodations for this portion of your trip and change into comfortable clothes. If your kids need a nap, now’s the time to work that into the day.
Initial visit to Zion National Park
Head over to the pedestrian entrance of Zion National Park; if you’re staying in our recommended Springdale campground, you can easily walk.
My daughter on the Springdale shuttle as it approaches the Zion Canyon Village stop
However, if you’re staying elsewhere in Springdale, jump on the free town shuttle and get off at shuttle stop 1, Zion Canyon Village.
From there, you’ll cross a small bridge and pay the rangers.
The America the Beautiful Pass
Before we go any further, I need to encourage you to get the America the Beautiful pass for this road trip! (Not an affiliate link. I’ve been a passholder for years now, and I am always amazed at how much we save.)
This annual pass will get you into any NPS site—including the national parks—for free (or in some cases, for a significant portion off the individual price). If you were to pay the individual entrance fees for this road trip, you’ll spend around $120. Capitol Reef National Park is free, but the other 4 require a $30 vehicle pass.
If you buy the $80 America the Beautiful pass, you’ll save $40 just on this trip…and that gives you the ability to visit other NPS sites for a full year.
Once you’re inside Zion National Park, you’ll need to pick the next activity based on how much time you have left in the day.
Outside of the Zion National Park visitors center in Zion Canyon
I always recommend stopping by the information desk at national parks, and that’s where you should head first in Zion.
Here, you can get your kids’ free Junior Ranger booklets, see what trails (if any) are closed or undergoing maintenance, and learn about how the weather is affecting your day.
If you’ve arrived in the park before noon, ask at the information desk if there are any more seats available for that day’s Ride with a Ranger program. It’s free and good for kids as you’ll get on and off a bus at multiple points on the scenic road through the park while learning about different ecosystems.
From there, you will likely get roped into the gift shop if your kids are anything like mine. The Zion gift shop/bookstore has an entire corner of kids’ items from branded backpacks to board books to stuffed animals.
If the weather is nice, head down to the Pa’rus Trail, which is an easy walk from the visitors center. Your kids can splash in the river at any one of the access points along the first half mile or so of the Pa’rus Trail.
This trail is paved, so you can bring your stroller or wagon.
Another easy trail near the visitors center is the Archeology Trail, which is less than a half-mile with a trailhead steps from the main parking area.
I don’t recommend trying to get too far into Zion today as you’ll have a full day tomorrow to do that.
Our Winnebago Micro Minnie 1800BH had the most amazing view at Zion Canyon Campground!
Where to stay in Springdale, Utah: I highly recommend the Zion Canyon Campground and RV Park, which is where we stayed while exploring this area.
While the lots aren’t huge, this RV park is located right on the Virgin River and is less than a quarter-mile from the pedestrian entrance to Zion National Park.
There are beautiful cabins on the property, too, if you’d prefer to glamp instead of camp.
Patrons have access to a large pool, laundry room, playground, 24-hour convenience store, and Virgin River access.
Day 2: Zion National Park
The incredible Zion Canyon as seen from the Zion-Mt. Carmel Highway
You’ll want to rise and shine early to see Zion Canyon at one of its most beautiful times: the early morning. Plus, if you’re visiting in the summer, it’s important to get your kids on the trails before it gets too hot mid-day. (For more details on the summer weather, what to pack, and more, check out my guide to visiting Zion National Park in the summer.)
There are SO many things to do in Zion with kids, so read through more tips and suggestions in my comprehensive guide before you go further on this itinerary.
Biking: The Best Way to Get around Zion with Kids
My son on the back of my bike, and my dad on another e-bike with my daughter
Since you’ve got an extremely limited time in the park today, you’ll find that it’s easier to cover ground with your kids by biking through Zion rather than relying on the shuttles.
Plus, what kid would rather wait for a shuttle over zooming along on the back of a bike?
Cars are also not allowed on the scenic drive through this part of Zion for most of the year, so bikes are truly the way to go.
Pick up your e-bike from one of the outfitters in town.
I highly recommend Greater Zion E-bikes, which we used for our visit. I’m not an affiliate, just a happy customer.
Since you’ve got kids in tow, opt for an e-bike with a baby seat and/or child bench in the back.
This set-up ensures everyone is safe during your exploration of the park today.
Then, head into the park using that same pedestrian entrance from yesterday.
Hiking the Narrows with Kids
From there, head straight to the Temple of Sinawava at the back of the park.
Here’s where you’ll access the famous Narrows hike, though you’ll need to walk along the kid-friendly Riverwalk first.
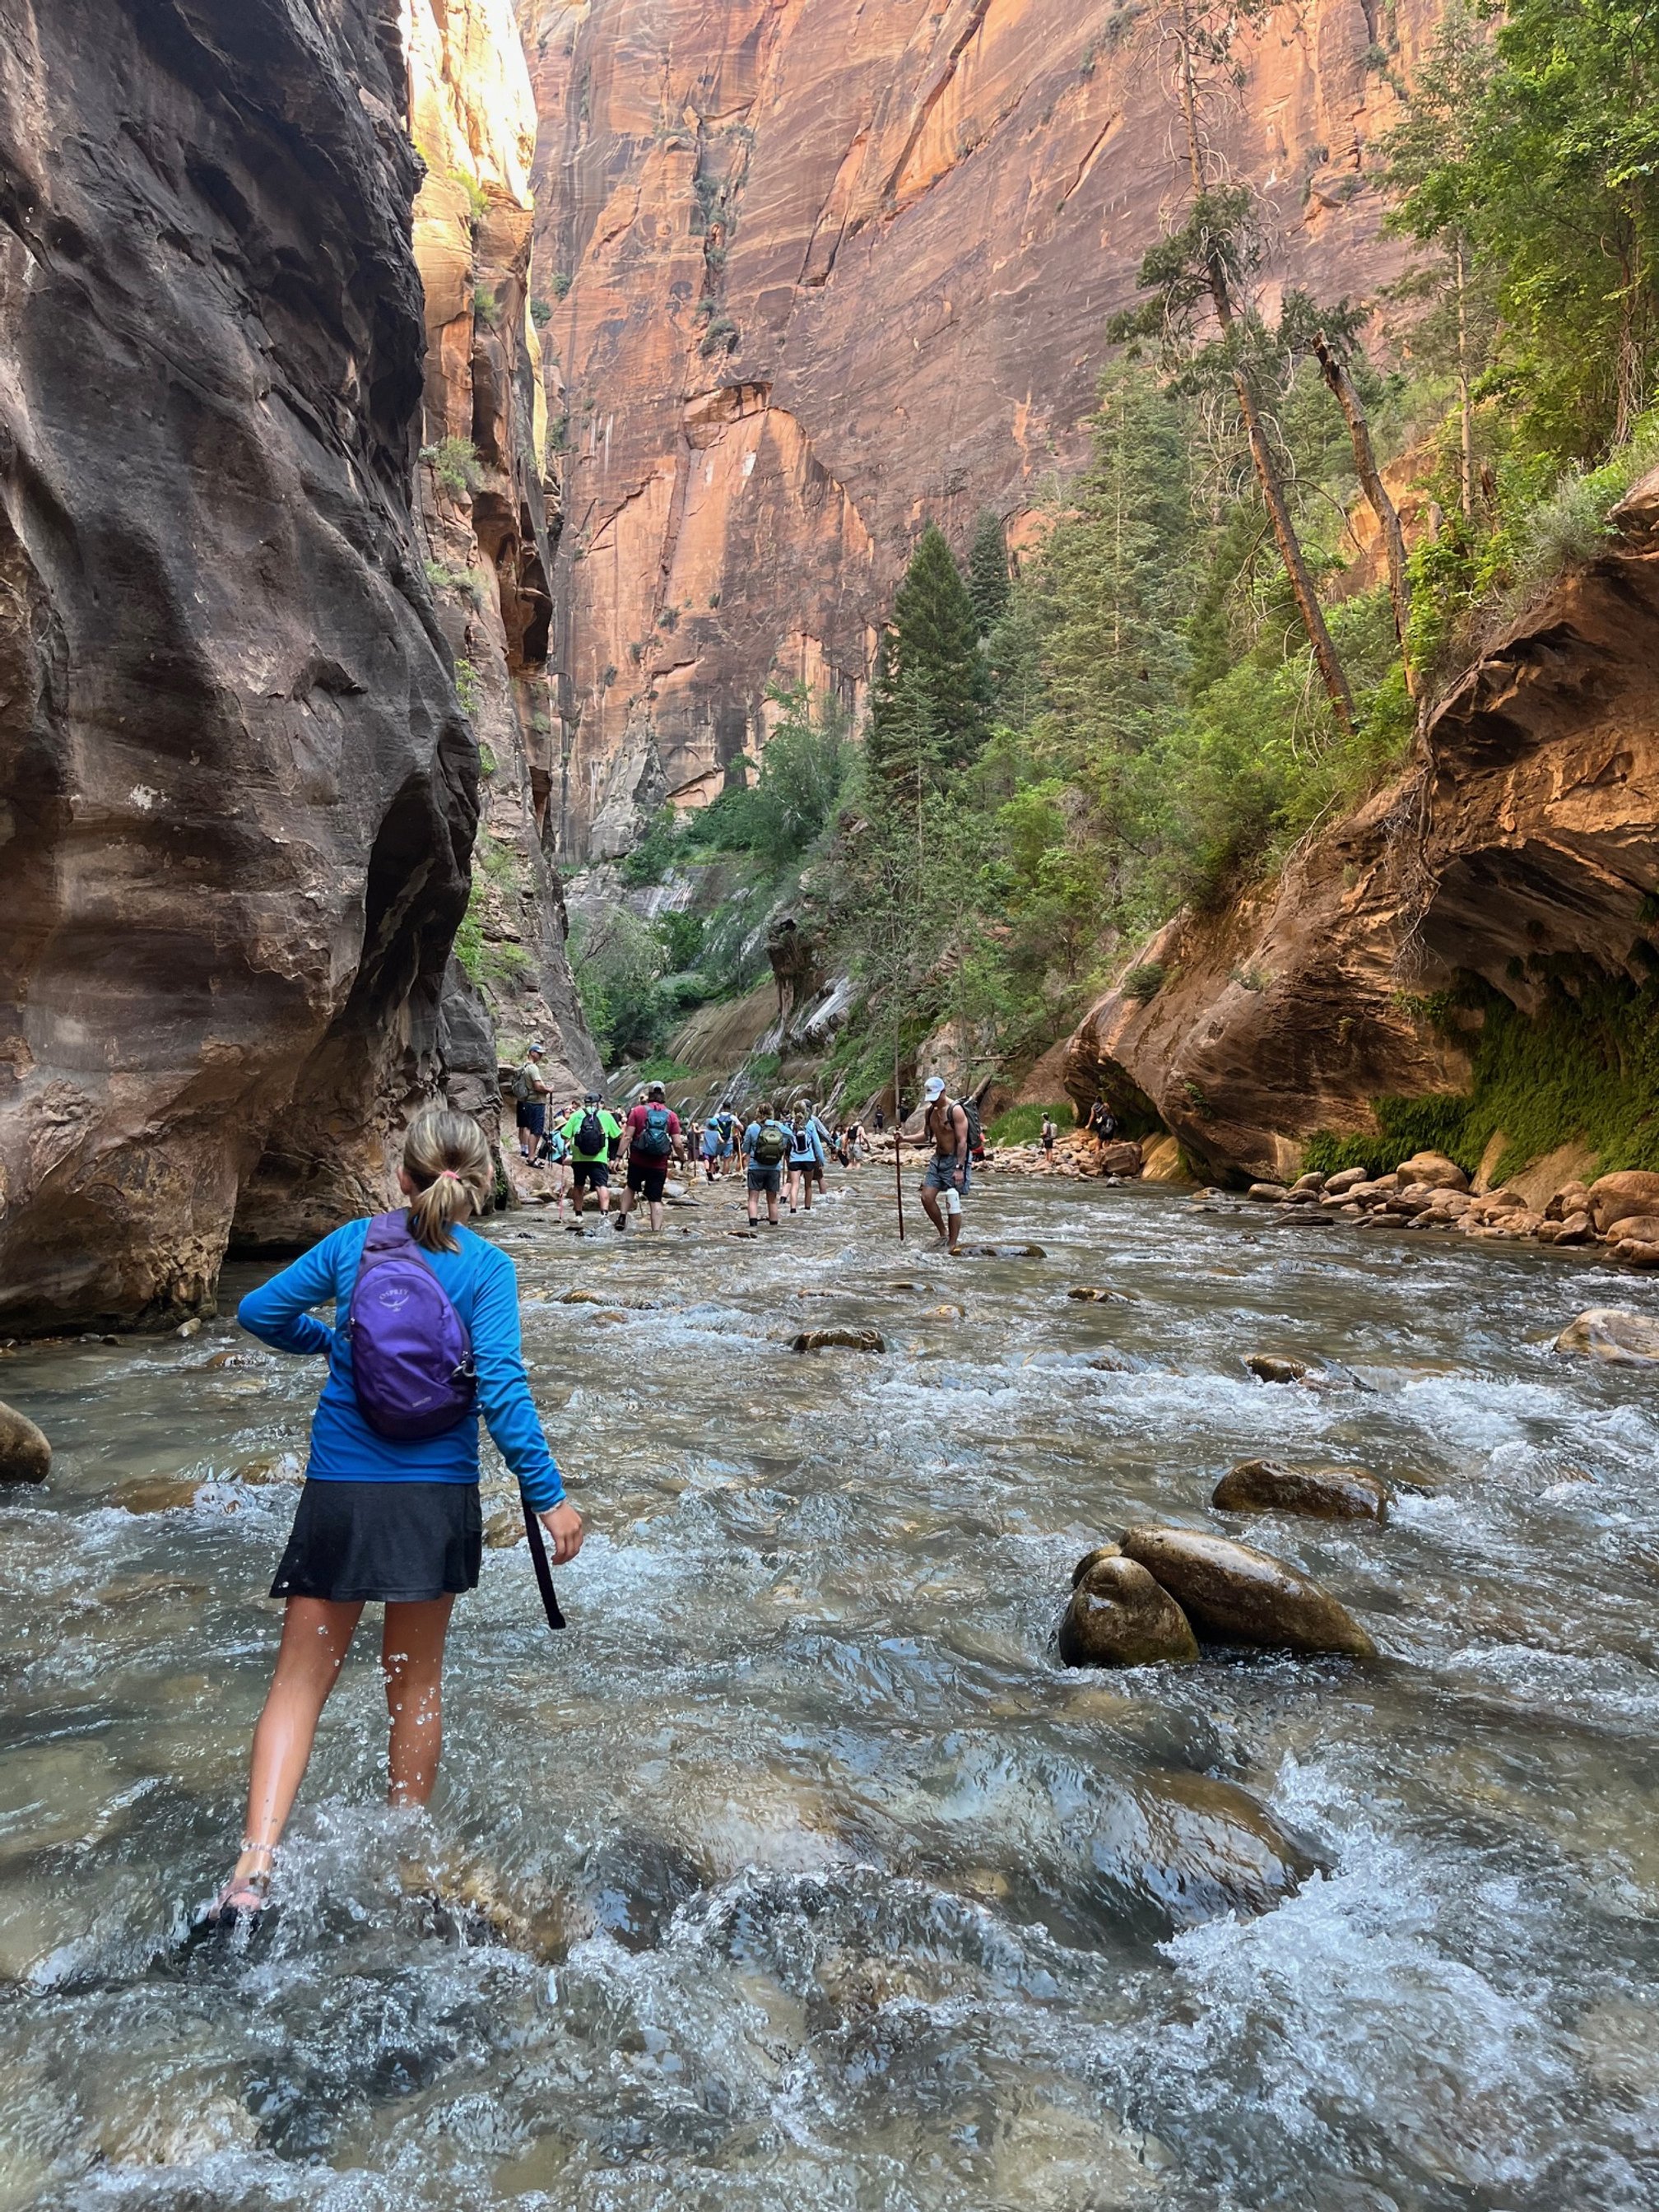
You can—and should—do the Narrows with kids, as it’s the perfect place for them to be adventurous while splashing about in a gorgeous slot canyon. Our time hiking the Narrows in Zion was one of my kids’ favorite parts of our entire time in Utah!
Once you’ve completed that hike as far as you’d like to go, make your way to lunch. If you’ve brought a picnic, head to the Grotto (shuttle stop #6) for the shady picnic area.
Otherwise, head over to Zion Lodge (shuttle stop #5) for the park’s only restaurants.
The exterior of the Zion Lodge
Afternoon Explorations
After lunch, you can do the Kayenta Trail to the Emerald Pools if your kids are still up for more hiking.
>> Read the full hiking guide to the Kayenta Trail here. <<
Otherwise, bike back towards the entrance of the park and do the Museum of Human History and the Nature Center. These are two of the best things to do in Zion besides hiking, and I highly recommend them.
The Museum of Human History is better for older kids, while the Nature Center is packed with colorful displays and hands-on projects for younger kids.
The Nature Center is packed with kid-friendly activities—and it has A/C!
Have your kids complete their Junior Ranger booklets and get sworn in either at the Nature Center or the information desk at the visitors center.
For dinner, I suggest heading into Springdale to eat at MeMe’s Cafe, a local restaurant with delicious, kid-friendly dishes like Nutella and banana crepes, burgers, and grilled cheese sandwiches.
Spend the evening exploring Springdale, or roasting marshmallows back at the campsite.
How to extend your stay in Springdale:
My dad, my kids, and me at the east entrance to Zion National Park
Honestly, you need more than one and a half days in Springdale, so if you extend your Utah road trip anywhere, let it be here.
With another day in Springdale, you can head up the Zion-Mt. Carmel Highway to experience the thrilling, 1.1 mile long Zion-Mt. Carmel Tunnel that’s cut through the mountains.
On the other side of the park, you can do the Zion Canyon Overlook Trail, see Checkerboard Mesa, and visit nearby Kanab. The east side of the park looks much different than Zion Canyon, and it’s interesting to compare the two if you have time.
In Kanab, you can eat at the old fashioned soda shop at Kanab United Drug, wander through old movie sets at Little Hollywoodland, and hike to the Belly of the Dragon and Moqui Caves.
Day 3: Springdale, UT to Moab, UT
Total daily drive time: 5 hours
Highway 191 heading into Moab with the beautiful La Sal mountains in the background
It’s time to say goodbye to Springdale and Zion (sob), but there’s plenty of other outdoor adventures awaiting!
Pack up the kids and head north on I-15 until it intersects with I-70. Then, take I-70 east until you see the exit for Moab. Today is the longest drive on the entire road trip, so head out early so you’ll have time to explore once you get to Moab.
That section of I-70 you’ll travel on today is particularly sparse with amenities, so please make sure you have gas and water. It’s not unusual to see signs saying “70 miles to next gas station,” which is terrifying if you realize you’re running low.
You’ll be in the heart of Utah now, and the landscape is ever changing. By the time you turn off of I-70 onto Highway 191 towards Moab, you’ll see nothing but layered red rock mesas and rolling desert.
Check into your accommodations for your time in Moab and get settled. Check out my recommendation for where to camp or stay in a cabin below.
After you’ve gotten the lay of the land at your campsite, cabin, or hotel, head out to do one of the best hikes in Moab outside of the national parks.
Moab is an outdoor destination like none other that we’ve visited, and it has dozens and dozens of incredible hiking that’s great for kids.
The Corona Arch hike is great for older kids who don’t mind some rock scrambles, while the Mill Canyon Dinosaur Track is amazing for younger kids obsessed with dinosaurs.
Finish your day off with a huge bowl of pasta or juicy burger at Zax Restaurant in downtown Moab.
Then, walk along Main Street in search of the perfect souvenir. My kids loved bargain shopping at Moab T-shirt Company and picking out new books at Back of Beyond Bookstore.
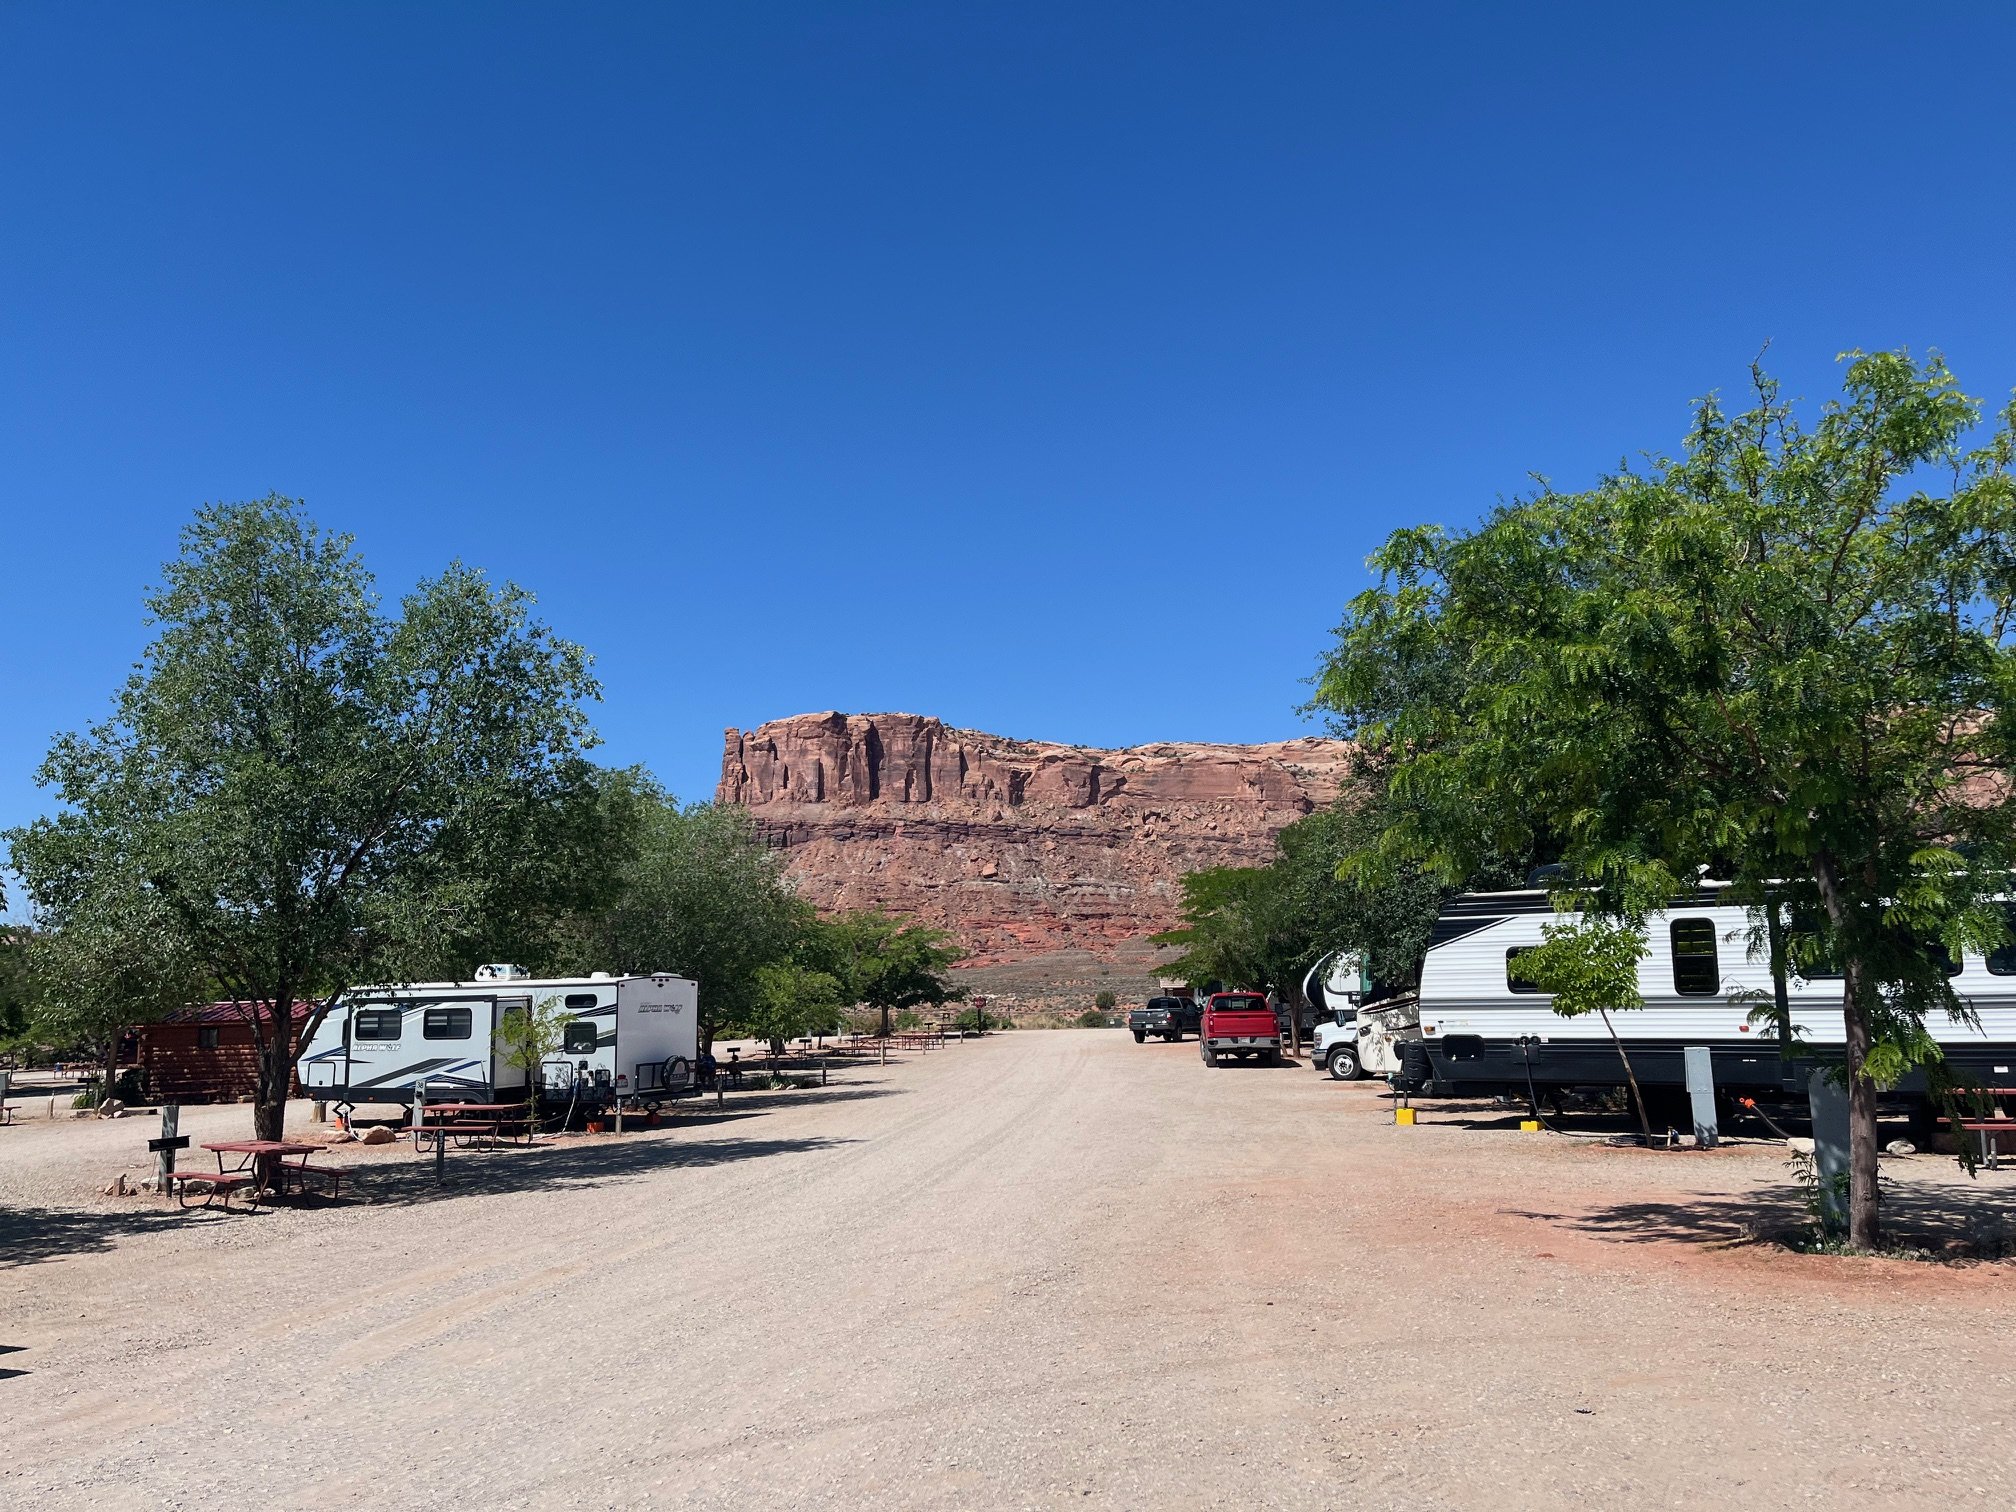
Where to stay in Moab, Utah: On our trips to Moab, we keep returning to the Sun Outdoors Canyonlands Gateway, which is about 5 miles north of the city of Moab.
I know that there’s a lot of free, dispersed camping in this area, but, honestly, the only thing my kids want to do after a long day of hiking is get into a pool. Staying at a campground with one keeps us all happier!
The lots here are small, but there is a pool and splash pad, access to miles of hiking and ATV trails, a gas station, and a historic church and old wagon on-site. Plus, the road to Canyonlands is directly across Highway 191 from the campground entrance.
We’ve camped here, but have also glamped here, too. There are 5 casitas with bunk beds and a small table, as well as more complete cabins with ensuite bathrooms.
Day 4: Arches National Park
With just one day in Arches National Park, you’ll want to maximize your time. Keep in mind that you’ll need an entrance reservation if you’re entering the park between 8 AM and 4 PM during the spring, summer, and early fall. These are usually pretty easy to grab, but you will want to plan ahead.
Driving the 18-mile scenic road that cuts through the park is a must-do. There are plenty of areas that you can pull over for a quick stretch or hike if your kids start to get antsy.
Arches has several easy hikes that are good for kids. My kids’ favorite trail in all of Arches is the Sand Dune Arch and Broken Arch trails, which share the same trailhead.
Sand Dune Arch is hidden among sandstone rocks, and is like being inside a massive sand box. Your kids will never want to leave!
The visitors center has some great interactive displays where kids can learn about the park’s geology, ecosystems, and animal inhabitants.
Bring a picnic for lunch since you don’t want to spend any part of your day backtracking to Moab.
Find much more on spending one day in Arches National Park here and more things to do when visiting Arches with kids here.
If you are extremely pressed for time and need to combine the Moab national parks, check out my guide to visiting Arches and Canyonlands in 1 day.
After a full day at Arches National Park, I’d suggest dinner at El Tapatio on Main Street in Moab.
This Mexican restaurant has huge portions of delicious food, and there are several kid-friendly options like basic tacos, mac and cheese, and chicken fingers for those less adventurous eaters.
Day 5: Canyonlands National Park
You know we can’t miss out on a national park entrance sign photo.
Another day in Moab, another national park!
This area of Utah is one of the few places in the United States where you can visit 2 national parks within 45 minutes of one another.
Yet, Arches consistently ranks in the top 20 of most visited national parks in the country, while Canyonlands is the least visited national park in Utah.
It might be easy to think this discrepancy is because the offerings at both Arches and Canyonlands are the same thing, so people go for the one closest to Moab. But, that’s far from the truth.
As I outline in my Arches vs. Canyonlands post, the parks are VASTLY different from one another despite their proximity.
You’ll find those famous stone arches everywhere in the aptly named Arches National Park, but the much larger Canyonlands National Park has 3 districts, each with its own canyons, hiking, and off-roading.
When visiting Canyonlands with kids, I’d recommend sticking to the Islands in the Sky district, at least for your first visit. Islands in the Sky is the district closest to Moab, and it has the most infrastructure and amenities.
The visitors center here is small, but still stop by to grab a map, see the short park movie, and get the free Junior Ranger booklet from the ranger on duty.
There are multiple scenic overlooks near the visitors center, but be careful as there aren’t any guardrails to hold back curious little ones.
The incredible view from the Green River Overlook in Islands of the Sky
The most kid-friendly of the overlooks in Islands in the Sky would be the Green River Overlook, which has a split rail fence along the most treacherous drop-off sections.
Still, watch your children carefully here as there’s a sheer 1400 foot drop on the other side.
There are a couple of short hikes that I’d recommend for families here: Whale Rock on Upheaval Dome Road and Mesa Arch on Grand View Point Road. Both of these are easy with manageable elevation changes.
>> Explore more about visiting Canyonlands National Park with kids in my complete guide. <<
The trailhead for the Whale Rock hike in Islands in the Sky
End the day by planning a big grill out!
If you’re staying at our recommended location of Sun Outdoors Canyonlands Gateway, there is a big grilling space near the pool that’s perfect for outdoor cooking. You can also find individual grills by the casitas and cabins if you’re staying in those.
You can buy everything you’ll need for grilling at the City Market at the southern end of Main Street.
NOTE: I’d stock up on groceries here before moving further into the itinerary as the rest of our itinerary dives into more remote areas of Utah that don’t have easy or inexpensive access to groceries.
How to expand your stay in Moab:
Like Springdale, Moab truly needs more than a couple of days to fully experience.
Dead Horse State Park is worth a day on its own, thanks to the numerous hiking options here.
Kids might also enjoy the Hole ‘N’ the Rock roadside attraction south of Moab. Here, you can walk through a 5,000 foot home and cafe that was carved out of a cliff!
While no one lives or works in Hole ‘N’ the Rock anymore, it was once the home of a family who served up meals to hungry travelers along Highway 191. My kids thought it was fascinating.
Another great family outing in Moab is a Colorado rafting tour on a calmer section of the river.
Day 6: Moab, UT to Torrey, UT
Total daily drive time: 2 hours 35 minutes
The drive from Moab to Torrey is one of the most scenic on this entire trip—and that’s saying something since there isn’t much of Utah that isn’t gorgeous.
You’ll retrace your steps as you head out of town on Highway 191 and then turn west onto I-70. You won’t stay on the interstate for long, turning onto Highway 24 at the Green River exit.
Utah Scenic Byway 24
From here, you’ll follow Highway 24 for 90 miles. This scenic route takes you through Hanksville and it is the closest to the surface of Mars that I think you can get on this planet.
If you have time to linger through this area, stop by Goblin Valley State Park, which is another 11 miles off of Highway 24.
PLEASE make sure your vehicle has plenty of gas and oil, and that you have plenty of water. This highway is incredible remote and most of it has zero cell service. It’s NOT the place that you want to have car trouble.
While there are some incredible hikes and attractions along Utah Highway 24, keep in mind that many have no shade and are for more advanced hikers than most kids are. However, if your kids are older or have lots of hiking experience, pack those hats, add on some sunscreen, and head out.
If you’re not planning to do anything near Hanksville or elsewhere on Highway 24, head into Torrey, our next stop. You’ll actually pass through Capitol Reef National Park before you get to Torrey, which is a fun introduction to this park.
Capitol Reef National Park has several sections, though none are as remote as most of Canyonlands.
Welcome to Capitol Reef
Stretch your legs after your drive to Capitol Reef by parking at the visitors center. If you cross Highway 24 away from the visitors center, there’s easy access to Sulphur Creek where your kids can splash around.
The Castle rock formation near the visitors center
From this spot, you will get amazing views of the Castle, one of the most recognizable features in the park.
Grab your Junior Ranger booklet while you’re this close to the visitors center. If you have time, you can look through the small museum inside, too. My kids also enjoyed the free park movie which looked at the park’s relationship with water throughout its history.
If you’re not ready to head to your overnight accommodations yet, there are a couple of easy things to do near the visitors center. The park’s petroglyphs are located a boardwalk about a mile east of the visitors center on Highway 24.
My kids enjoyed searching for the carved petroglyphs on the red rock, and then using their imaginations to think about what the original creator of those petroglyphs was trying to say.
The historic Fruita schoolhouse is between the petroglyphs panel and the visitors center. It has plenty of parking. While you can’t go into the schoolhouse, kids will find it interesting to peek through the windows to see how the Mormon pioneer children once learned here.
There’s also a rock behind the schoolhouse where the students left their names all over it!
When you’re through exploring this area of Capitol Reef, head west into Torrey, still following Highway 24. (Don’t worry; we will be back for more fun tomorrow!)
For dinner, check out Slackers Burger Joint, which is in the heart of Torrey. It’s simple but delicious diner food served up with a side of nostalgia. There’s outdoor seating with yard games to keep the kids entertained while you’re lingering over dinner.
Where to Stay in Torrey, Utah:
While there are hotels scattered along the road between Capitol Reef’s western entrance and the town of Torrey, I’d recommend staying on the western side of Torrey. The Thousand Lakes RV Park is quiet and clean, and we enjoyed our stay there immensely.
The sites were much bigger than those found at most private campgrounds, and the ones at the back of the campground had uninterrupted views of the red rock cliffs.
There are super cute cabins surrounding the main square in the campground if you want to glamp instead!
Day 7: Capitol Reef National Park
At the eastern entrance to Capitol Reef on Highway 24
In your family’s limited time at Capitol Reef, you’re going to do a couple of the best (and easiest) hikes in the national park and dive into the park’s history.
First, head into the Fruita district. With its old buildings and many fruit trees, this area of the park stands in stark contrast to the rocky desert environment elsewhere.
Fruita was once the home of multiple Mormon pioneer families, who managed to eek out a life of farming in the desert thanks to some creative engineering of the nearby streams.
Today, you can walk through the orchards, which are kept up by park staff. To my kids’ delight, anything that you can pick off of the fruit trees, you can eat for free! We ate our fill of mulberries while waiting for a Junior Ranger program at the Ripple Rock Nature Center.
And, as snacks are the way to my kids’ hearts, we also made sure to get some of the freshly made pies at the Gifford House. Be prepared to wait in line, but the little pies are worth it. We tried them all, and it was a 4 way tie between apple, mixed berry, peach, and cherry. (No one liked the strawberry rhubarb.)
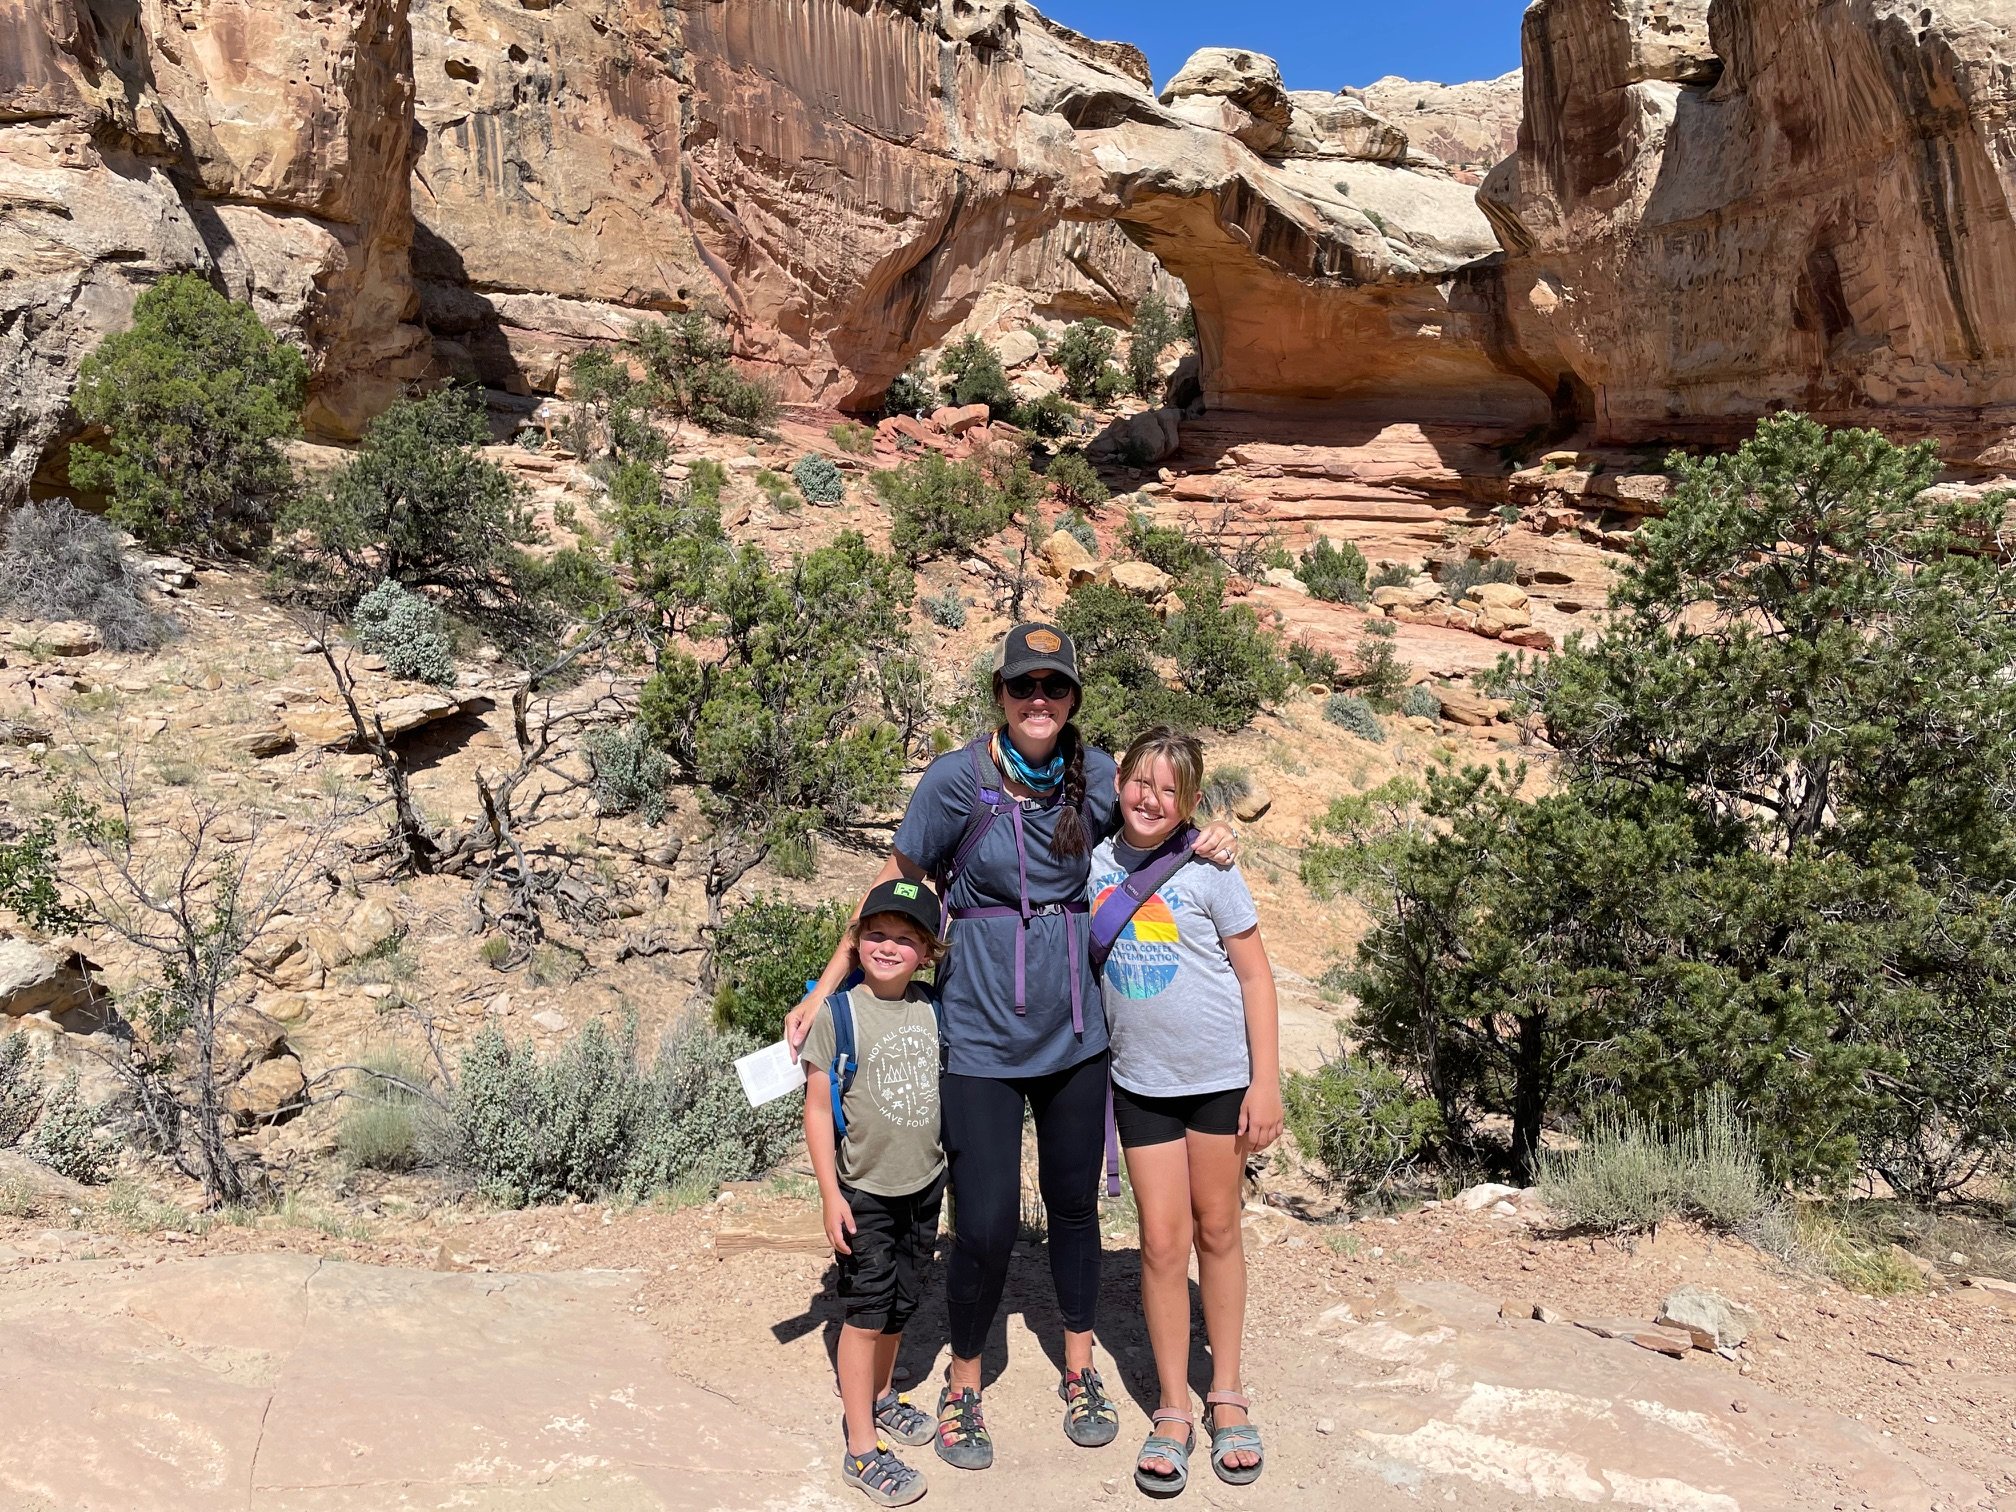
Now that you’re fueled up, head further into the park to do the first hike of the day.
Hickman Natural Bridge Trail is one of the most popular in the park, and for good reason. It’s fairly easy other than a couple sections of quick elevation gain, and you’ll be able walk under and around a natural stone bridge.
My kids liked comparing the natural bridge to the arches in Arches National Park. They also loved playing in the sand on part of the trail leading to the natural bridge.
We made it to the Hickman Natural Bridge!
Take a break to splash in the Fremont River at the trailhead before heading off on your second hike of the day. A few miles east of the Hickman Natural Bridge trailhead is Grand Wash trail.
This one is even easier than Hickman Natural Bridge Trail, as Grand Wash has no discernable elevation gain.
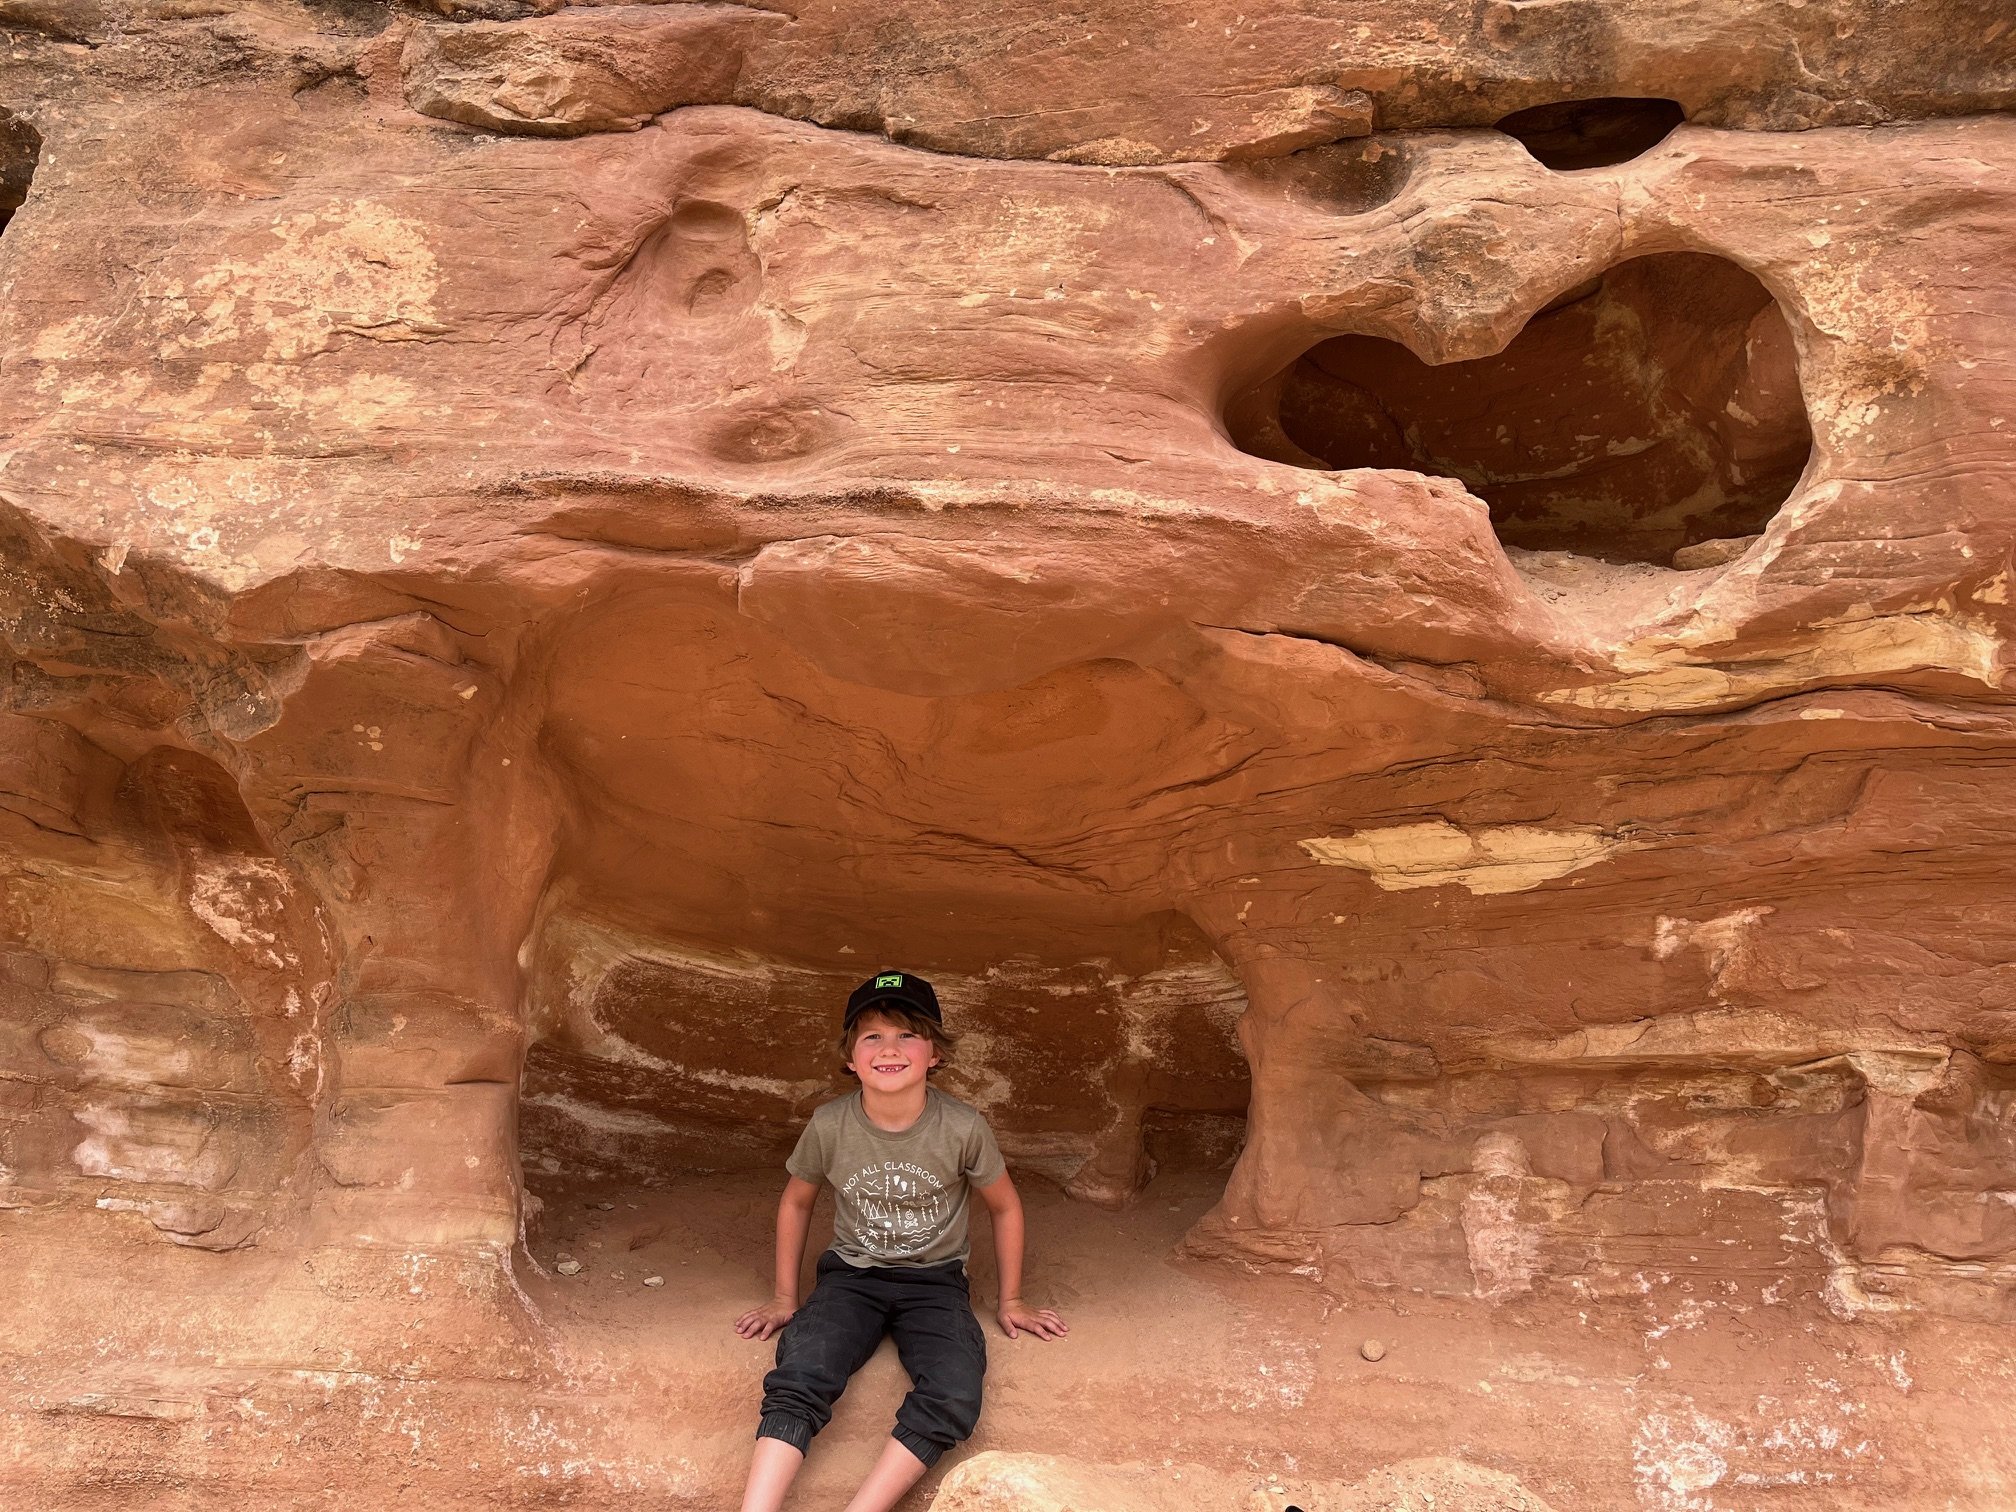
The perfect place for a break on the Grand Wash trail
Plus, there are cool holes that have eroded into the rock walls lining the entire hike, and it’s fun to explore weird little holes like this when you’re a kid!
At the end of the day, turn in your Junior Ranger booklet at the visitors center as you head back towards Torrey.
Get even more tips on how to visit Capitol Reef National Park with kids in my complete guide here.
How to extend your stay in Torrey, Utah:
Plan another day in Capitol Reef and head to the Cathedral Valley, where you can see the Temples of the Sun and Moon. This requires a high clearance vehicle, and you’ll need to call 435-425-3791 to see about that day’s road conditions.
Still, if you can manage the drive, you’ll get incredible views found nowhere else in the park. And, since it is harder to get to the North District of the park, you’ll likely have the place to yourselves.
If you’re driving a rental vehicle or RV that can’t handle the trip—or if you’re simply not up to the challenge of navigating tricky, unfamiliar dirt roads—your family can take a guided Jeep tour of the Cathedral Valley, so someone else does the hard work!
Day 8: Torrey, UT, to Bryce Canyon City, UT
Total Daily drive time: 2 hours 5 minutes
Bryce Canyon awaits!
As you head out of Torrey towards our next stop in Bryce Canyon City, you have a decision to make. You can head west, taking Highway 24 to Koosharem before heading south on Highway 62, or you can head south on Scenic Byway 12.
While the Scenic Byway is obviously filled with better views, the Highway 24/62 combo isn’t bad either.
When we were doing this stretch with our travel trailer, we opted for the much flatter road of Highways 24 and 62, which also offered places for gas stops and wider shoulders in case we had car trouble.
Before checking into your accommodations in this area, stop by Mossy Cave in the eastern side of Bryce Canyon. You don’t need to pay admission to enter this section, and there is a large parking lot with plenty of room for trailers and RVs.
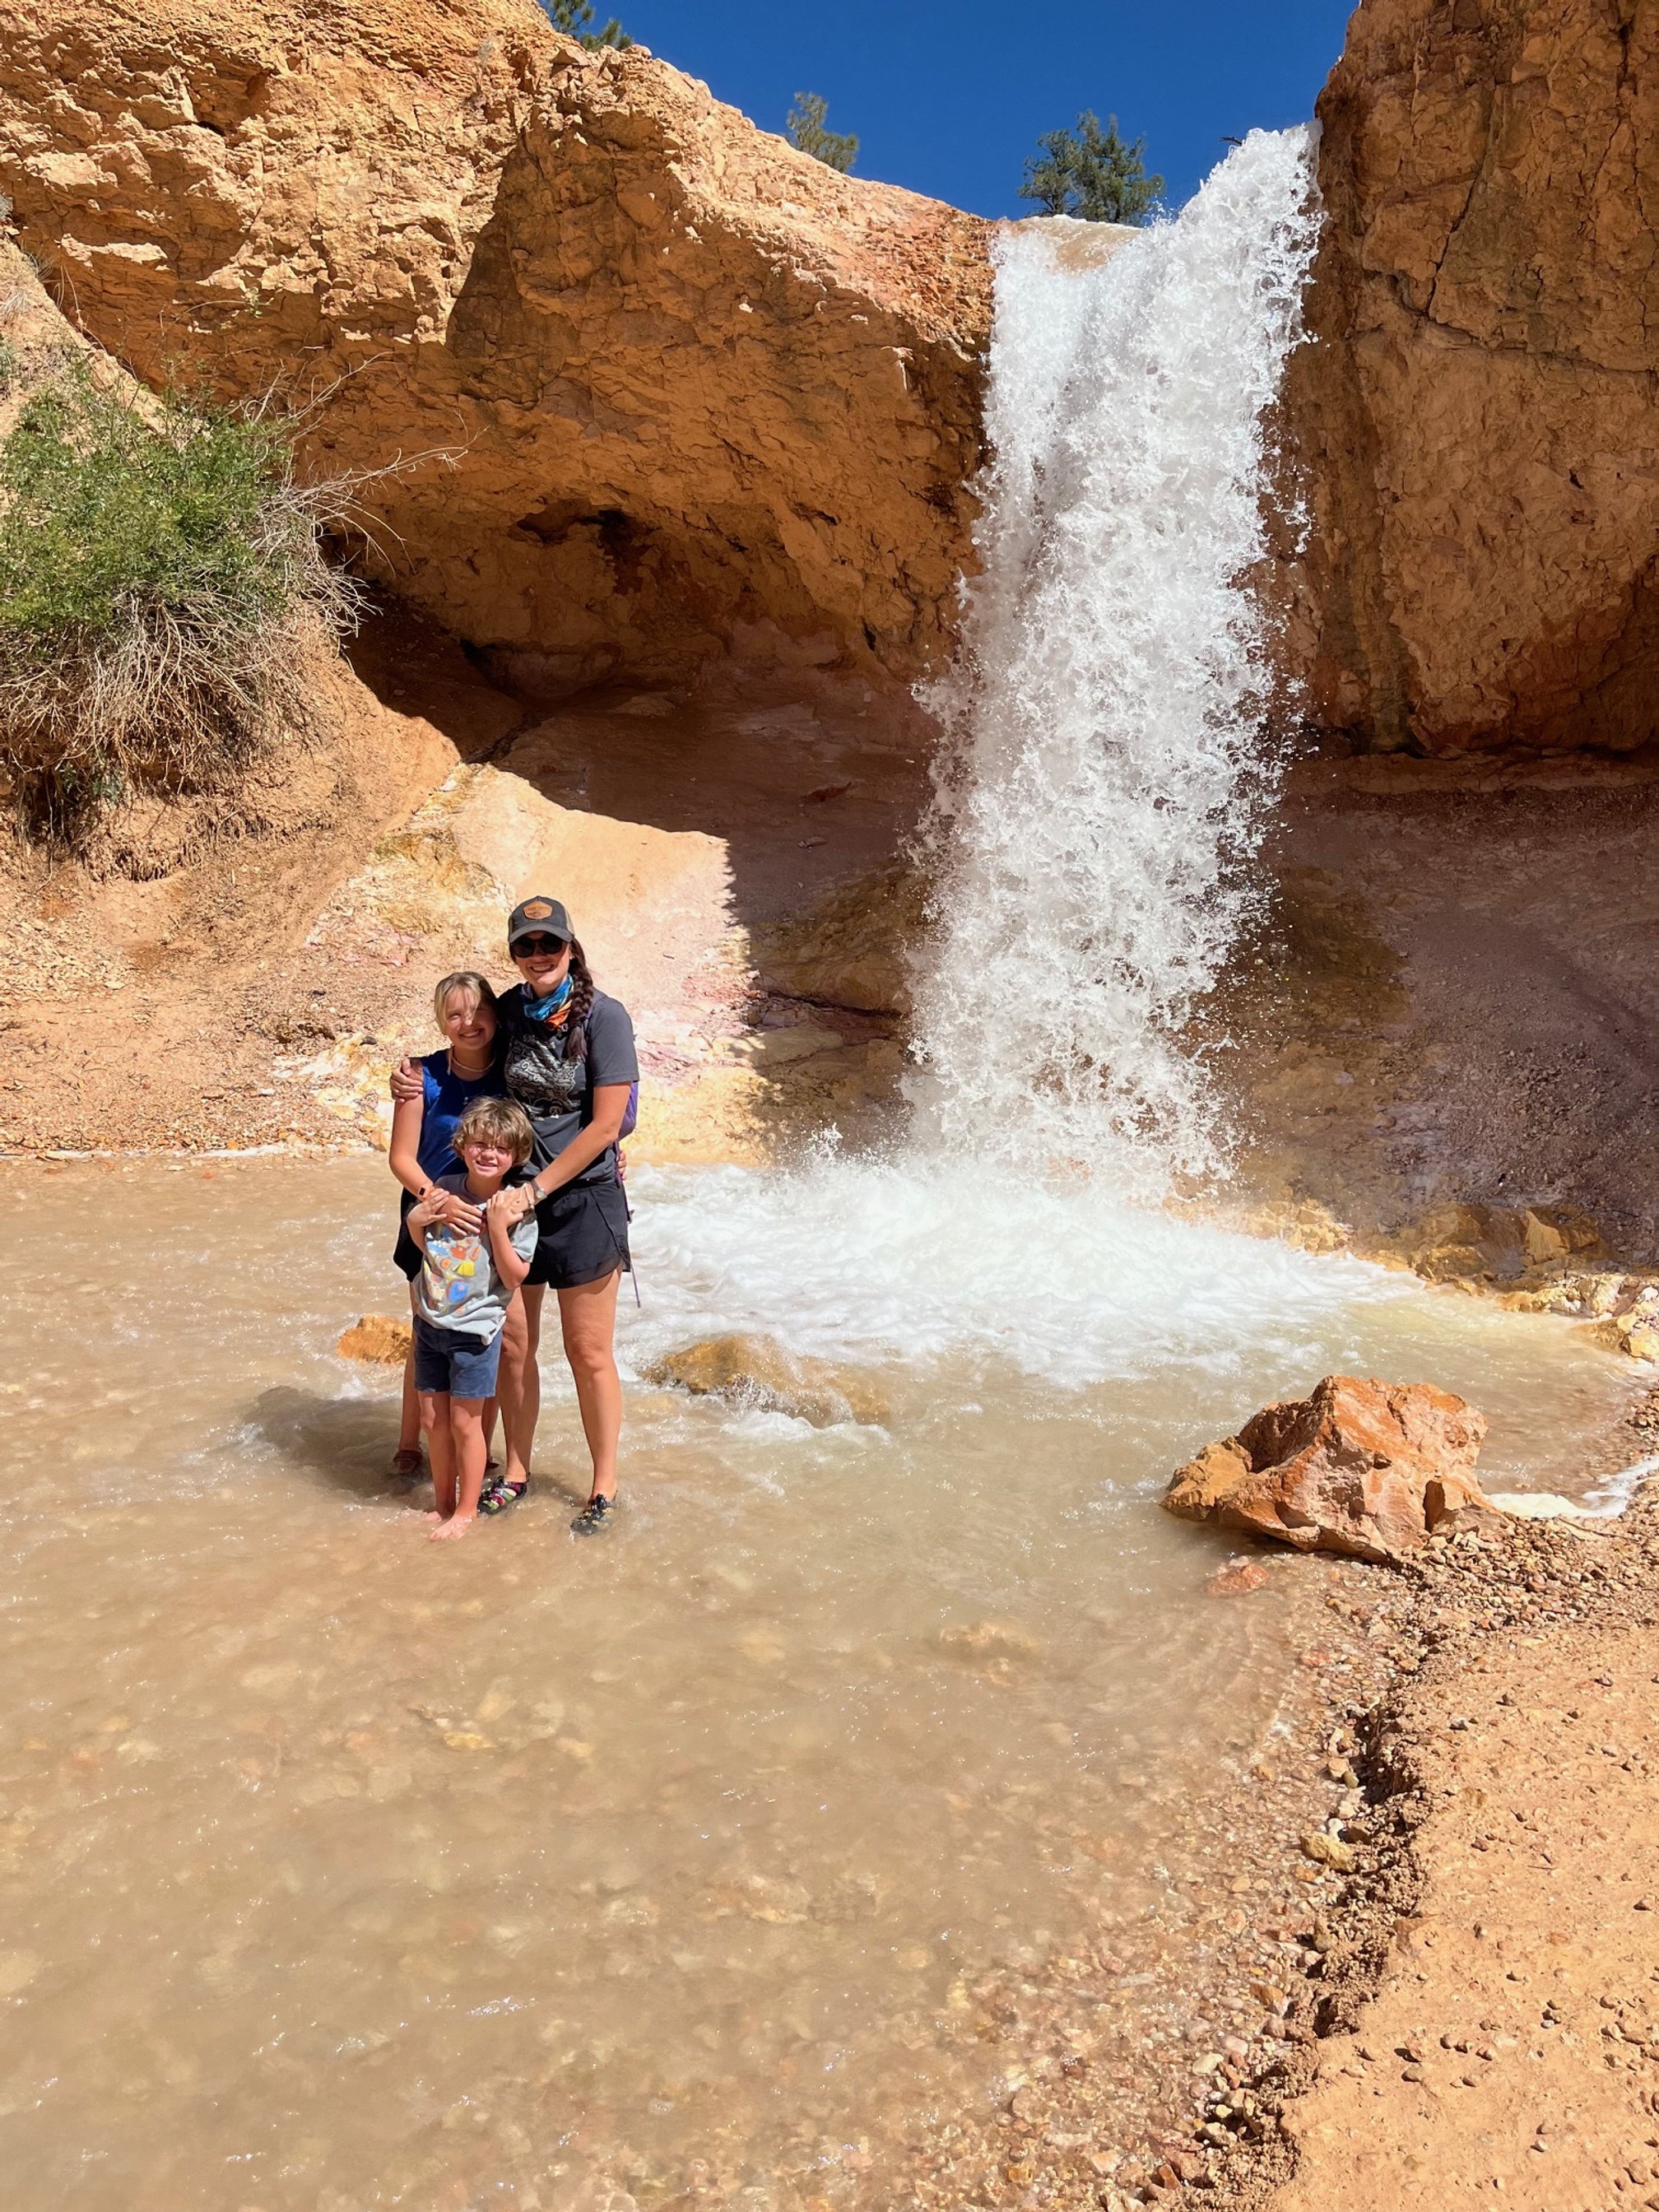
The Mossy Cave trail has 2 highlights: the titular Mossy Cave, which is both mossy and a cave, as well as a desert waterfall, which was much more appealing to my kids.
Plan to spend much longer that you’d expect once your kids start splashing around in the clear stream.
And make sure to pull them away long enough to hike to the overlook for Mossy Cave, too!
Read my complete guide to the Mossy Cave hike here.
If you have 2-4 more hours on this day, I highly recommend taking an ATV tour through nearby Dixie National Forest.
We rented ours through Bryce Canyon Outfitters, which were excellent.
Here’s my complete review of our experience renting ATVs near Bryce Canyon.
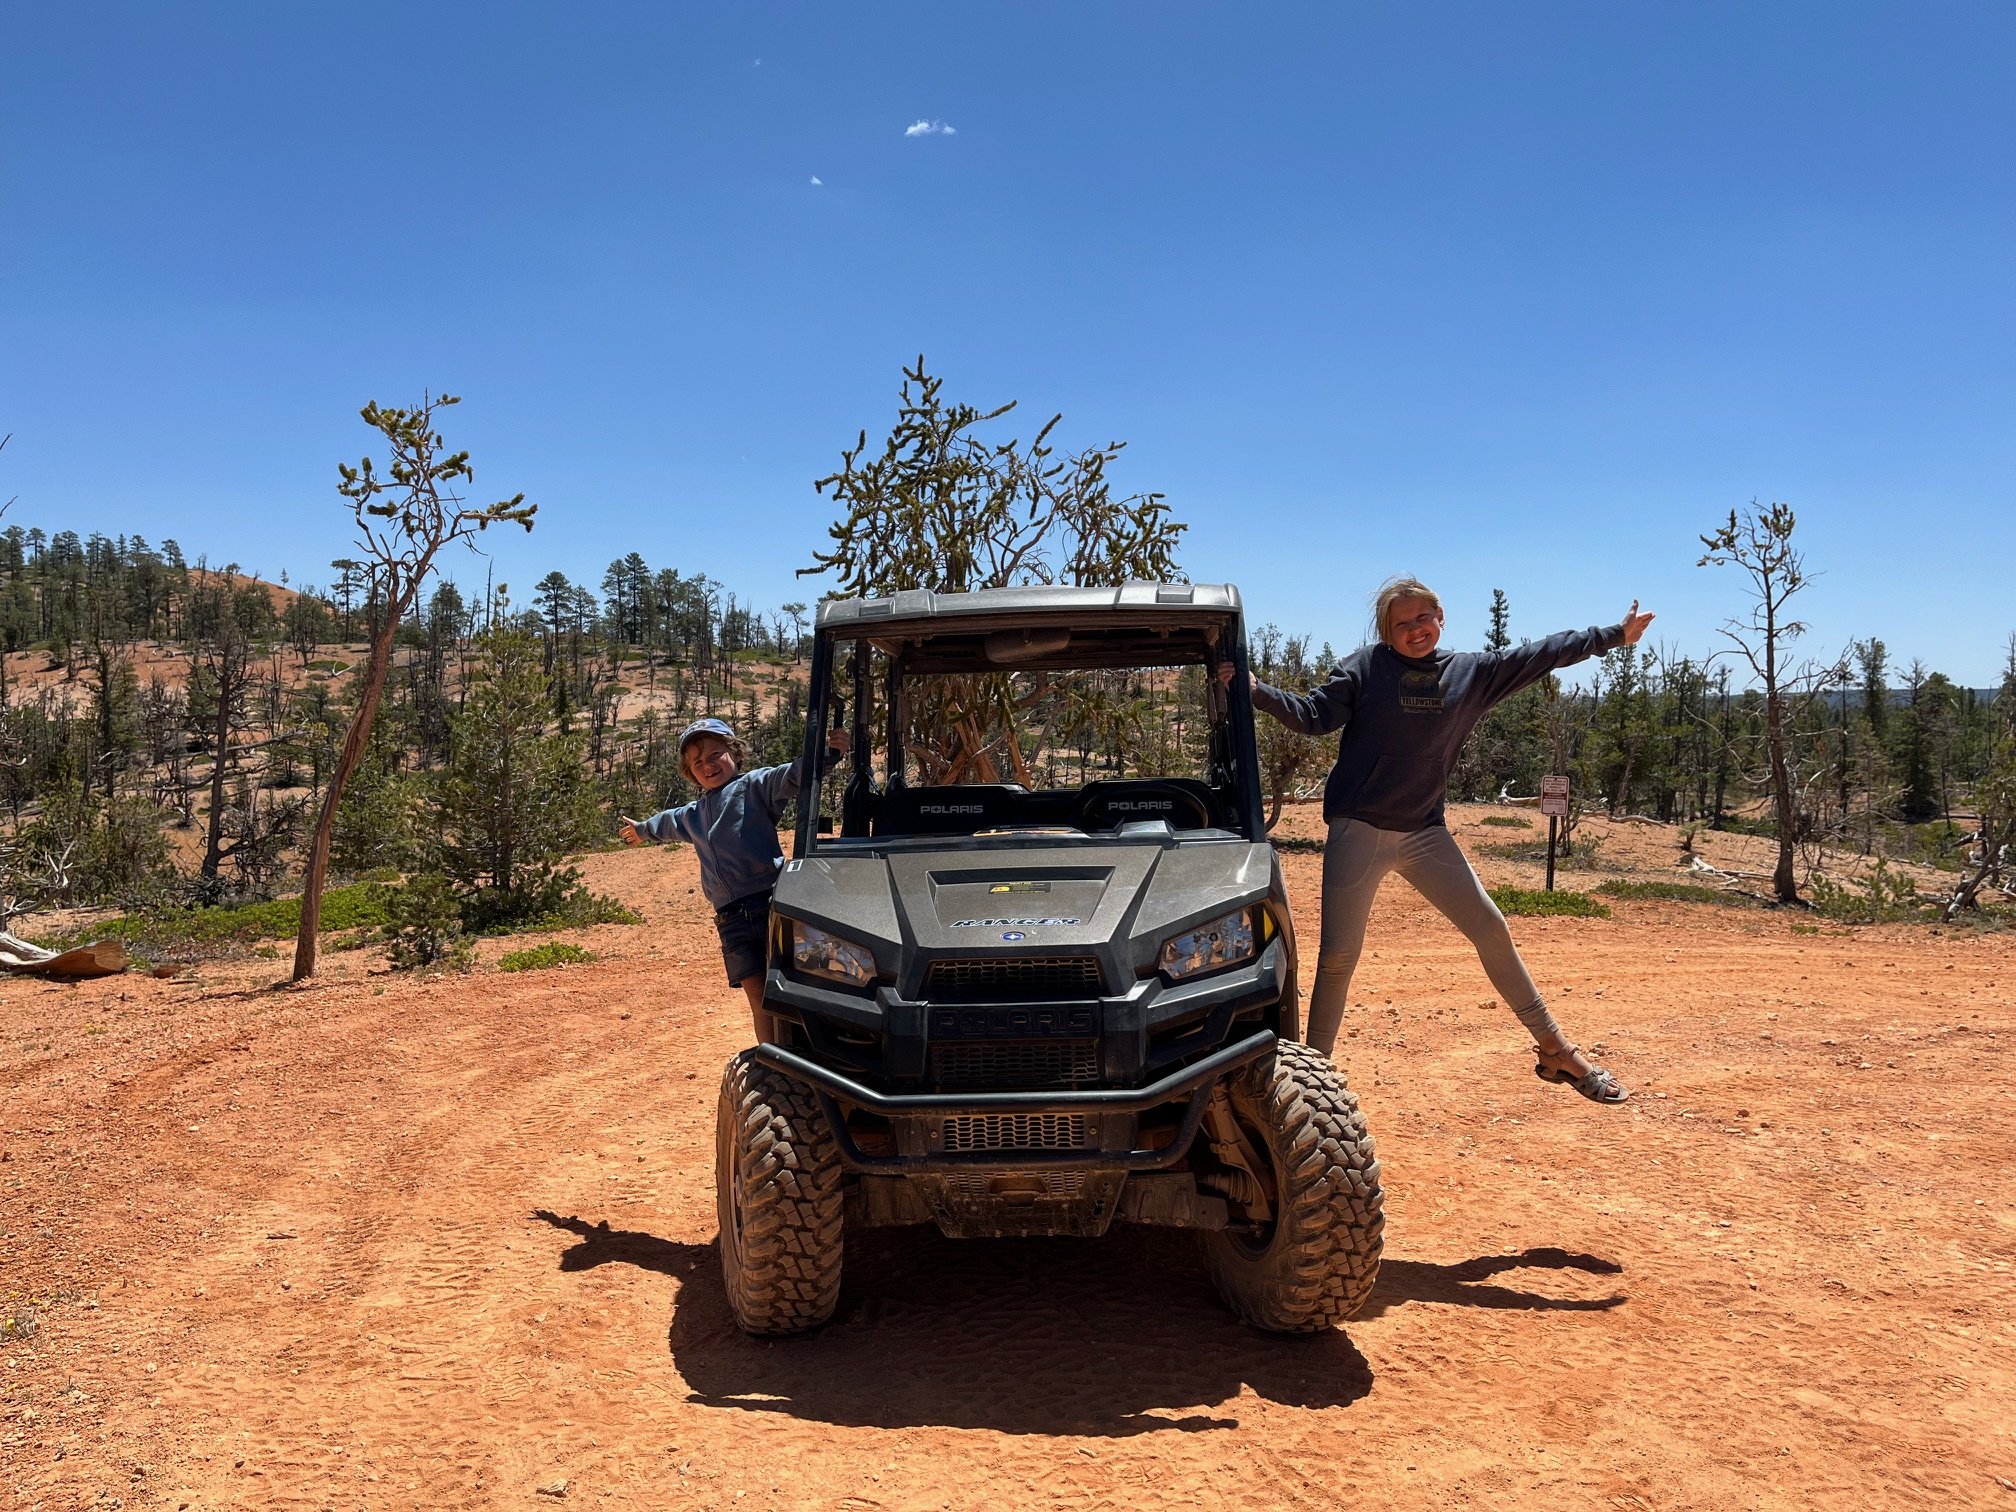
The Camping Kiddos and our ATV through Dixie National Forest
Rather than going with an organized tour that I knew my kids wouldn’t love, instead we rented our own vehicle, which allowed us to move along at our own pace.
The Bryce Wildlife Adventures ATV rental ended up being a highlight of our time in Bryce Canyon.
We got to explore areas of the Paunsaugunt Plateau, visit with a colony of prairie dogs, and see a glacier-fed reservoir, all without seeing another visitor for hours!
Where to stay near Bryce Canyon National Park:
After extensive research, I decided to stay at the Bryce Canyon RV Park by R Journey, which was in Cannonville, about 15 minutes from the main entrance station to Bryce Canyon.
It had a playground and a pool, as well as both tent and RV camping areas. It also has 2 small cabins.
I liked the idea of staying somewhere other than Bryce Canyon City, which is filled with the sprawling Ruby’s Inn complex. That entire area was far too busy for my tastes as I want to get away from the crowds when it’s time to relax at night. Plus, the R Journey was about half the price of the campground at Ruby’s Inn, so it was an easy choice for me.
Day 9: Bryce Canyon National Park
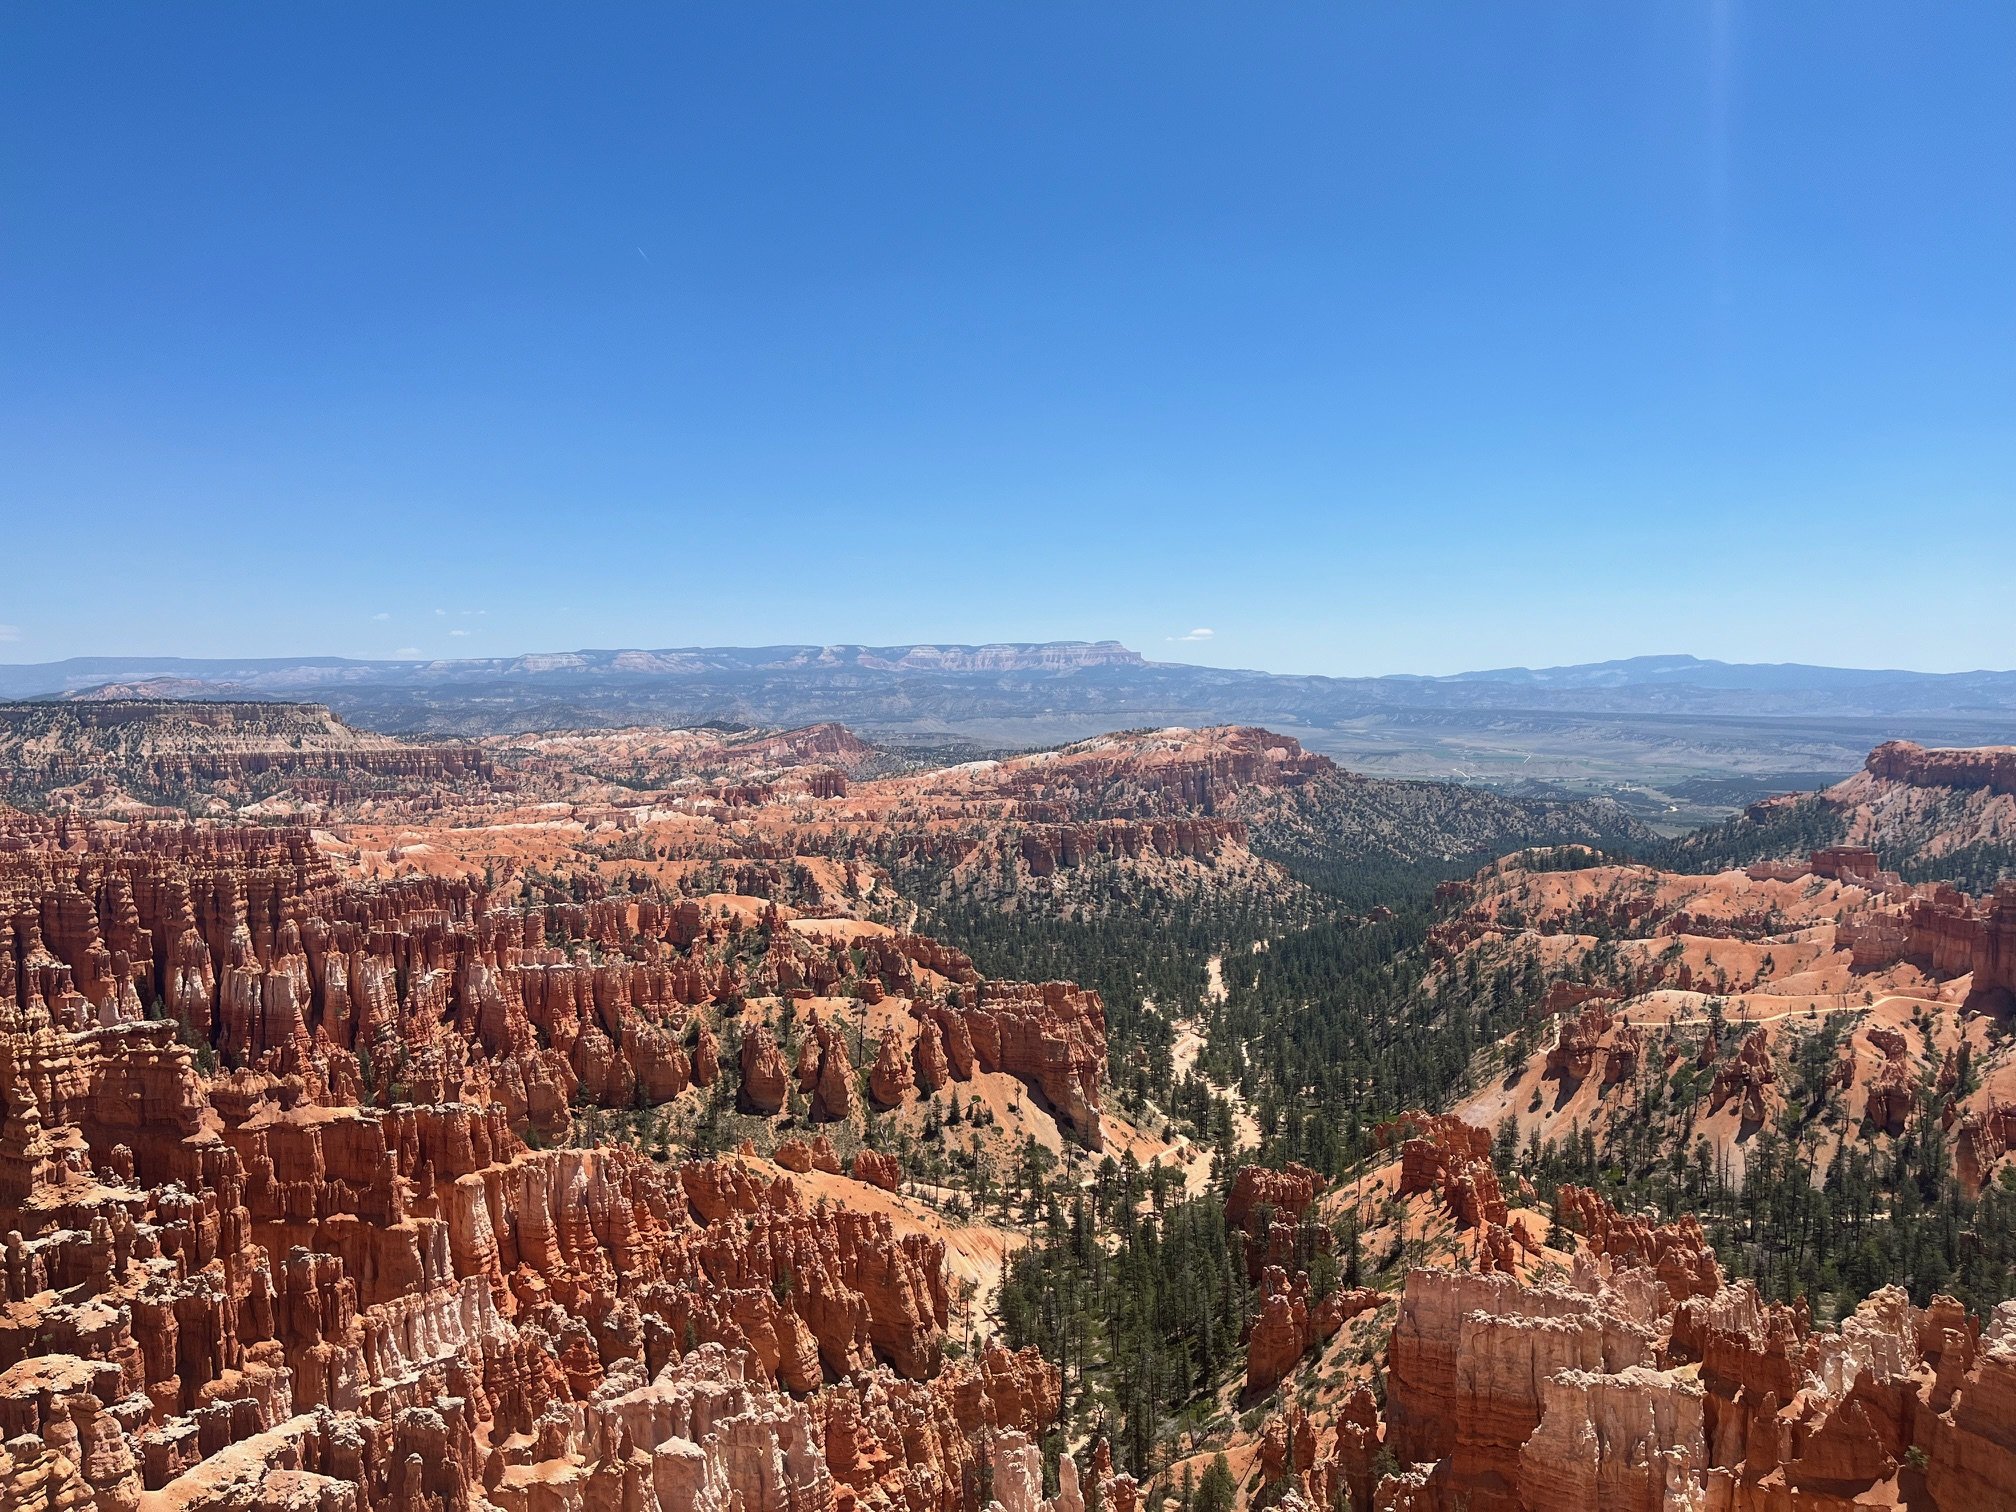
The hoodoos of Bryce Canyon National Park
Are you and your kids ready to explore the last national park of this trip?
Despite the fact that you might be hesitant to visit yet another canyon on this road trip (Utah has them in spades!), I’m here to encourage you. Bryce Canyon isn’t actually a canyon; instead, it’s a series of naturally occurring ampitheatres.
And unlike Zion Canyon earlier in the trip, where you were mostly exploring on the canyon floor, here, you’re up on the rim! (To see what each of these two parks has to offer, check out my comparison post of Zion vs. Bryce Canyon.)
Because of this set up, visiting Bryce Canyon with kids can feel daunting. In most areas along the rim, there aren’t any fences or barriers to keep an adventurous kid from stumbling over.
As always, just know your child and be willing to step off the rim trail if you feel as if they’re getting too crazy.
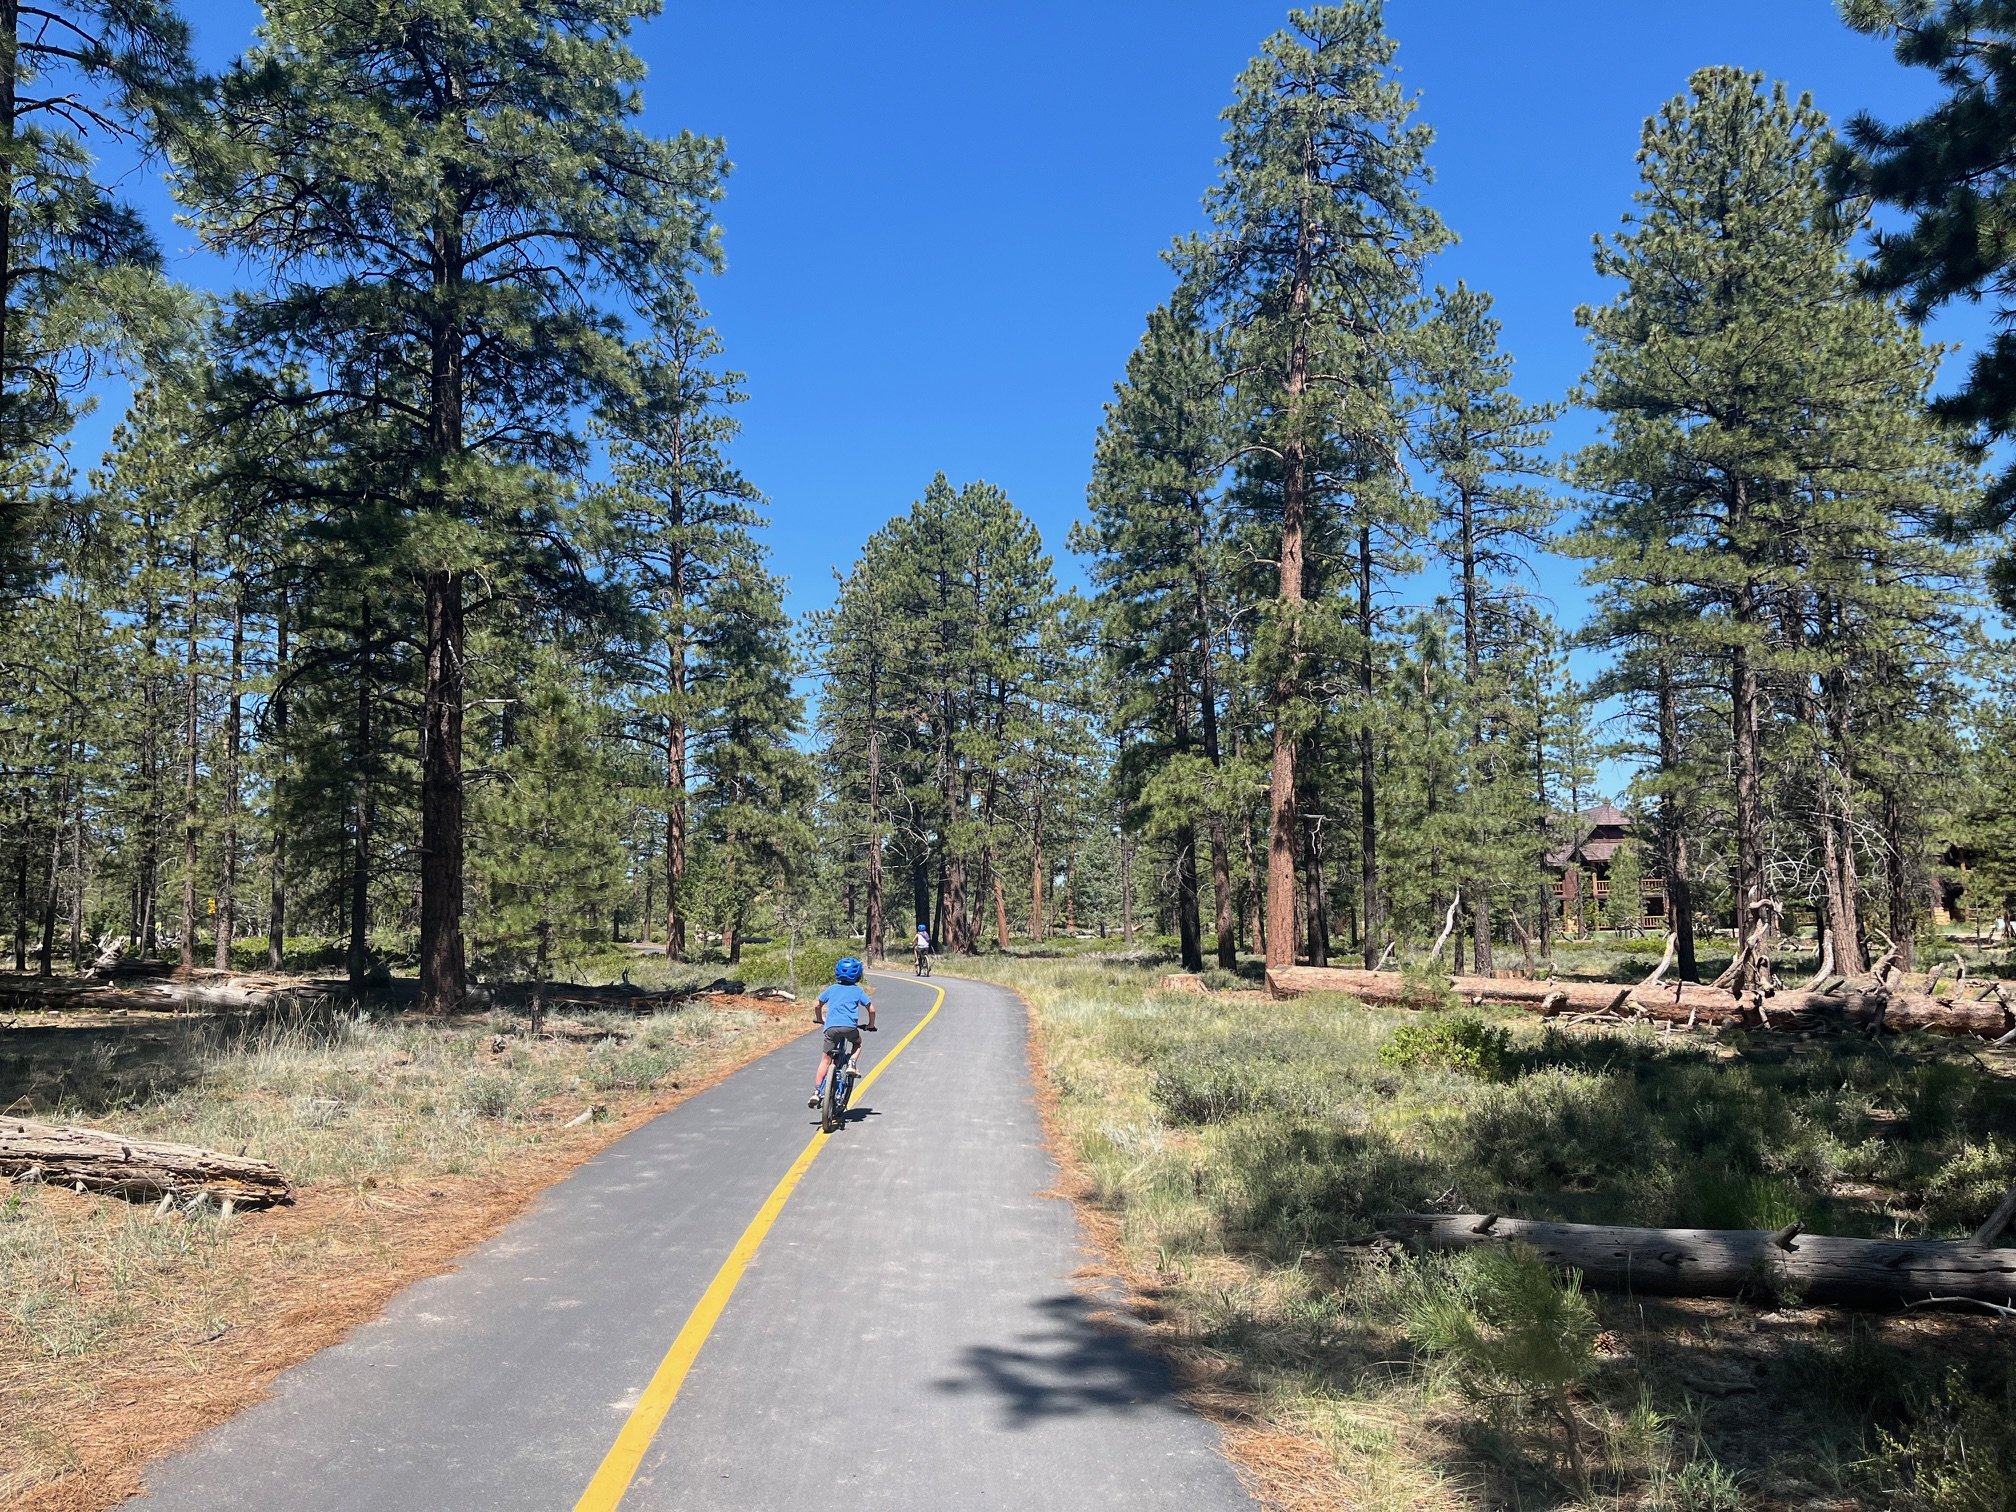
One way to see the rim without walking the entirety is to rent bikes and explore via the multi-use path. This path connects the visitors center to Inspiration Point and runs 5 miles into the park.
If you head out of the park past the visitors station, you can bike for 18 miles in total, ending up in Red Canyon west of the national parks.
My kids and I rented bikes at the Historic Service Station near Bryce Canyon Lodge and Sunrise Point, and happily bikes all over the portion of the multi-use trail in the park. The Historic Service Station had pedal bikes for kids and adults, as well as a standard e-bike. (Since they didn’t have the e-bikes with kid carrier like we had in Zion, we opted for the pedal bikes instead.)
Learn more about biking in Bryce Canyon National Park in my complete guide.
My kids biking on the multi-use path in Bryce Canyon
If you need a break from the sun, head over to the visitors center. There is a nice gift shop here, and an informative interpretive center that shares information about the local tribes, geological history, and native animals.
My kids loved the prairie dog display, which lets kids crawl under the “ground” and then pop up into a plastic dome like they are prairie dogs. There are a lot of hands on exhibits here, so plan to stay at least 20 minutes or so.
You can also catch the free park shuttle from the visitors center and multiple viewpoints if you’d rather leave your car just outside of the entrance. Check out my complete guide to the Bryce Canyon shuttle bus system to learn more.
Next, head out on the 18-mile scenic drive through the southern portion of the park. There are multiple overlooks here, so pull over whenever your kids need to get out.
See if you can spot any of the large ravens, mule deer, pronghorn, or prairie dogs as you drive along!
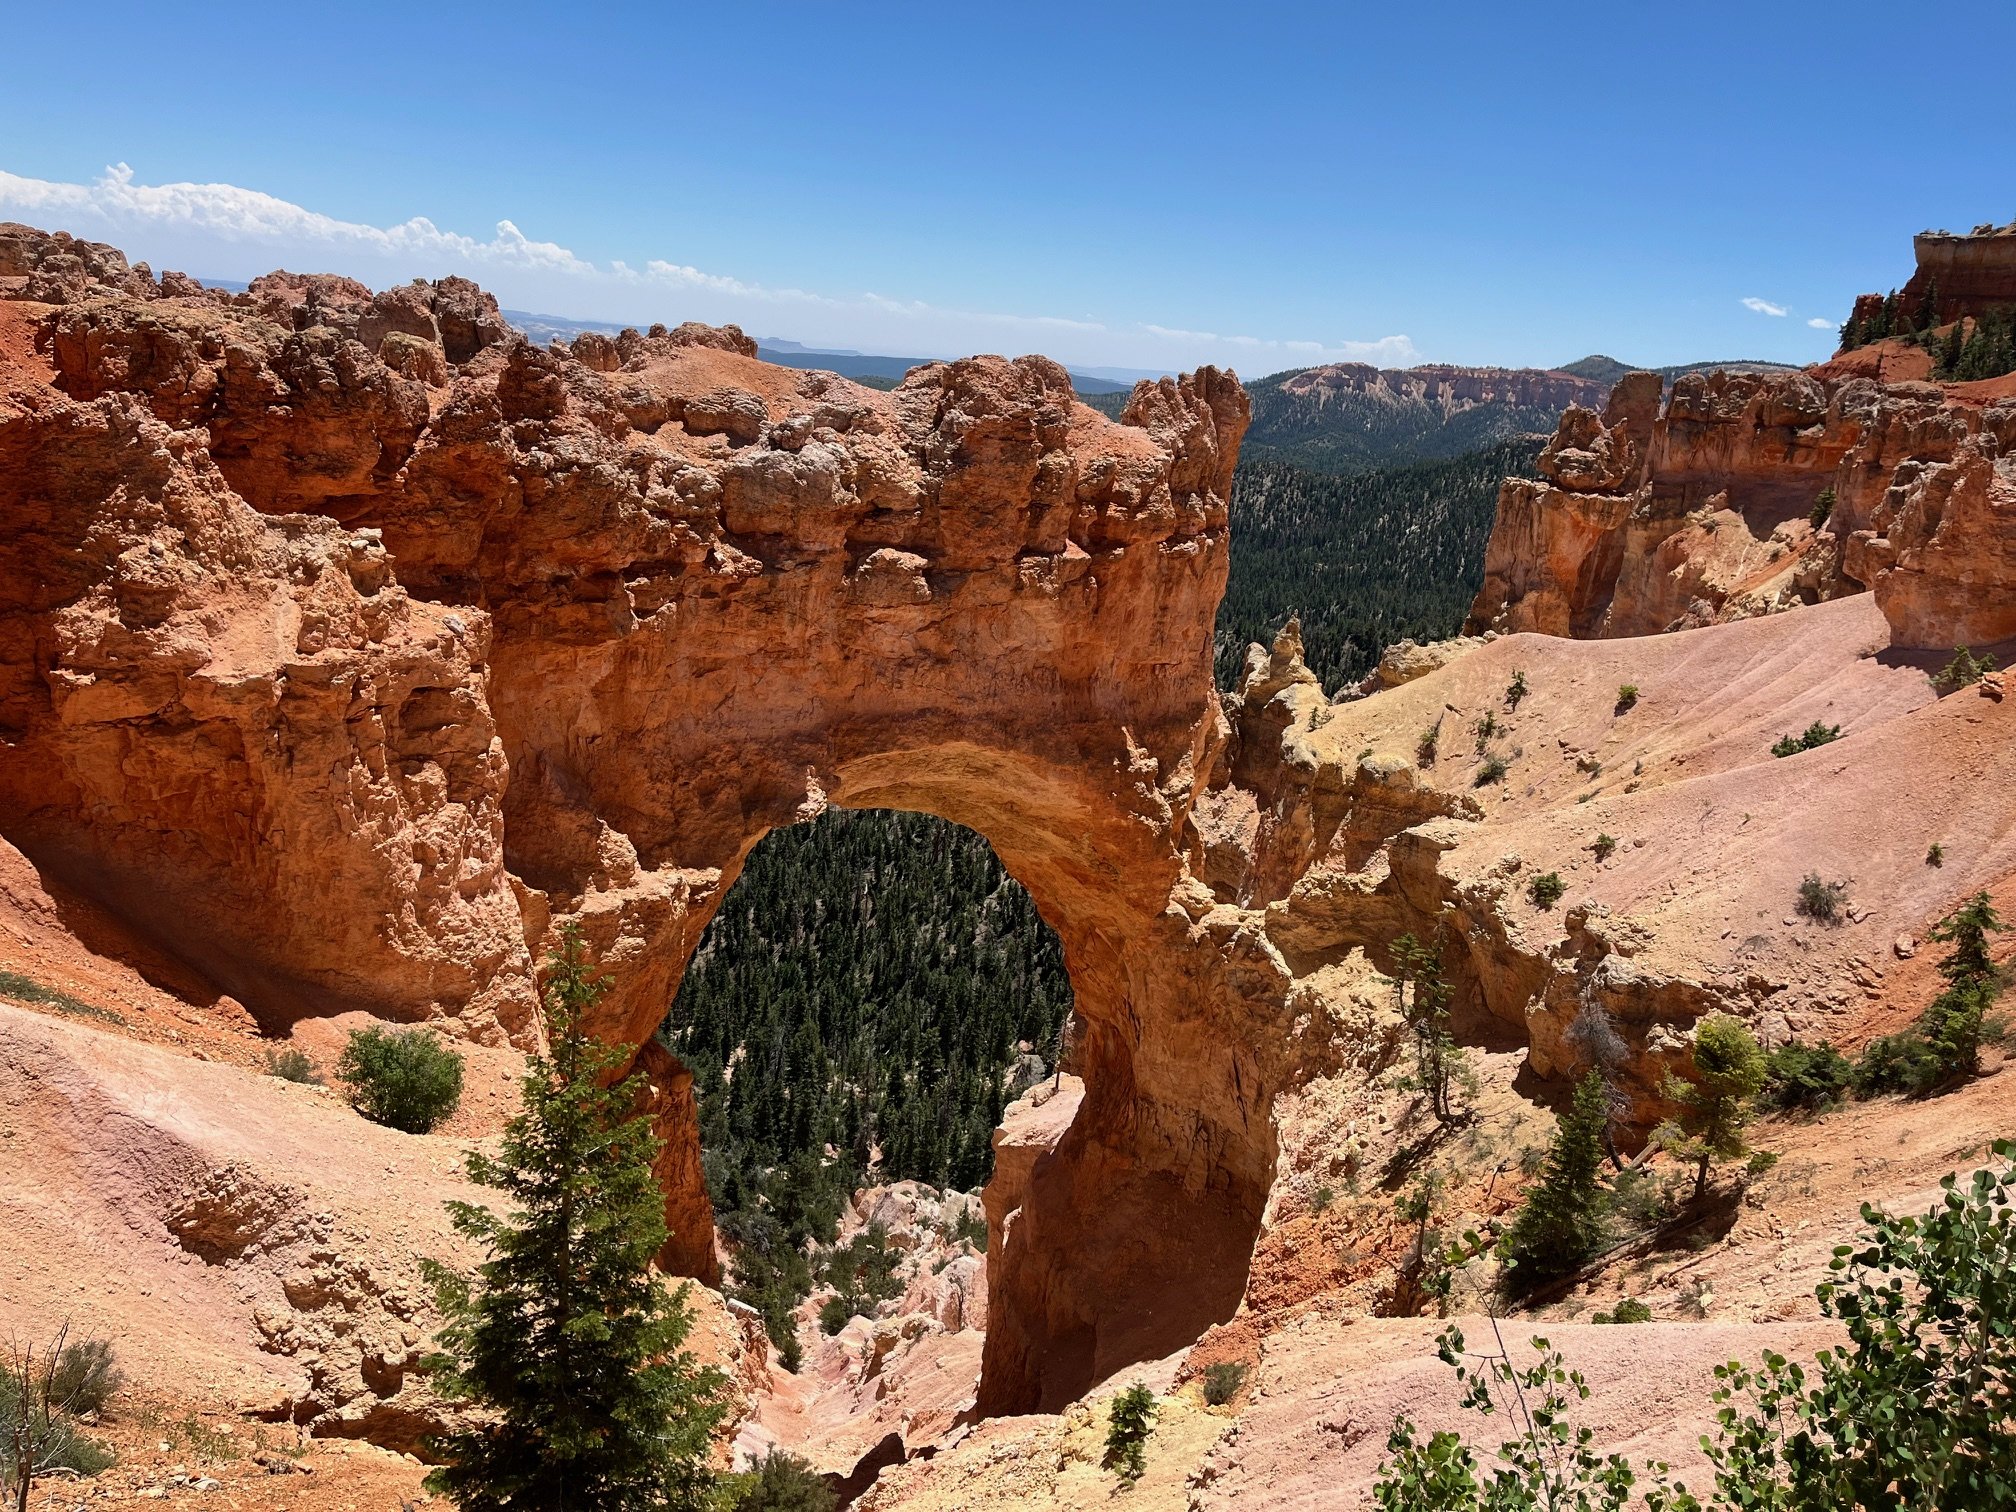
The Natural Bridge overlook is one you should make sure to stop for. This massive stone bridge is actually an arch if you’re going by geological terms, since it was created not by running water, but by a combination of ice cracking the stone and wind.
The Natural Bridge at Bryce Canyon National Park
It’s fun to compare this Natural Bridge to the features in Arches National Park and the Hickman Natural Bridge in Capitol Reef. While you can’t walk under it like you could at Arches or Capitol Reef, the viewing area is fenced in with plenty of space to get that perfect look.
At the end of the scenic drive, you’ll find Rainbow Point, which offers up incredible long range views of Grand Staircase-Escalante. There are a couple of hikes here if your kids are getting antsy: the Bristlecone Loop is only 1 mile in total with less than 100 feet of elevation gain.
For more ideas on how to pack in everything, check out my 1 day in Bryce Canyon National Park itinerary.
How to extend your stay in Bryce Canyon City:
While this area is known for the national park, there’s SO much more to do here. The incredible Kodachrome Basin State Park is located in nearby Cannonville, and it has a kid-friendly archery course, a little fossil dig area, and an easy nature trail.
Red Canyon is west of the national park on Highway 12, and has more hiking and a ranger station. The massive Grand Staircase-Escalante National Monument deserves its own vacation, honestly, thanks to the many scenic drives, hikes, slot canyons, and state parks in or near it.
Day 10: Bryce Canyon City, UT, to Las Vegas, NV
Total drive time today: 4 hours
Sadly, your trip has come to an end, but, hopefully, you and your family are coming away with some incredible vacation memories!
If you have time on your way back to Las Vegas, stop in Panguitch, where you can get a great burger or barbeque at Cowboy’s Smokehouse Cafe. There’s also an adorable antiques shop in the town’s old firehouse.
Then, make your way towards I-15, going north through Panguitch on Highway 89, and then turning to the northwest on Highway 20 to link up with I-15.
NOTE: This route is okay for both cars and RVs, though there is a pass near the intersection of Highway 20 and I-15.
Drive back to Las Vegas and carry those incredible memories with you as you head home!
Tips for Visiting the Utah Mighty Five National Parks with Kids
If you’re planning to rent or bring an RV or travel trailer with you on this trip, plan your route carefully.
I made the mistake of taking our camper on Million Dollar Highway in Colorado, and, since then, I’m a bit ridiculous about ensuring we don’t have any driving surprises.
I noted the areas of potential concern in the itinerary above, but here’s the info again in case you want it all in one place.
All hooked up and ready to hit the road in Cannonville, Utah!
When leaving Torrey to go to Bryce Canyon, opt for the route taking you through Koosharem on Highways 24 and 62. I’d avoid Scenic Highway 12 with a travel trailer or RV as there is limited area to pull over or turn around.
Also, do not take the Zion-Mt. Carmel Highway in Zion National Park with your RV or trailer. While you can technically take some smaller trailers and RVs, you have to call ahead, speak with a ranger, pay a fee, and then have the tunnel shut down in both directions while you pass.
The itinerary I’ve shared above never has you taking that road, but be aware in case your GPS decided to do something odd that differs from my recommended routes.
The stretch of Highway 12 between Bryce Canyon City and Cannonville has a steep decline going around multiple curves. If you’re driving an RV or pulling a travel trailer, down shift to take the stress off of your brakes and don’t be afraid to go slowly in that right lane.
Finally, there is a mountain pass between Panguitch and I-15 on Highway 20. If you’re following my suggested route above, you’ll be climbing into the pass from Panguitch, which is the better direction for RVs. There is a passing lane here, so take advantage of it.
On the other side of the pass, the road slopes down slowly but consistently, which you should be able to manage with proper down shifting and intentional use of your vehicle and trailer brakes. There’s a runaway truck ramp just before you get to I-15 if things go really wrong.
Carefully plan out when you’ll get groceries.
Much of this trip is in very remote parts of Utah, where the residents will often drive 90 minutes to 2 hours to do their full grocery shop.
Knowing that traveling with kids means always having plenty of snacks on hand, you’ll want to bring a cooler and reusable grocery bags and stock up at designated areas. If you’re bringing a baby, stock up early in the trip on diapers and formula, as there’s no guarantee that you’ll find a selection of the right brands or sizes once you leave Moab.
First, stock up with essentials before you leave Las Vegas. There is a Walmart in Henderson right off of I-15 where you can buy food, drinks, and a cooler for much cheaper than you can anywhere else on this trip.
Avoid buying groceries in Springdale while you’re exploring Zion National Park. EVERYTHING in Springdale is incredibly expensive, with some items being 2 or 3x what they’d be at a regular grocery store.
The next place to get reasonably priced groceries is in Cedar City between Springdale and Moab. There is a huge Walmart at Exit 57 on I-15 that’s right by the interstate.
In Moab, go to the City Market if you need snacks, drinks, or food. It is much less expensive than the Village Grocery nearby. Also, get the free rewards card for City Market which truly helps in knocking money off of your grocery total. This is also the LAST reasonably priced place to do a large grocery shop on the trip!
Torrey, Utah, doesn’t have a grocery store to speak of. There are a few convenience stores, but these have a small selection with a BIG price tag.
There is one very small grocery store in Cannonville, about 10 minutes from Bryce Canyon City, called Clark’s Country Market. It only has 4 aisles, and it’s really expensive. It’s fine if you need to pick up a box of crackers or something, but I would caution against buying a lot here.
Pack clothes that will work with your kids.
My son in his hiking gear after conquering the Narrows in Zion National Park!
This itinerary is filled with rock scrambles and sand and streams. Your kids will be getting dirty and wet (and they’ll have a great time while they’re at it!).
Leave anything remotely precious at the house and pack clothes that you’re willing to get tested out.
When we did this road trip loop, it was a part of a longer 8-week road trip through Colorado, Utah, Idaho, Montana, and South Dakota, so we washed our clothes constantly. All of the campgrounds I’ve recommended above have coin-fed laundries on-site, so make use of those!
Also, I highly recommend bringing proper hiking shoes, boots, or sandals on this trip. We all had hiking sandals for this trip, which allowed my kids to play in the water or sand, then quickly head out onto the rest of the trail. The Keen Newport H2 hiking sandals come in toddler, kids, women, and men’s sizing, and I can’t recommend them enough.
If you have no clue where to start with good outdoor gear for your kids, check out these gear guides:
