Sand Dune Arch and Broken Arch Trail Guide in Arches National Park
The Sand Dune Arch and Broken Arch Trail in Arches National Park is an easy, fun introduction to hiking in Moab, Utah.
Both are great for kids, beginning hikers, or those visitors with a limited amount of time, and each section of the trail includes at least one picturesque rock arch.
These 2 short trails share the same parking area and trailhead, and they’re both quick enough sections to combine into one easy hiking experience.
Below, you’ll find everything you need to plan your time in this area of Arches National Park, including trail suggestions, things to expect along the way, and what to pack.
The author with her dad and children at Sand Dune Arch
This post contains affiliates. If you purchase through the links below, I will receive a commission at no charge to you.
Hike Overview
Trailhead Location: Inside Arches National Park approximately 15.5 miles from the visitors center
Trail length: up to 2.3 miles round trip, depending on the approach
Trail difficulty: easy
Elevation gain: approximately 50 feet
Starting the Hike: Parking and Trail Information
One of the many ravens near the trailhead
To get to the trailhead for Sand Dune Arch and Broken Arch, head deep into Arches National Park. The parking area will be approximately 15.5 miles from the visitors center on Arches National Park Road (the main road through the park).
It will be on your right about a mile and a half past the turn off for Fiery Furnace, so be on the lookout once you see that marker.
The parking lot for these trails is paved with around 30 spots for cars and 8 or so for trailers and RVs.
You’ll find 2 vault toilets at the southern end of the parking lot. These are some of the cleanest we’ve found on our travels!
You’ll also be greeted by a small unkindness of ravens who love to beg for any trail snacks you have. (Although they’re quite cute and persistent, it’s never a good idea to feed the wildlife.)
The parking lot is lined by a wooden fence, so it’s easy to see where the trailhead is via the break in this fence. You’ll also find a quick information board with safety reminders and a general overview of the trails.
Because it’s such an easy trail to access from the Arches scenic highway, I’ve included it as part of my 1 day itinerary for Arches and Canyonlands if you want to see both of Moab’s national parks quickly.
Sand Dune Arch vs. Broken Arch
Once at the trailhead, you’ll need to make a decision as you have 3 options:
Visit Sand Dune Arch, which is the shortest of the hiking trails here,
Hike to Broken Arch and return the way you came, or
Complete the Broken Arch Loop, which will take you through Broken Arch, to nearby Devil’s Garden Campground Loop, and then back on a different section of trail. Doing this loop adds on an extra 1.1 miles and provides the opportunity to see Tapestry Arch, too.
PIN ME!
You could easily do all of these on the same hike, but pick and choose what’s best for your family and time allotment.
Ultimately, you can look at all of them as on the same trail, just with different spurs depending on how you’d like to approach it.
From the trailhead, you’ll head straight down the packed dirt path no matter which of the 3 options you’ve chosen.
About an 1/8th of a mile from the parking lot, you’ll see a small wooden sign at a fork in the trail.
Sand Dune Arch heads into the towering red rocks to your right, while Broken Arch Trail (both just the out-and-back version and the loop trail) head off to the left.
Both trails are well marked and well traveled, and you’re going to have a hard time getting lost out here!
If you’re visiting Arches during the summer, you’ll want to consider the trail conditions before you head out.
Sand Dune Arch is almost completely protected from the sun, thanks to the sandstone fins surrounding it.
Broken Arch Trail and Loop are both almost fully uncovered, so you’ll need to go early in the day in those hotter months.
This hike is just one of many amazing things to see and on a Utah Mighty 5 road trip with your kids!
Sand Dune Arch Trail Guide
Sand Dune Arch is like a giant playground!
Let’s start with the easier of the options here: Sand Dune Arch.
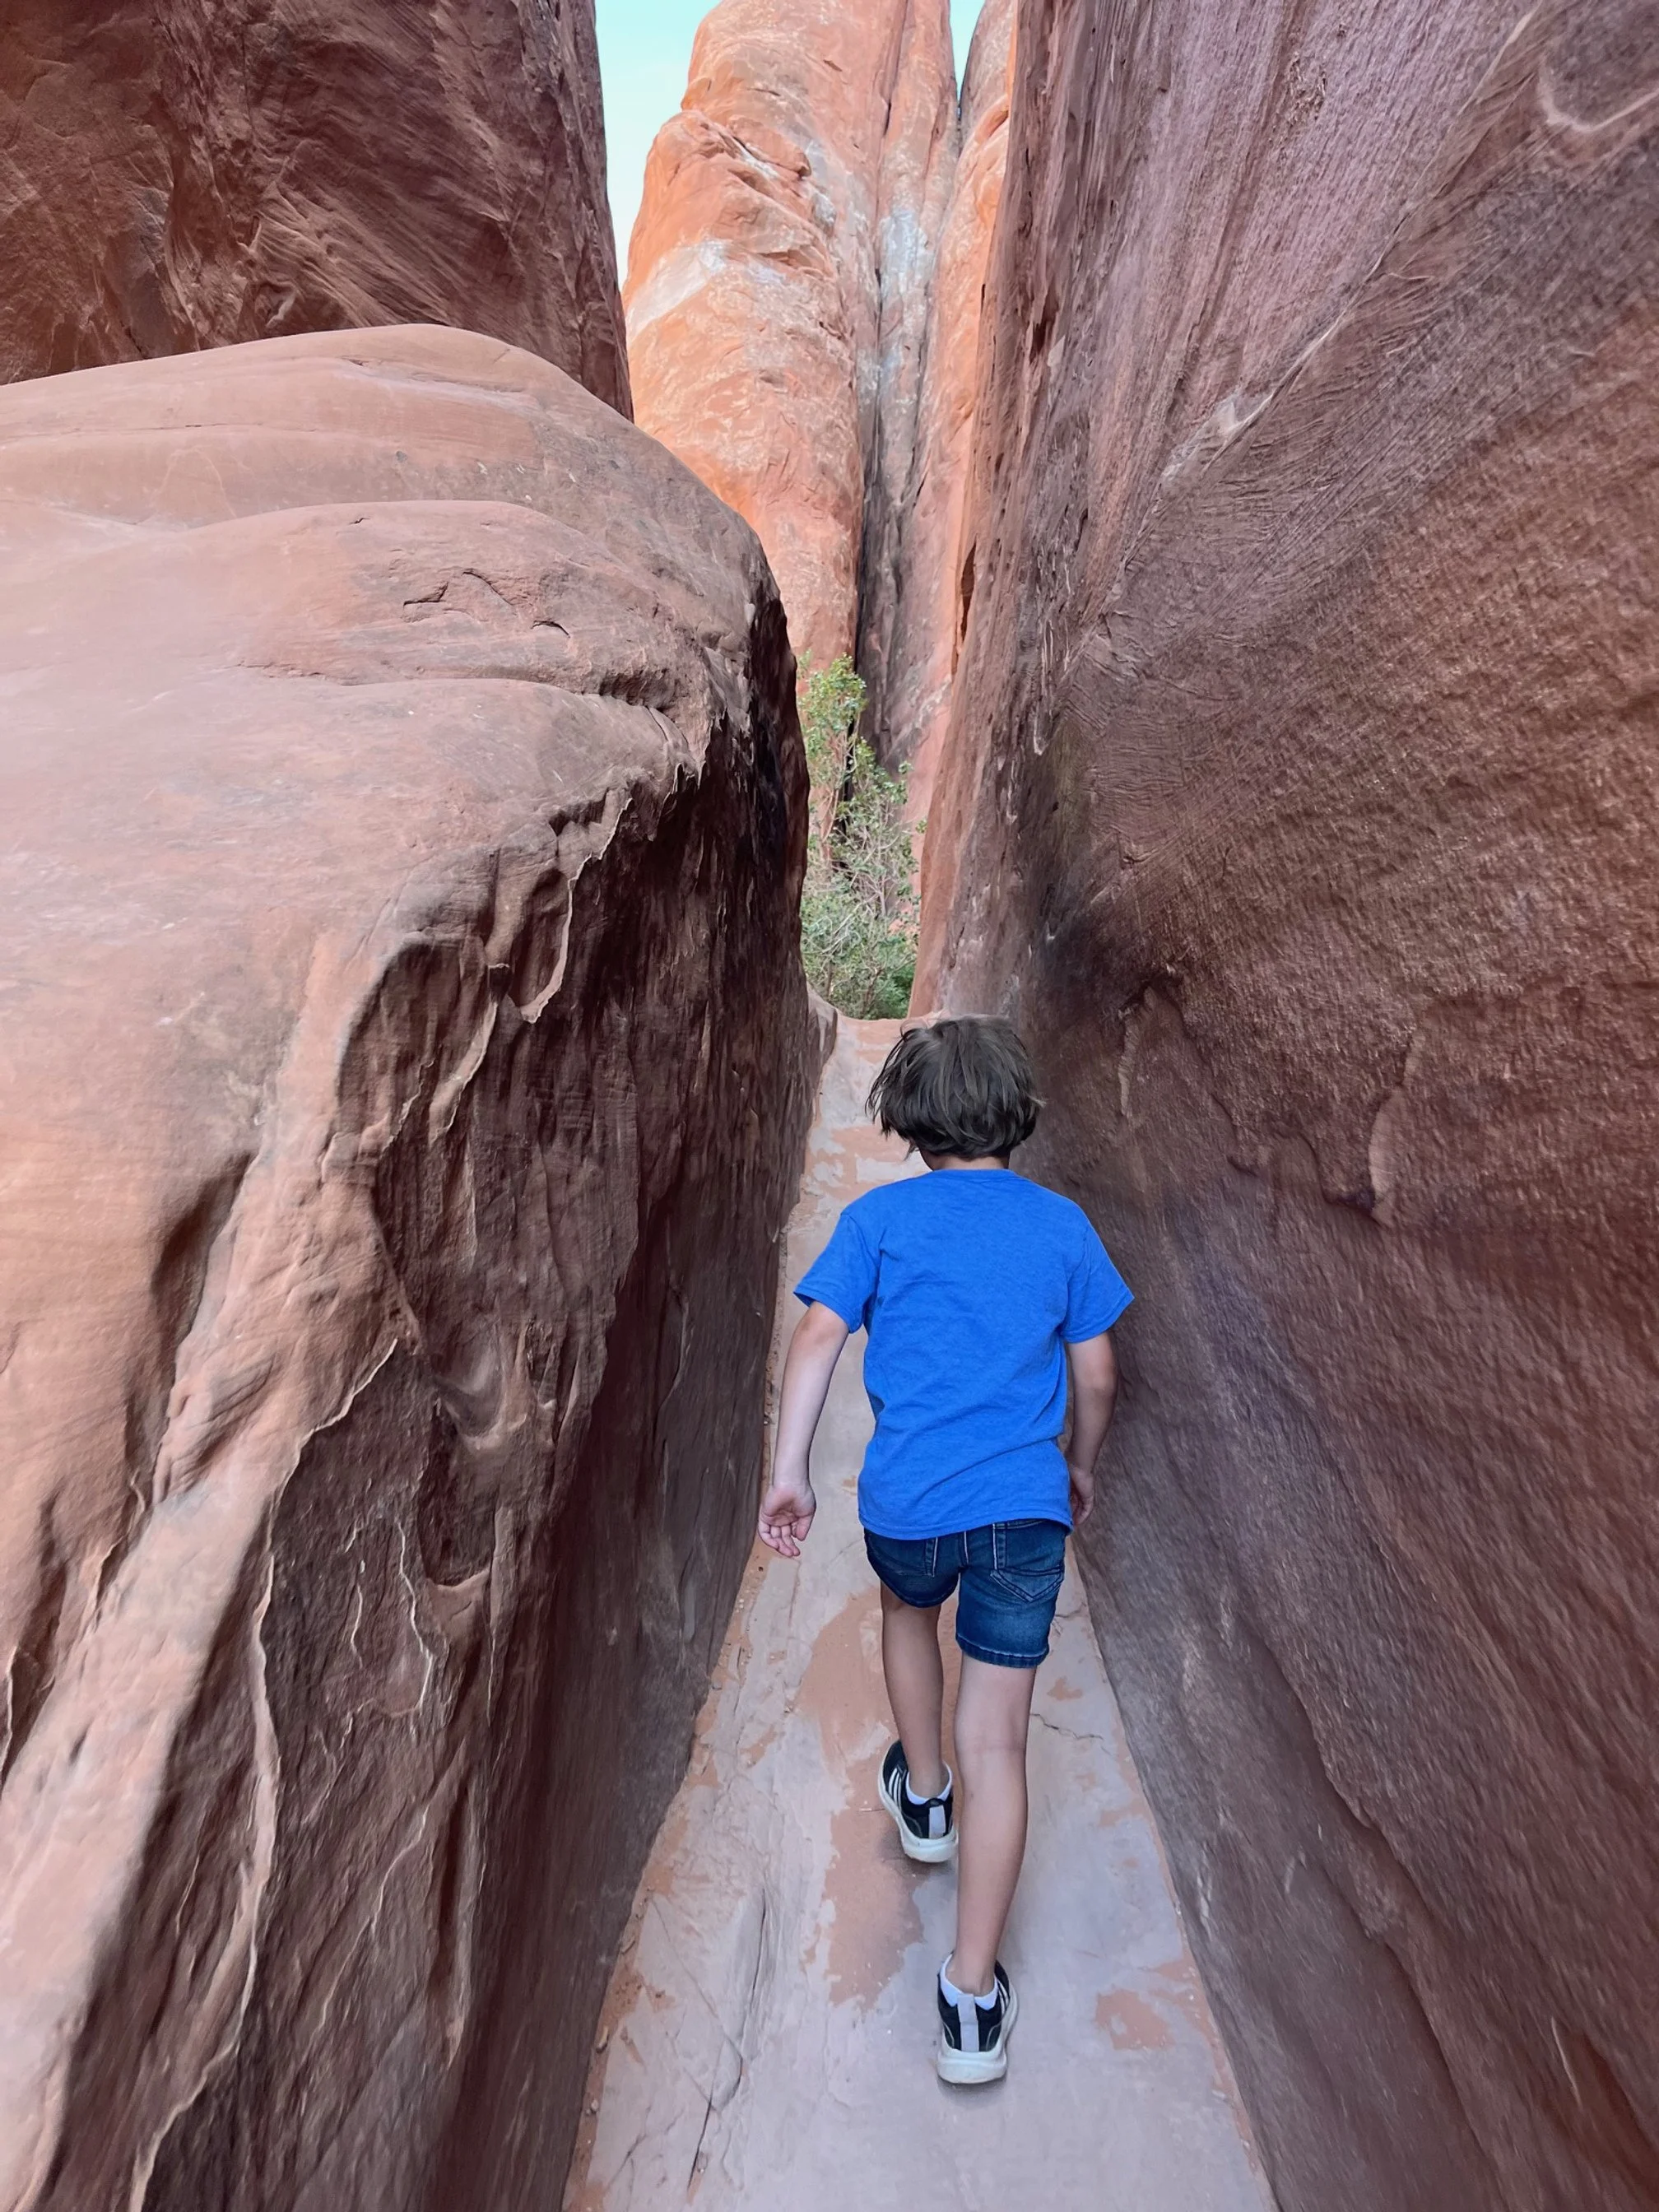
My son heads into the narrow area near the entrance to Sand Dune Arch
It’s also the most kid-friendly thanks to the piles of sand here that your kids will want to toss, roll in, and generally get all over themselves.
Plus, if you’re someone who wants a big payoff for little work or hiking, you can do much worse than this hike, which offers up a secluded arch you can walk under in a setting that’s something from your favorite sci-fi novel.
From that wooden sign on the main trail, you’ll turn right and head directly into a small space between 2 towering rocks.
It can be a bit of a squeeze if you’re wearing a backpack or carrying a child, but most people should be able to navigate it without too much issue.
NOTE: I am claustrophobic and will be the first one to turn back if nature tries to put the squeeze on me. I was fine with this area as it is a short distance with plenty of room overhead. It was nothing like the Fat Man’s Misery in Mammoth Cave, which caused me some serious anxiety!
Once you’re past that area, you’ll enter a nearly fully walled in area with piles of sand for a floor. The sand has an insulating effect, so it’s both cooler and quieter in here than it was just outside of that squeeze.
So much sand, so little time to play!
There are a couple of flat rocks for sitting down if you need a break or just want to revel in the otherworldly beauty.
If you press on, you’ll follow the sand deeper into the rock corridor until you get to Sand Dune Arch. It’s tucked back to your right when you walk down that corridor, and the pinks and reds here are gorgeous. The rolling sand continues underneath the arch, which makes for some great photos.
This can be a busy area as people file into see the arch, but they also don’t stay long. You’ll have the biggest crowds mid-day and on weekends. If at all possible, go after 5 PM, which is when the park all but empties out.
On our most recent trip to Arches, we went about an hour before sunset and had the place to ourselves!
If you’re visiting Arches National Park with kids, you’ll want to plan a longer visit here than you might think. This short hike and destination was, hands down, my kids’ favorite part of Arches, so much so that we visited 3 different times in the week we were in Moab.
The area between a few of the sandstone fins near Sand Dune Arch
This area is where the trail officially ends, but you can push on a bit further if you’d like to explore the rocks more. Past the arch is unmarked backcountry that’s a bit like the Fiery Furnace area. I don’t recommend going far in this area of sandstone fins as it would be easy to get lost or slip on the rock scrambles. (This goes double if you have little kids.)
In 99% of cases, people are going to hike the .25 miles into Sand Dune Arch, hang out for a bit, and then head back to the main trail. Assuming that’s what we’re going now, we’ll retrace our steps to rejoin the main trail outside the entrance to Sand Dune Arch.
Broken Arch Trail Guide
The trail near the spur for Sand Dune Arch
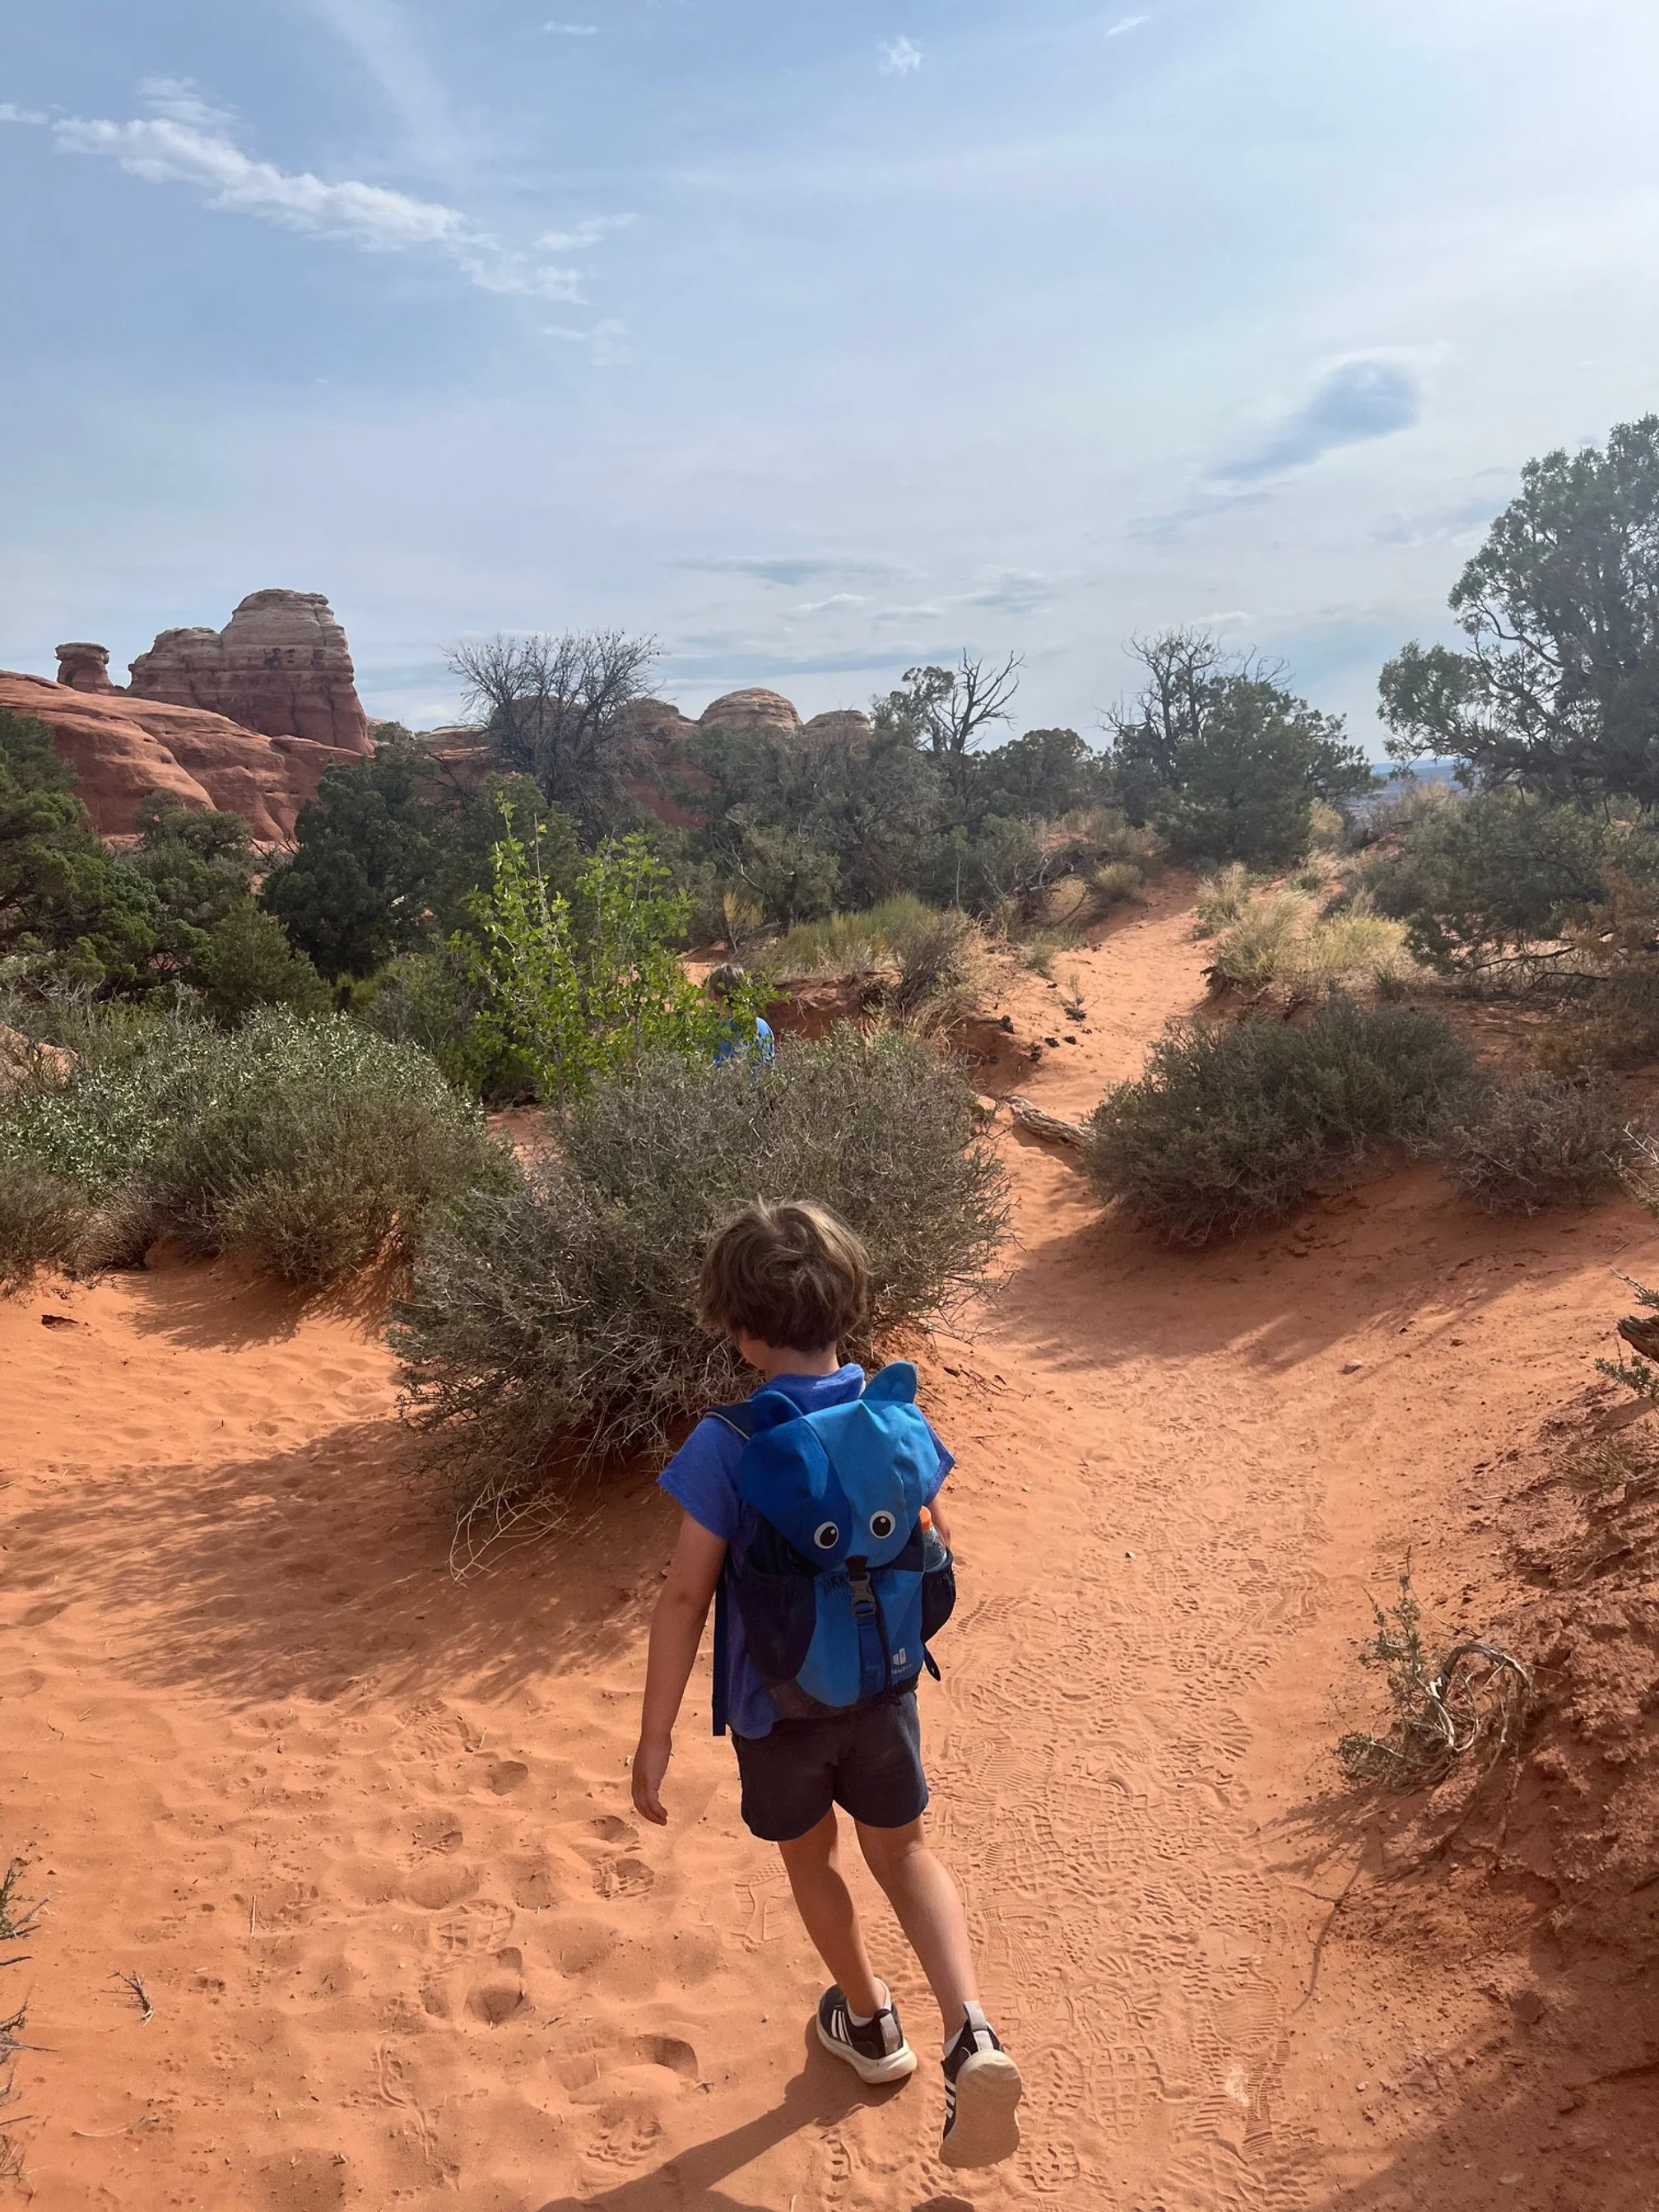
From the wooden sign, you’ll head to the left, out into the sagebrush-filled desert landscape.
The Camping Kiddos heading towards Broken Arch
This area is starkly different than what you just saw inside Sand Dune Arch, so the two make for a great contrast if you’re doing them back-to-back.
The land is largely flat, making this a very easy hike for the first quarter mile or so. This section is also completely without large rocks or trees, so you’re exposed to the sun.
Around the 1/4 mile mark, you’ll get into some slight elevation, and the trail transitions from the packed sandy dirt to areas with slick rock.
You’ll also find a couple of smaller rock scrambles, but nothing crazy.
Just after that first rocky area, you’ll see a sign at another trail crossroads.
If you head to the left, it will take you to the Devil’s Garden campground, while turning right keeps you on track to see Broken Arch.
This area is where the Broken Arch Loop Trail completes its circle.
If you’re planning to do the entire 2.3 mile loop hike (and not just the out-and-back to Broken Arch), you’ll end back up at this point in a bit.
Which way will you go?
For now, we’re still hanging to the right to go towards Broken Arch. You will find a couple of areas that are slightly shaded from the sun, thanks to large boulders, the sandstone fins and some larger juniper trees.
The Camping Kiddos navigate a small rock scramble on the Broken Arch trail.
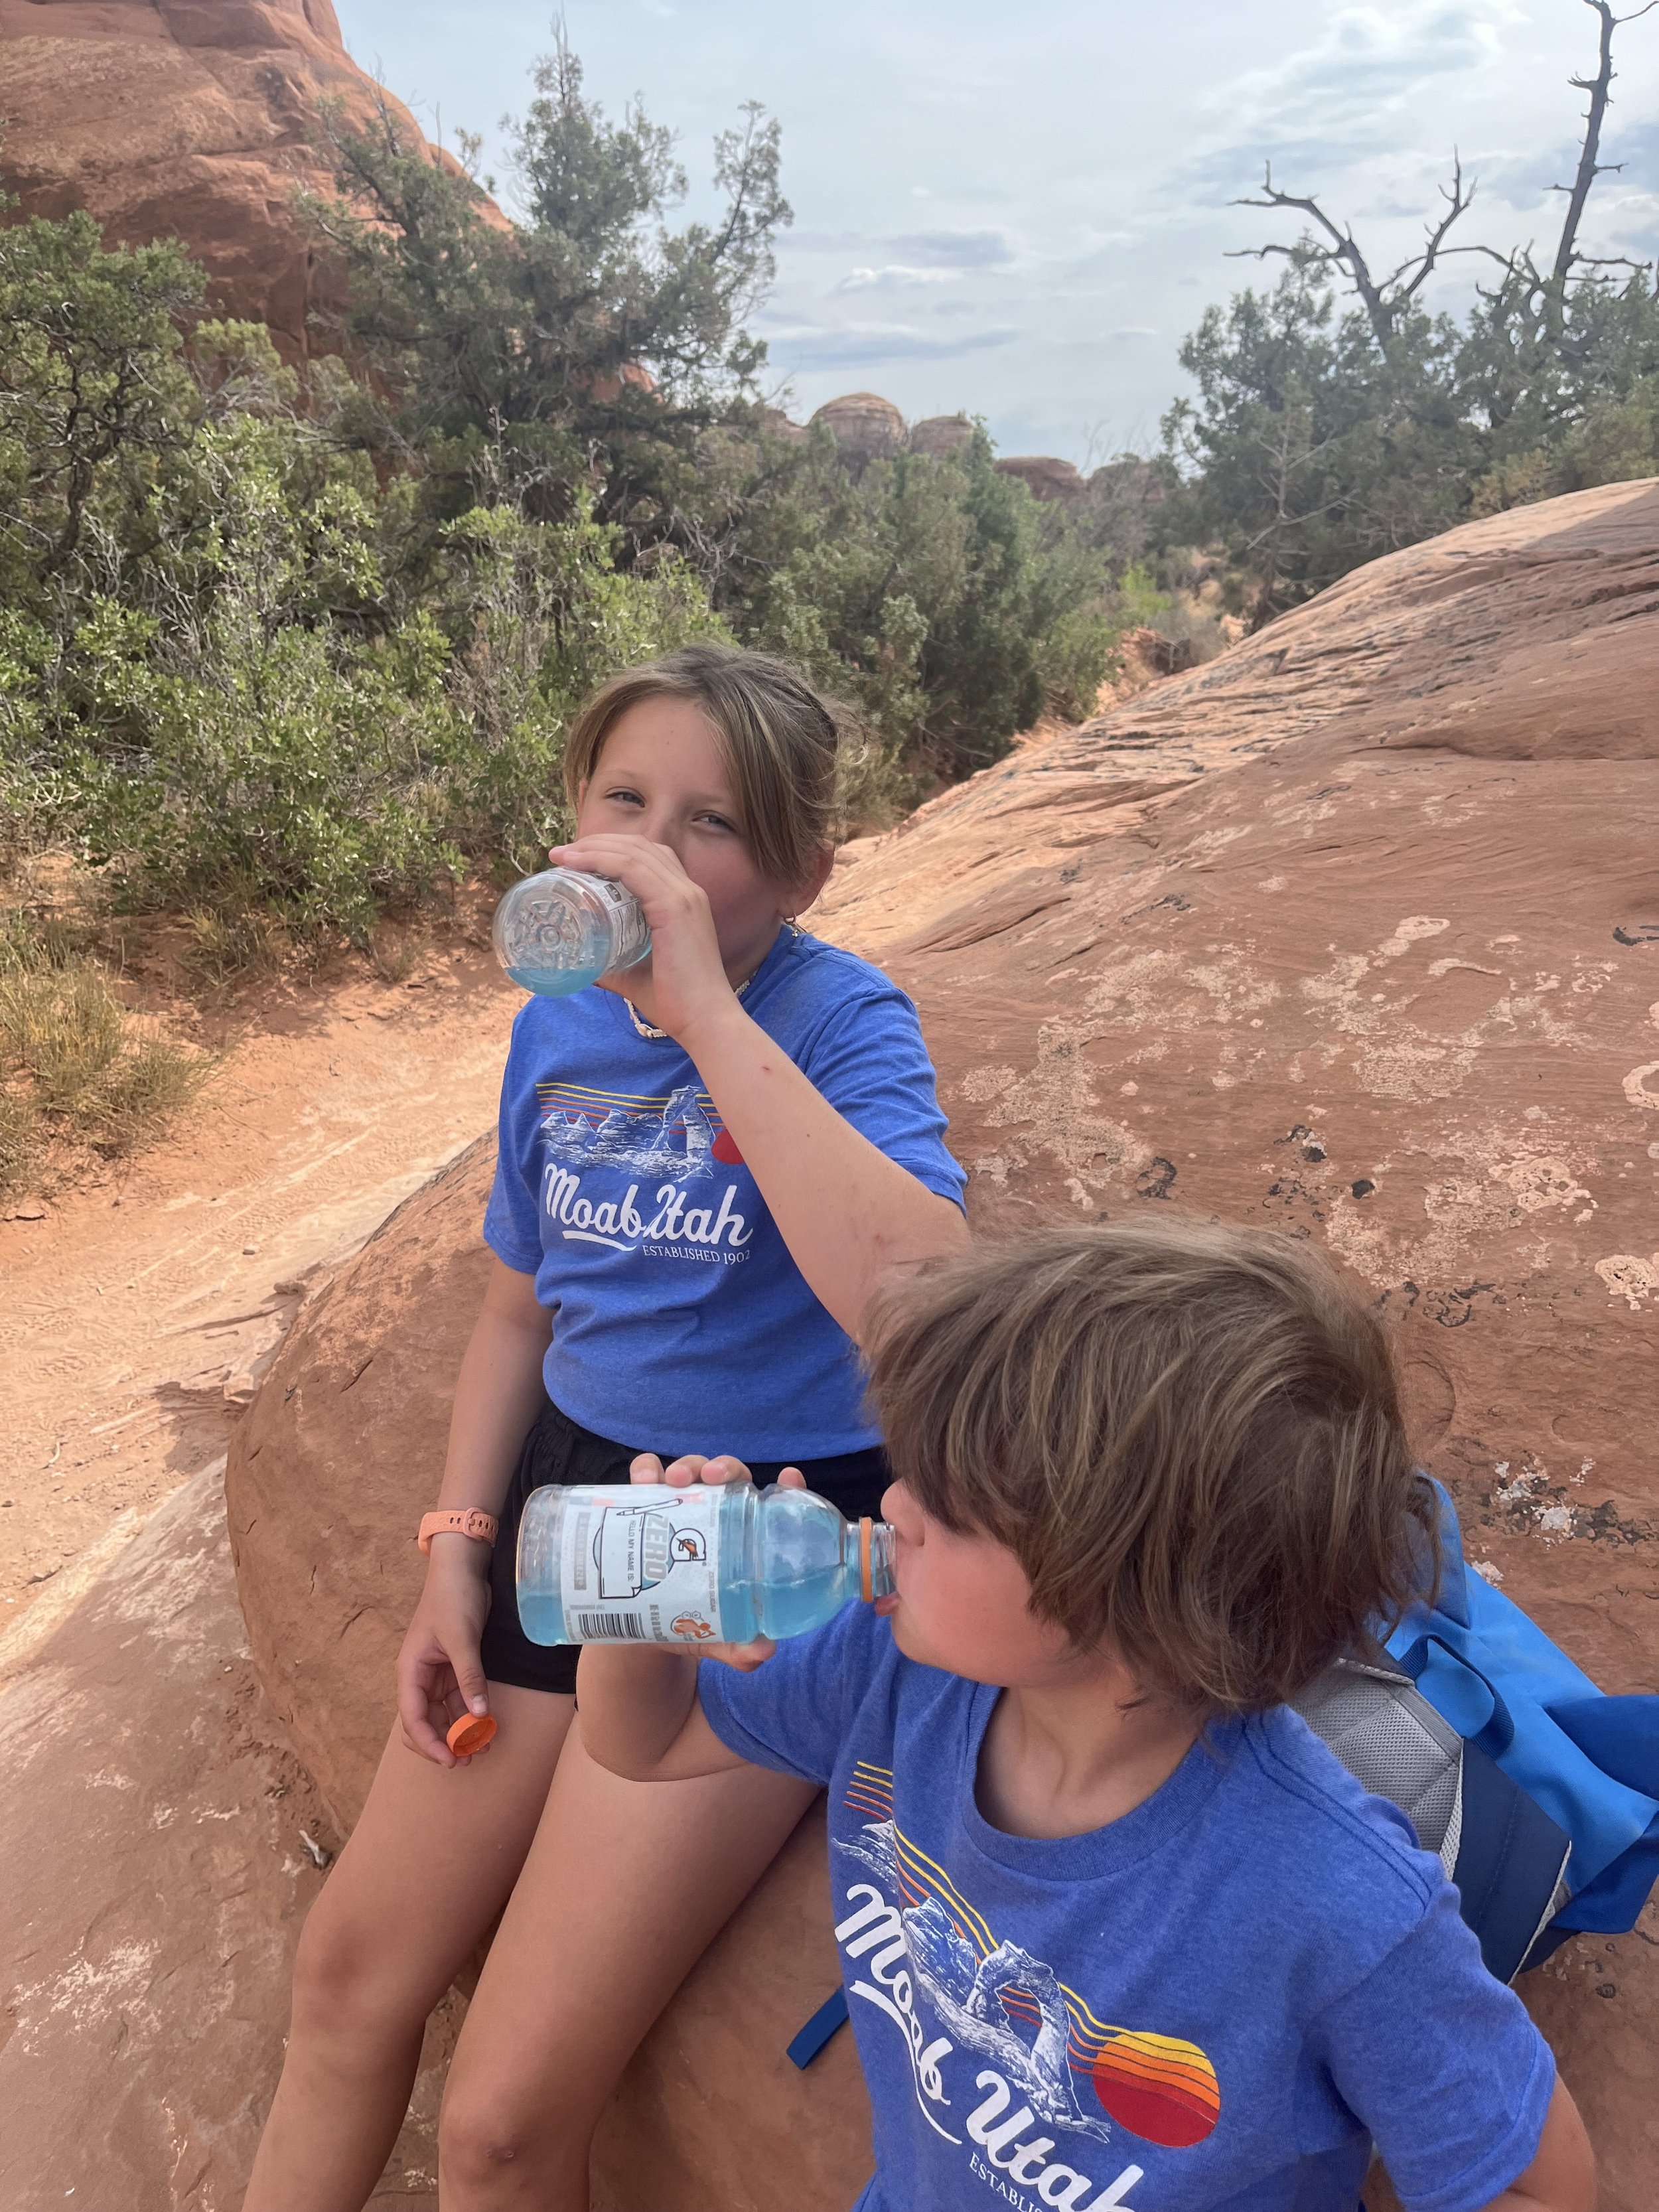
If it’s hot, take a quick break here and drink some water before pushing on.
From this point, you’re just around the corner from Broken Arch. Follow the trail along the base of those sandstone fins until you see Broken Arch to your left.
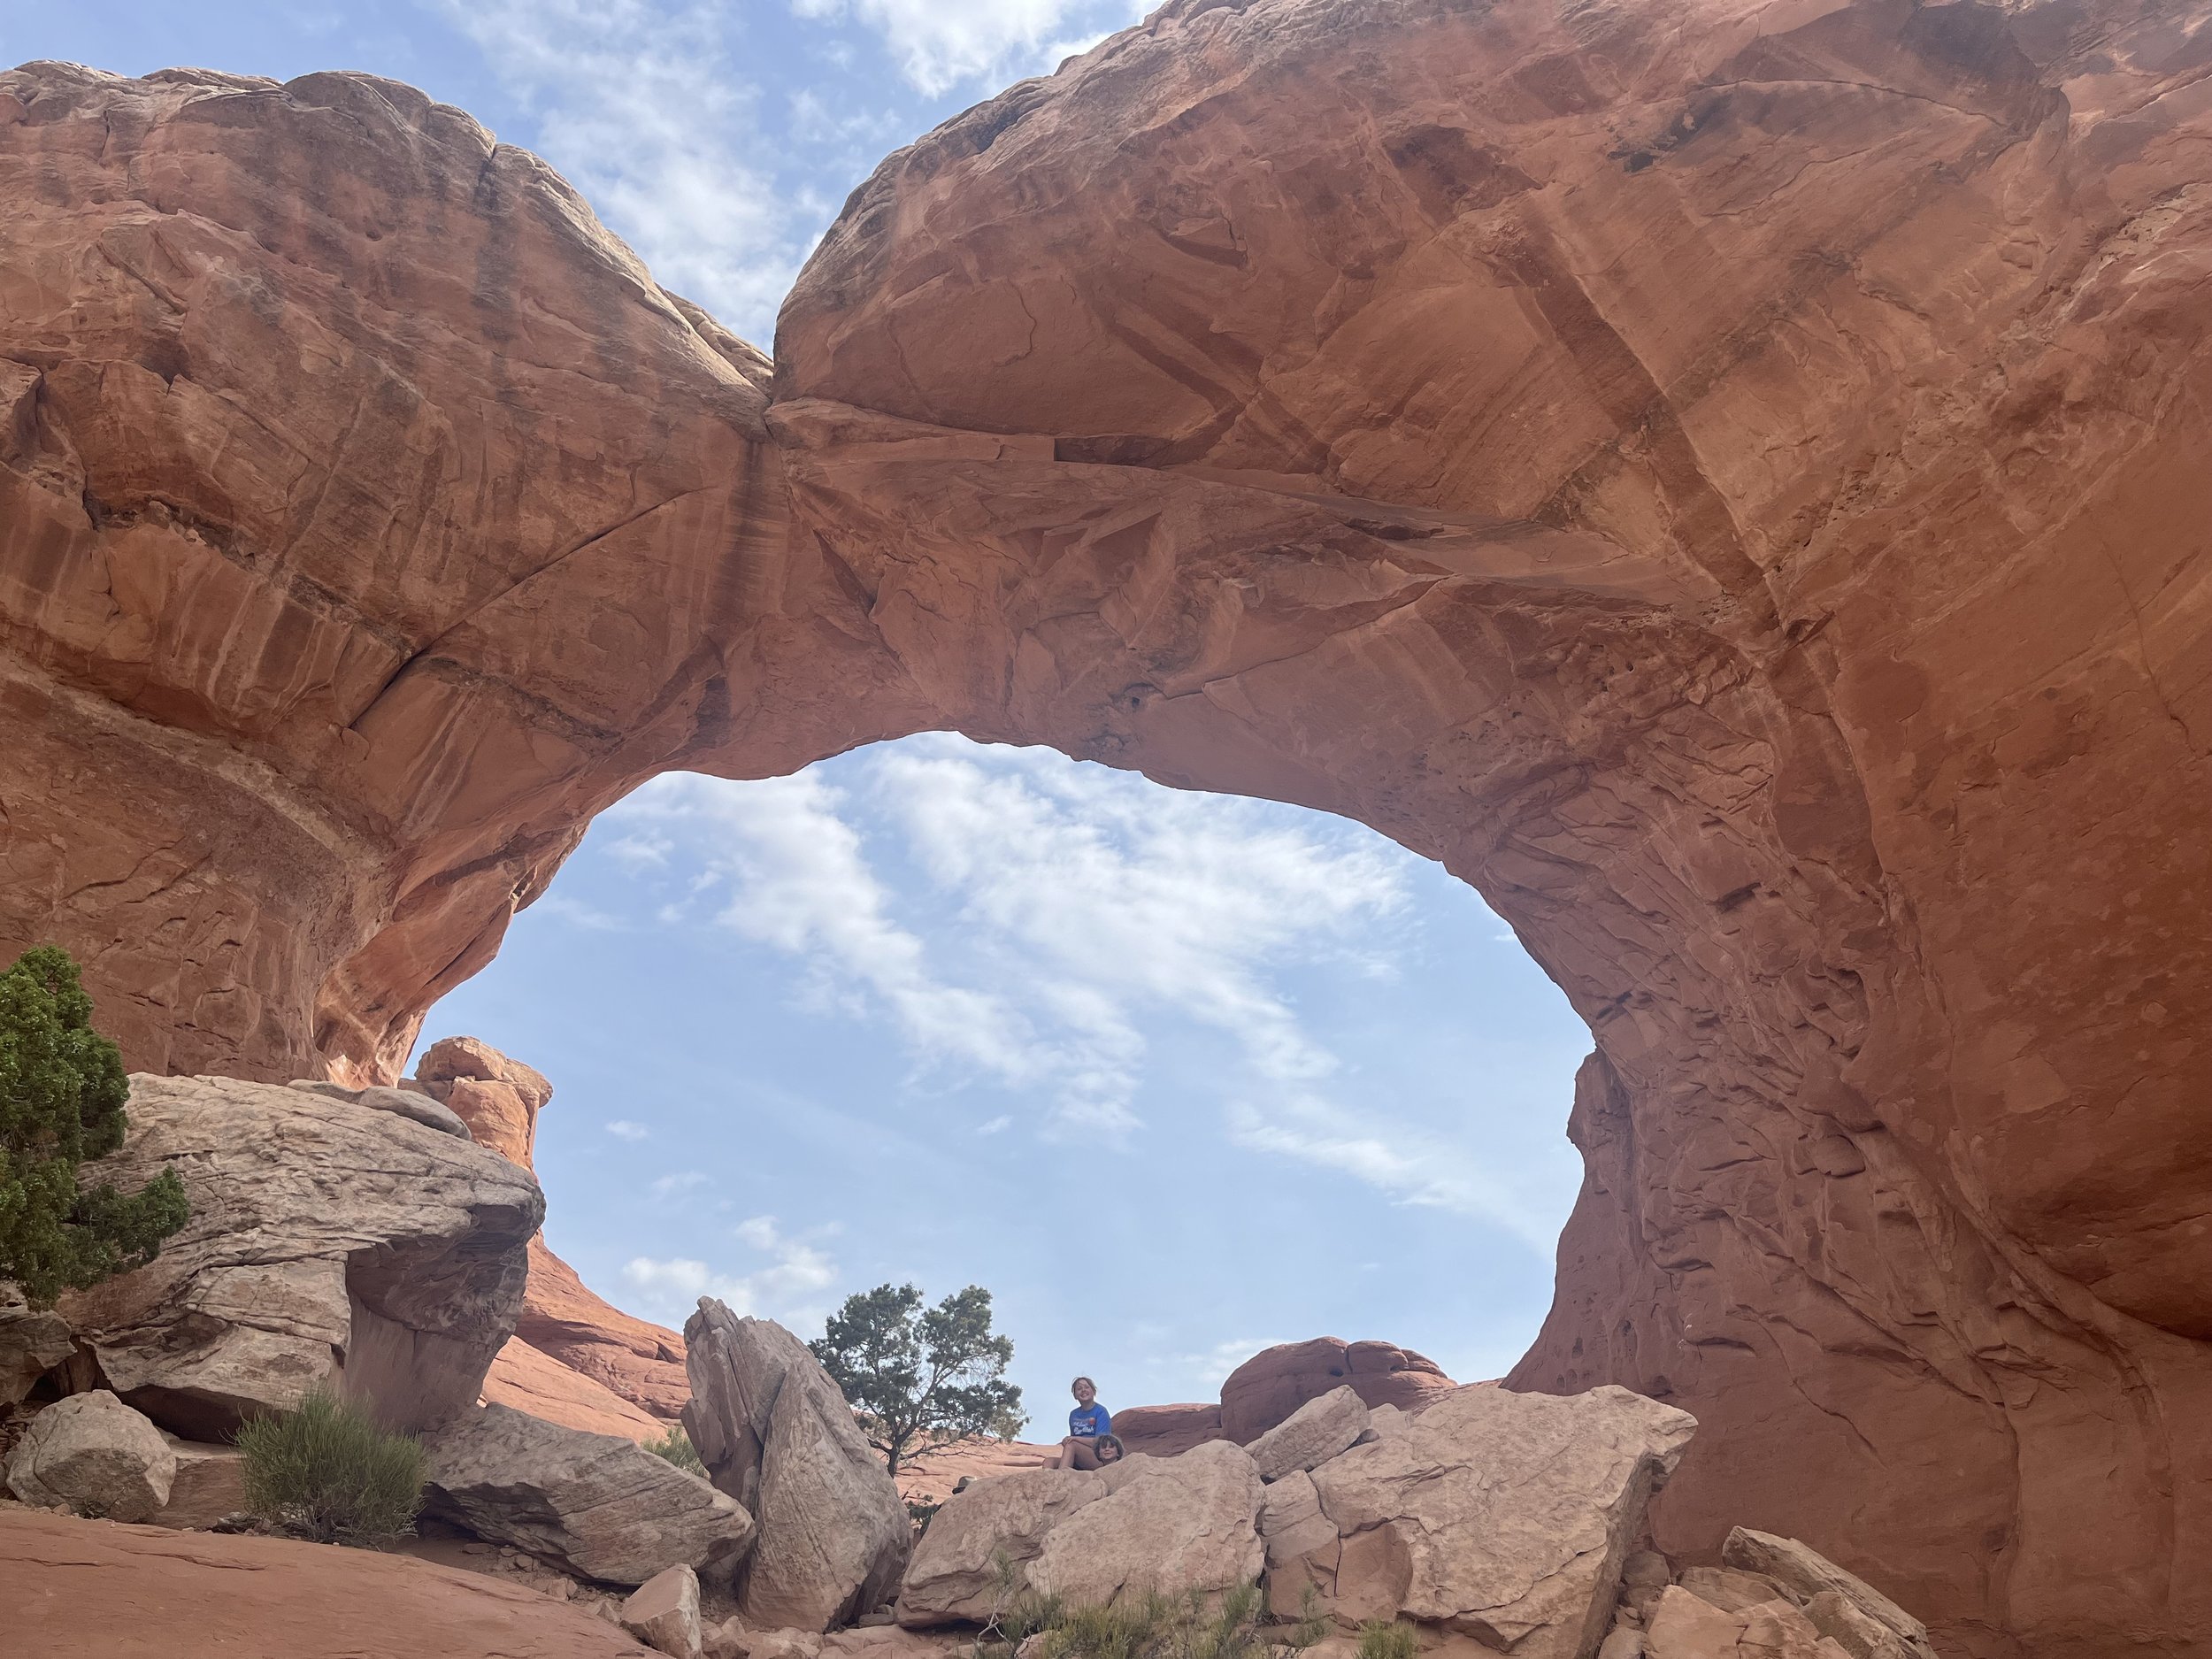
My kids were surprised at the fact that Broken Arch doesn’t actually look that broken, despite the name!
There is a large vertical crack near the middle of the arch, but the rock is still holding itself up for now. At some point in time, it will fall, but that could be hundreds of years in the future for all we know.
The arch has more shade, so find a flat rock and enjoy another sip or two of water. From here, you can turn back and retrace your steps back to the parking area, or you can push on to complete the Broken Arch Loop.
If you continue on, you’ll hug the right side of the arch to climb up and over the rocks under the arch. The trail emerges on the far side, and you’re back out on the more exposed desert landscape again.
The Camping Kiddos under Broken Arch
From here, it’s a straight shot to the Devil’s Garden campground. Just as the trail begins to veer to the left towards the parking lot at Devil’s Garden, you’ll see a sign for the Tapestry Arch spur trail. This is the second arch in this area, and it’s worth the super quick detour off of the trail.
Don't climb on the arches!
From here, continue on until you’re in the Devil’s Garden campground parking loop. When the dirt trail ends, hang to the left, and follow the road past 4 campsites. At this point, you’ll be in the loop at the back of the park.
Keep to the left, following the road as it curves. You’ll then see a 5th campsite, also on your left, which is away from the first 4 you passed. Walk about 20 feet beyond this 5th campsite, and look for the dirt trail of the Broken Arch Loop, which will be back to your left and marked with a knee-high wooden sign.
NOTE: If you need a mid-hike bathroom break, there are vault toilets past this sign on the other side of the parking loop next to the group campground.
Follow this connector trail from the Devil’s Garden towards the sandstone fins ahead of you. You’ll walk through a short section of these fins that look just like the ones near Sand Dune Arch, and you’ll pop out on the trail just before you get back to that sign at the crossroads that you saw earlier.
From here, turn to the right, rejoining the main trail back towards Sand Dune Arch and the main parking area.
MORE HIKING TRAILS IN MOAB
What to Bring to Sand Dune Arch and Broken Arch
While Arches is the smaller of the two national parks near Moab (see these comparisons and more in my Arches vs. Canyonlands guide!), there’s still plenty of room to explore.
You’ll want to make sure that you’re prepared for Sand Dune Arch, Broken Arch, and anything else that strikes your fancy by packing the right equipment.
Arches National Park has a hot, dry climate, which can quickly cause hikers—even on shorter trails—to get dehydrated. The combination of heat and a lack of places to escape the sun can turn a fun hike into a miserable one.
Here are the things that my family and I have found make a huge difference in our enjoyment of this trail and others in Arches.
Hat
Whether you’re going with a wide brimmed sun hat or that trusty old baseball hat, you’ll want something to help protect your face from the sun.
Buff
I picked up one of these during our 8-week trip out west, and it was a game changer for all of the hot hikes we went on!
Not only does it help protect my neck from harsh rays when I’m hiking, but the absorbent fabric wicks away sweat and keeps me cooler.
I have the Buff CoolNet UV gaiter and wore it nearly every day of our 55 day hiking and camping summer road trip. It was worth every penny as it kept me cooler on trails from Colorado and Utah to Wyoming and South Dakota. Plus, it comes in a bunch of colors, which is fun.
Sunglasses
I have light blue eyes, which studies have shown tend to be more sensitive to the sun, so sunglasses are non-negotiables.
While I always have at least 2 pairs on me at any given time, my go-to glasses are the Goodr OG sunglasses. They’re inexpensive, come in fun color combos, and won’t slip off even if you’re sweating.
Sunscreen and/or sun shirt
You’re not getting burnt on my watch!
My kids and I are careful about our skin when we’re hiking, especially when we’re doing so on exposed trails like you’ll find in and around Moab.
Pack the sunscreen and use constantly. If you don’t like the slick feeling of sunscreen or just don’t want to bother with it, I highly recommend a lightweight long sleeved sunshirt.
My kids have this Willit sunshirt, which has been a lifesaver in all of the desert hiking we’ve done, both in Utah and further afield in places like Petrified Forest National Park in Arizona.
Hiking shoes
I’ve seen people attempt to hike in just about any kind of shoe you can imagine—and I’ve seen a great many of these flip flop or wedge heel wearing people hobbling back to the parking lot later in the day.
If you have to splurge on any hiking gear, make it your shoes. Your foot comfort guarantees you’ll be more excited about hiking and will be willing to seek out more opportunities!
Whether you choose a hiking boot, a hiking sandal, or a trail runner will depend on your personal comfort. I love my Altra Women’s TIMP 4 trail runners and have hiked many a mile in them.
My other go-to hiking shoes are my Keen Newport H2 sandals in Original Tie Dye, which are in their 6th summer and still going strong. This shoe is what I reached for nearly every day on our hiking trip this past summer. (I did switch to the Altras when we got into cooler weather in Glacier National Park!)
If you’re looking to outfit your little hiker, check out my suggestions in my buying guide to the best toddler hiking shoes.
Daypack with water bladder
Be sure to take plenty of hydration breaks on the trail!
Don’t think that you can leave your car empty handed just because it is a shorter trail.
No matter whether I think I’m hiking a quarter mile or 8, I’m still packing my day pack fully with water and supplies.
You never know when you’re going to need water or first aid supplies (especially when you’re hiking with kids like I always am!), so I tend towards packing a full pack.
I have a couple of day packs, but the one I use the most for shorter hikes like this one is the Osprey Daylight. It’s lightweight with mesh panels on the back and adjustable chest and waist straps. Plus, the main compartment is big enough for me to pack snacks, a first aid kit, plenty of water, and whatever else my kids and I might need.
I also have a 2.5L water bladder that I fill up before shorter hikes. You will drink more water than you think when hiking in the desert, regardless of the time of year, so overpack rather than underpack.
Don’t forget to outfit your kids, too, so that they feel more responsible during the hike. We’ve had our kids carry a backpack on hike basically since they could walk, so they are used to the idea of hauling their own snacks, ponchos, trail guides, and the like.
See my full run down here of what to include in your kids’ hiking gear.
Salty snacks
Don’t forget your salty snacks!
When hiking in a dry climate like Arches National Park’s, you’ll want to ensure that you’re not only drinking water, but also consuming plenty of salt and electrolytes to keep everything balanced.
This means adding in some Gatorade or other electrolyte-enhanced beverage to your pack, as well as packs of pretzels, crackers, peanut butter sandwiches, and the like.
Optional, but recommended: Portable GPS
When I’m hiking with the kids (and even when I’m not), I don’t leave the car without clipping our Garmin InReach Mini to my day pack.
This little GPS gives me peace of mind that if something happened to me or one of the kids, we could get help to us via the satellite calling and texting features. My kids are getting big enough that if one or both of them got hurt, I’m not going to be able to safely carry them miles back to the car.
Knowing that I can have search and rescue to us in a short time helps SO MUCH with my anxiety about taking the kids into these remote areas without cell phone service.
Plus, there are free texts you can set up to send to your family and friends to let them know your location, when you’re starting a hike, and when you’re back at the car.
Final Thoughts on Sand Dune Arch and Broken Arch
The Camping Kiddos can't wait to explore Sand Dune Arch!
While this trail and its variations aren’t the longest or most challenging in Arches National Park, they are both fun and well worth adding to any Arches National Park itinerary.
Sand Dune Arch’s accessibility to nearly all levels and its striking location among the sandstone fins will easily put this location in your list of top arches in the park.
Broken Arch is a bit unusual with its fracture, and it’s easy enough to layer onto any other hikes you’re doing in the park.
Ultimately, this area of Arches National Park makes for a great contrast to other, more well known parts of the property like Delicate Arch. It’s still just as memorable—and you likely won’t have as many crowds or parking woes!


